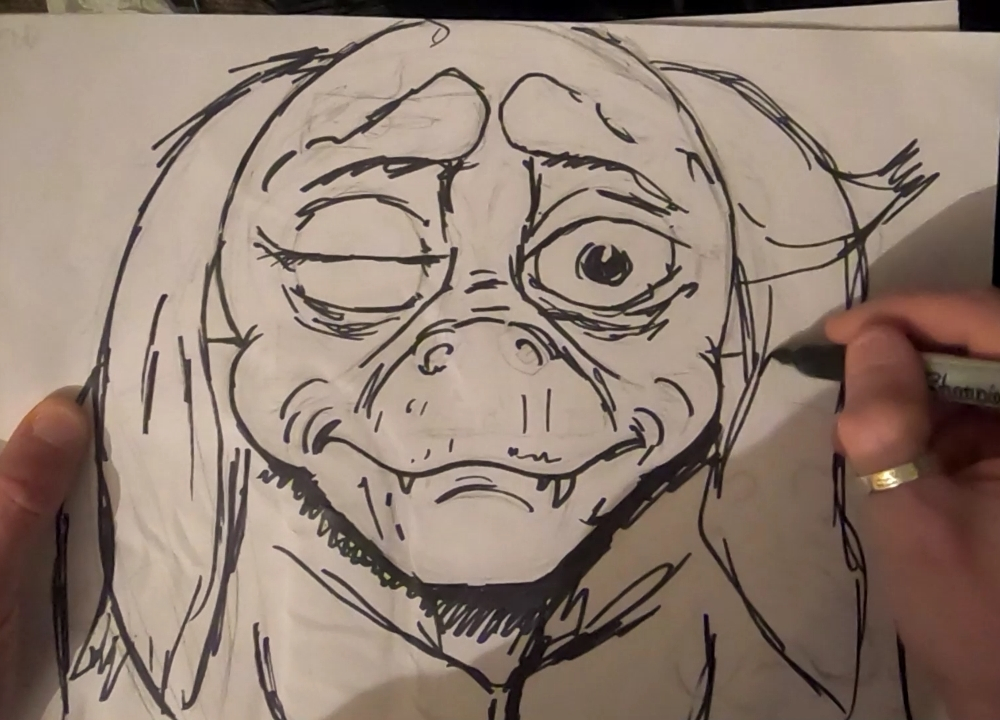
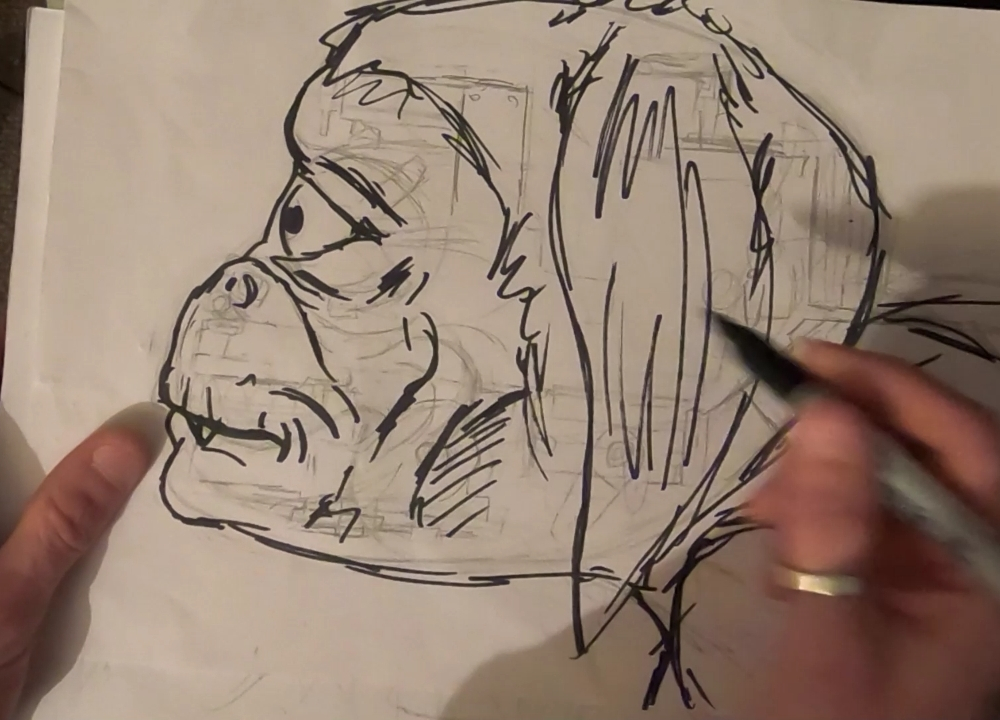
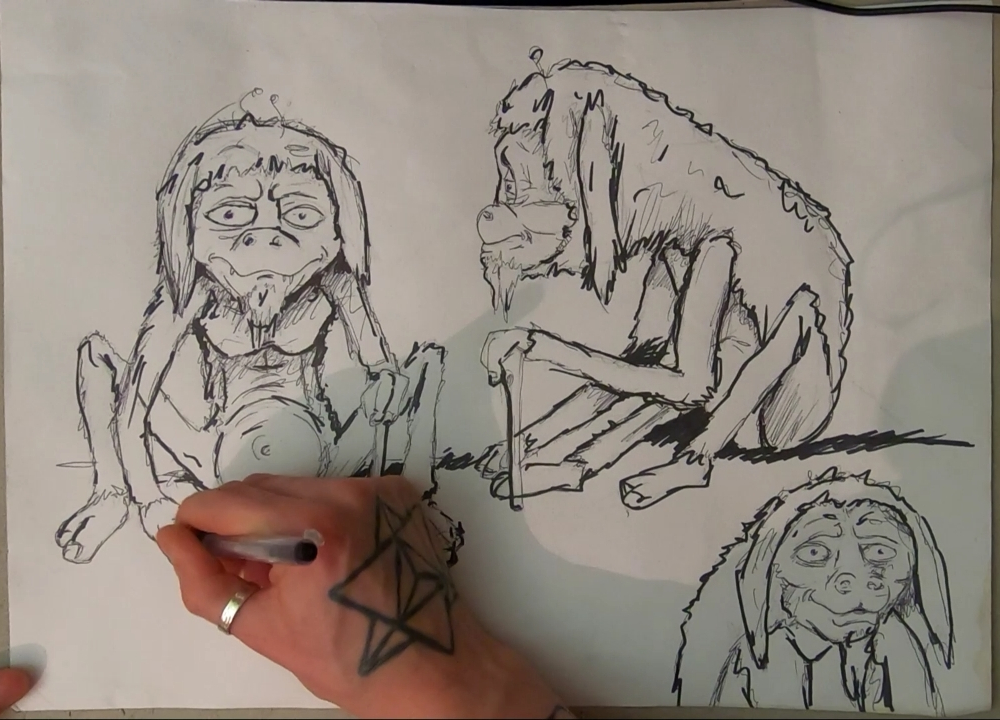
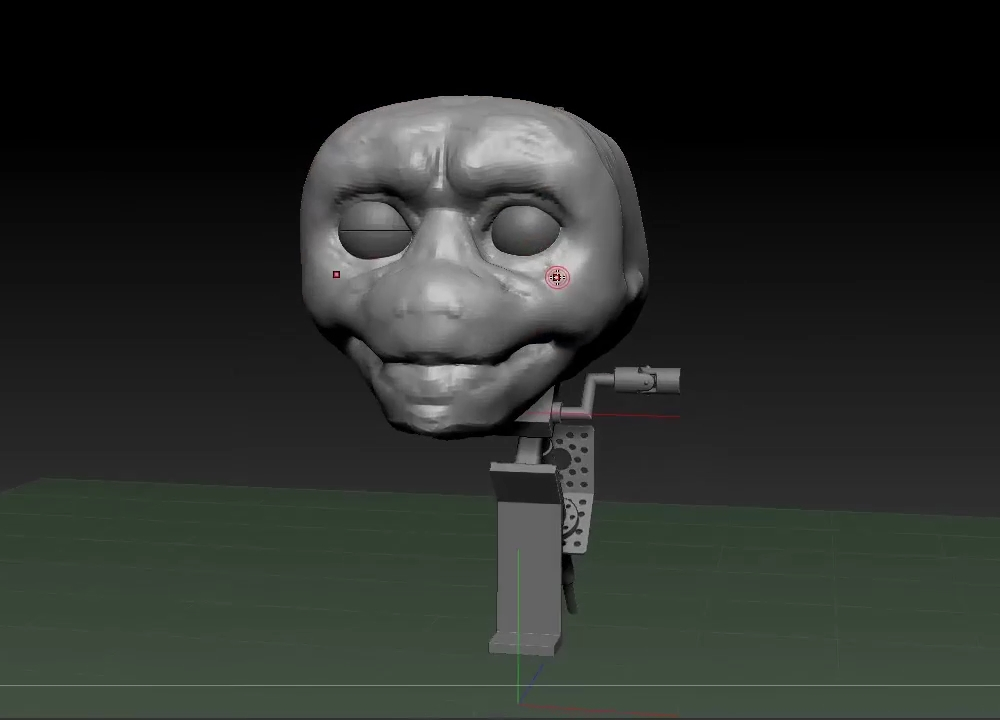
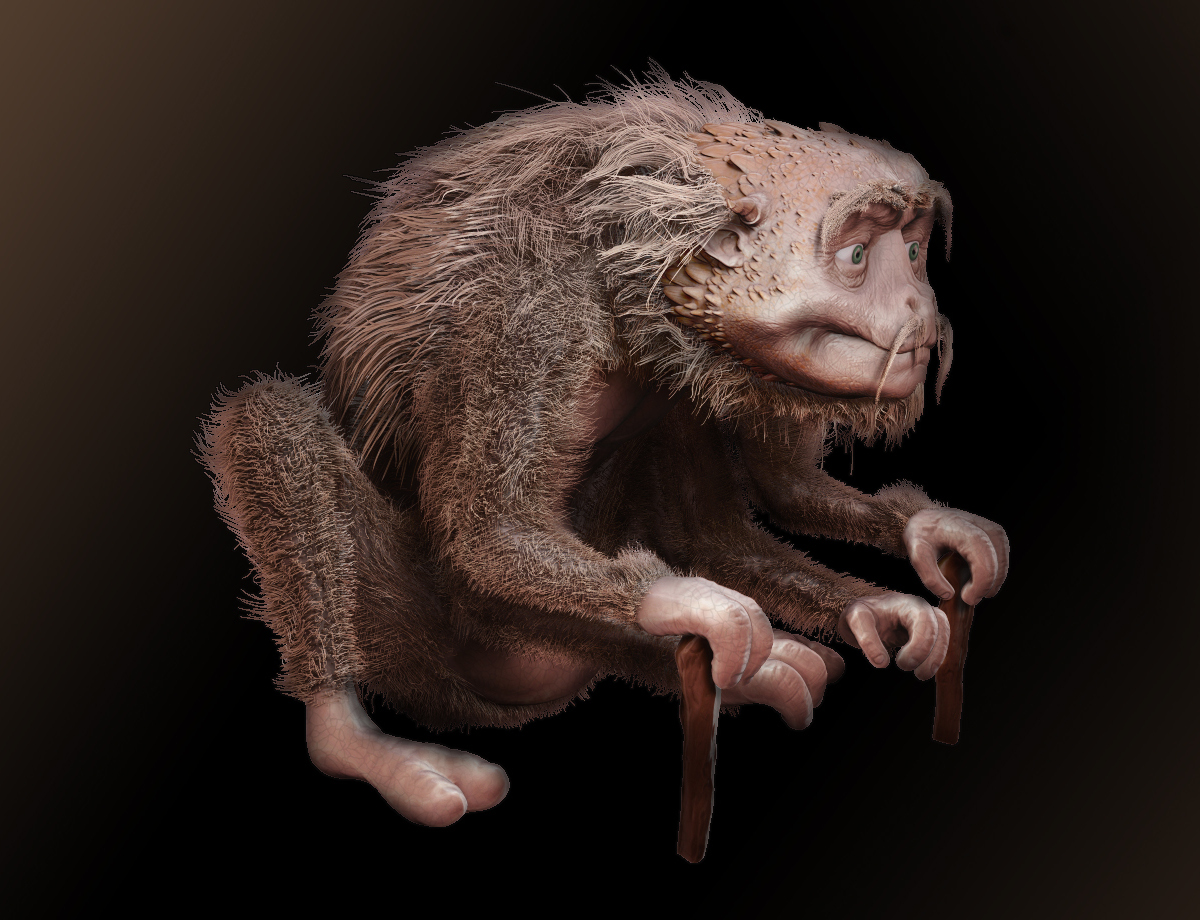
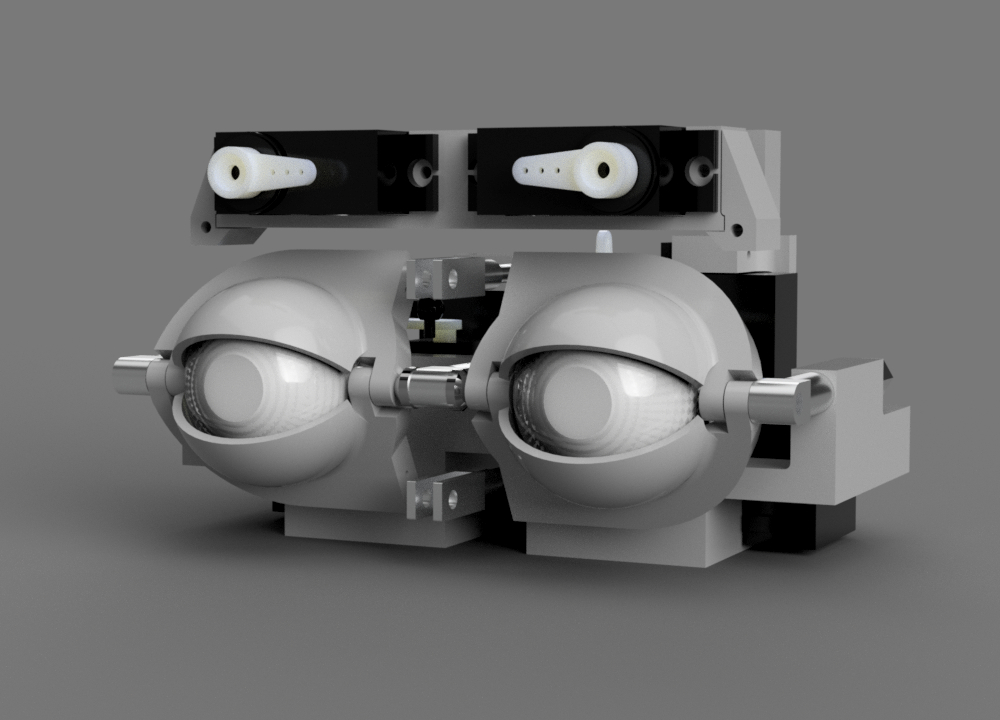
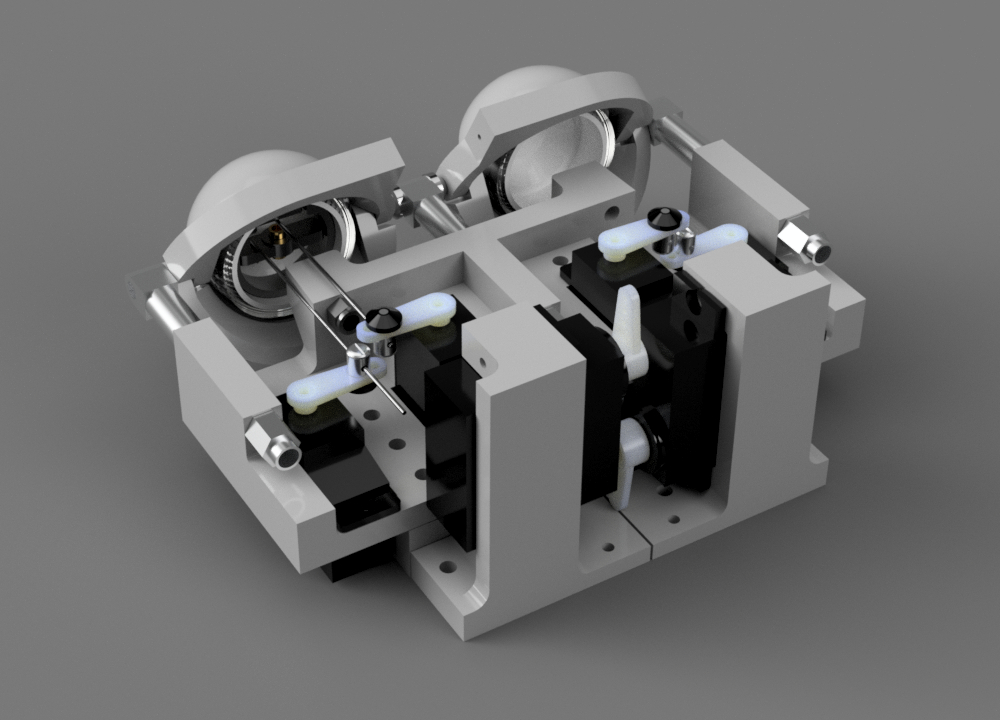
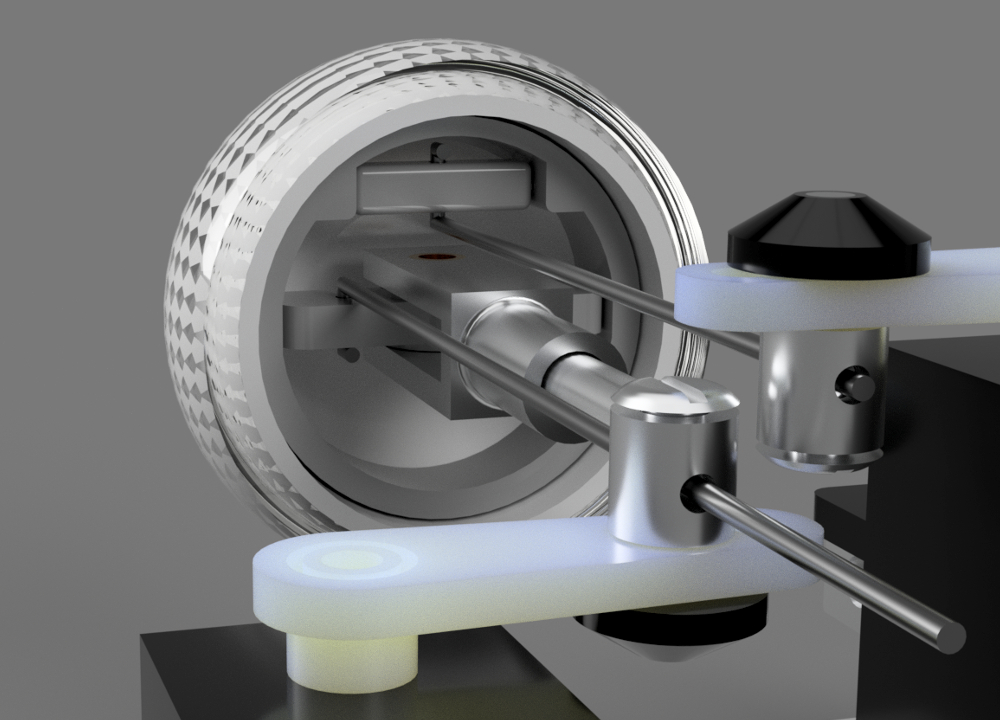
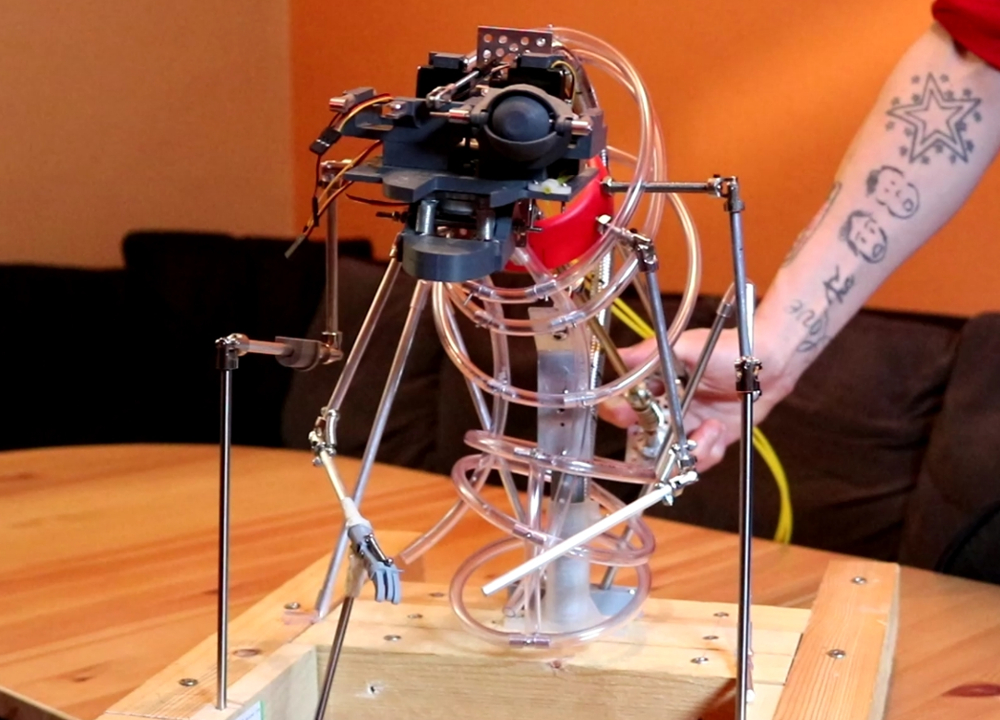
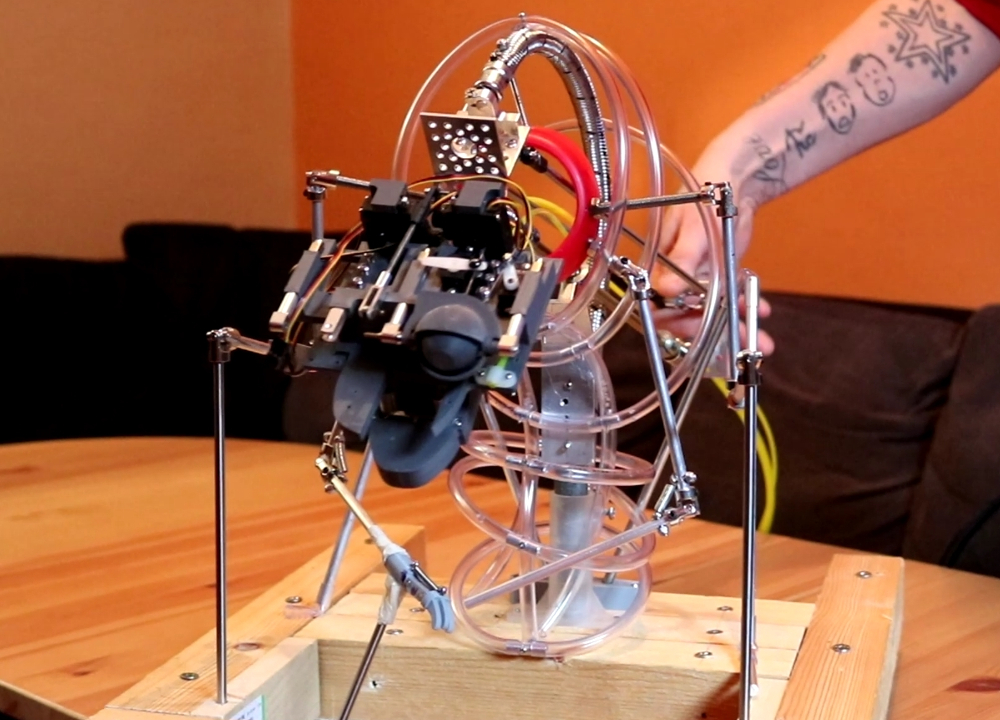
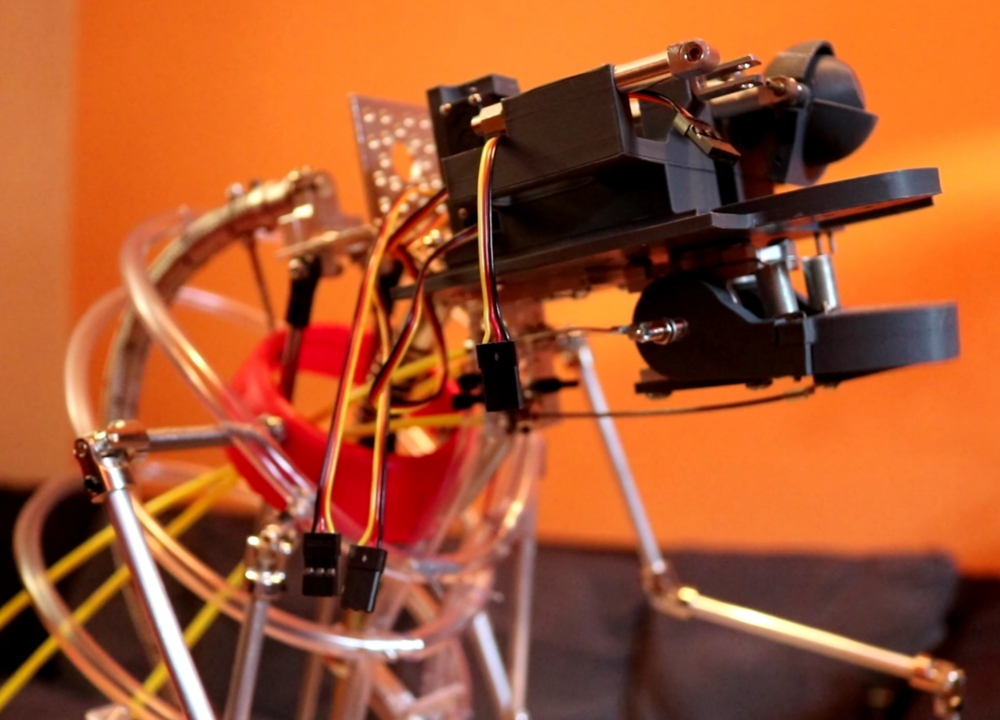
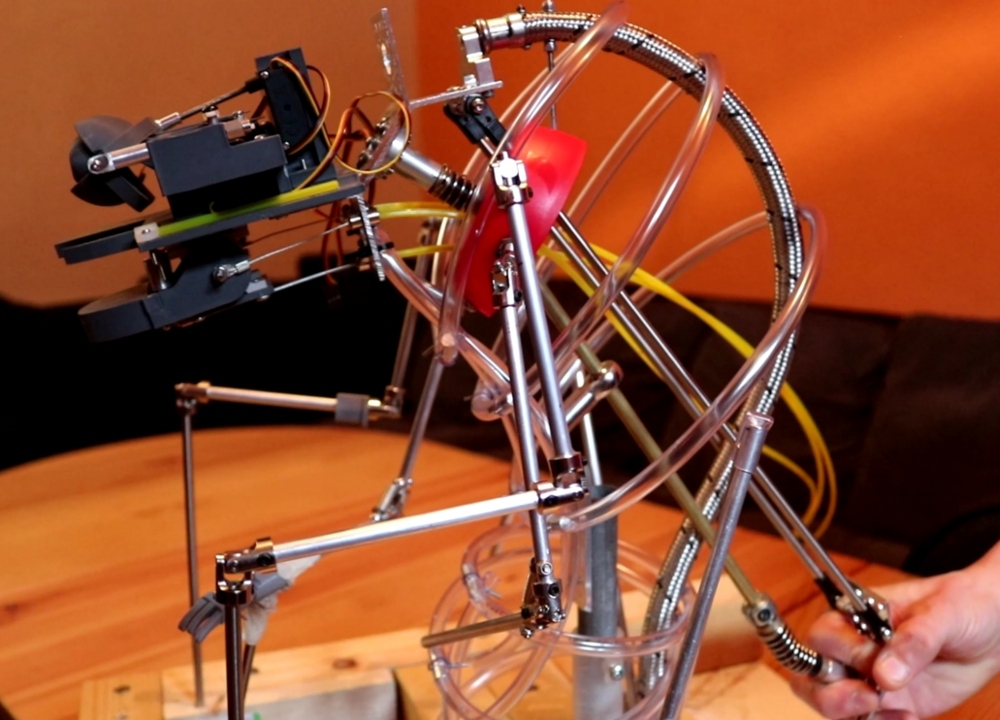
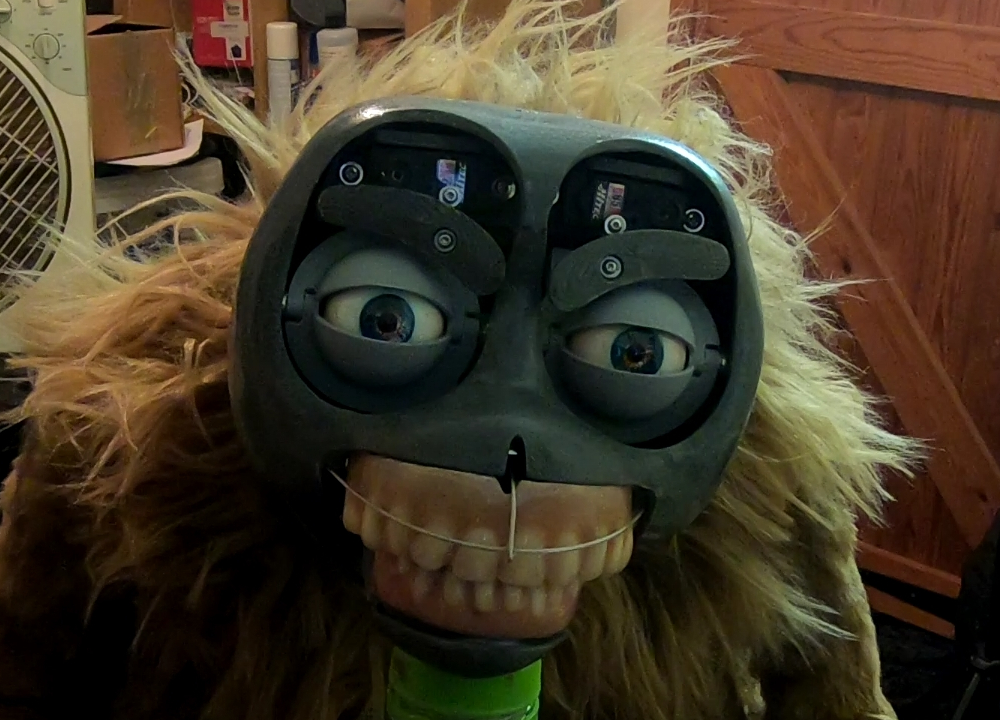
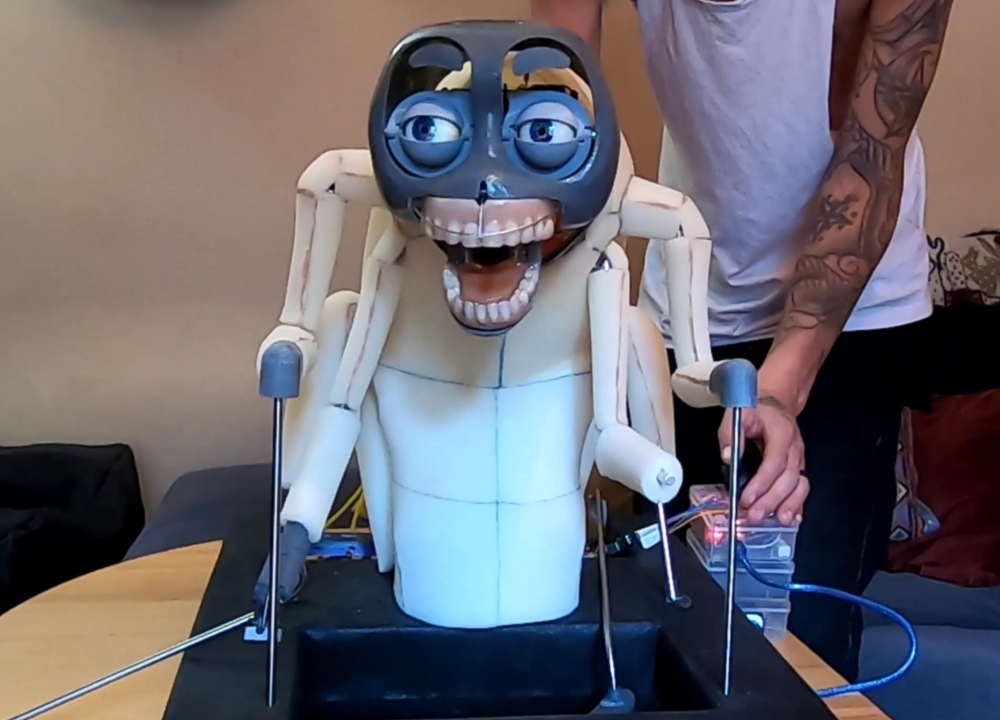
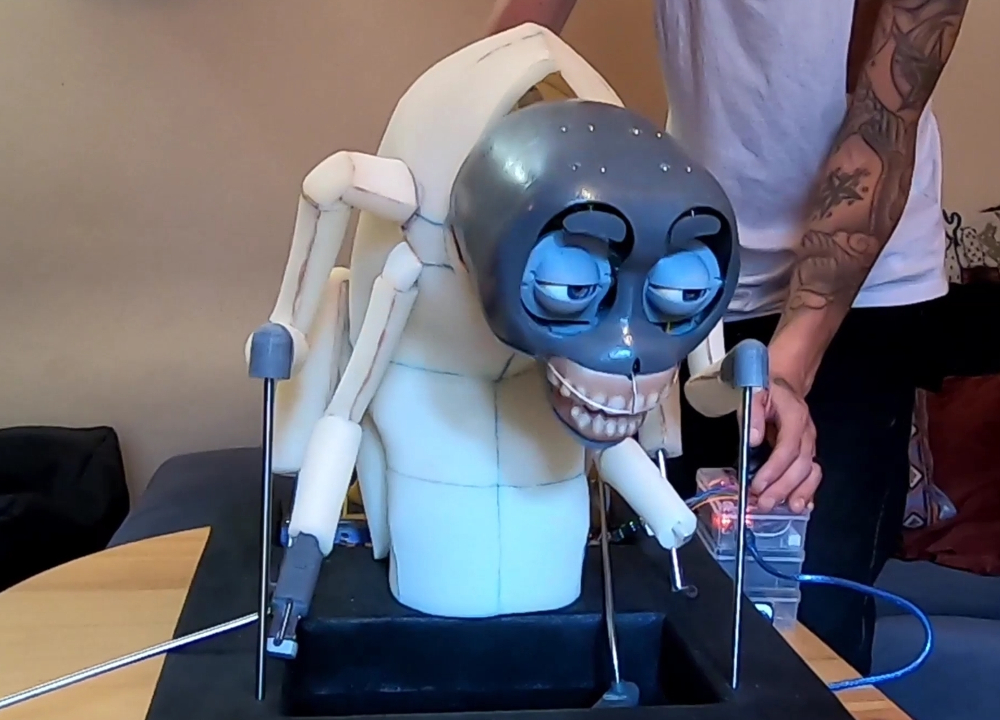
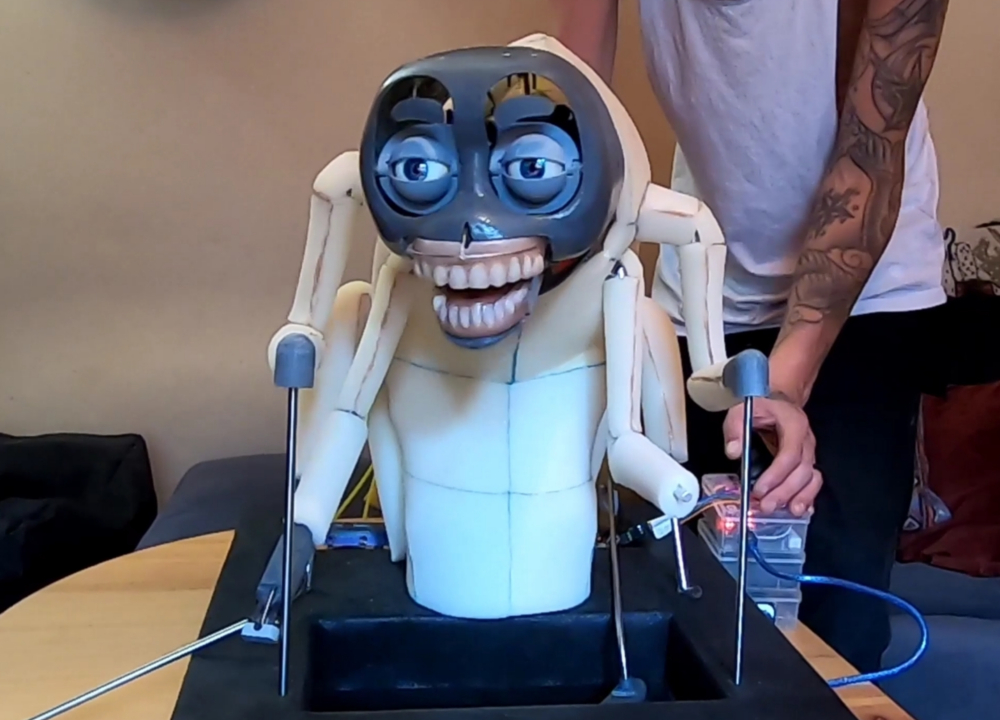
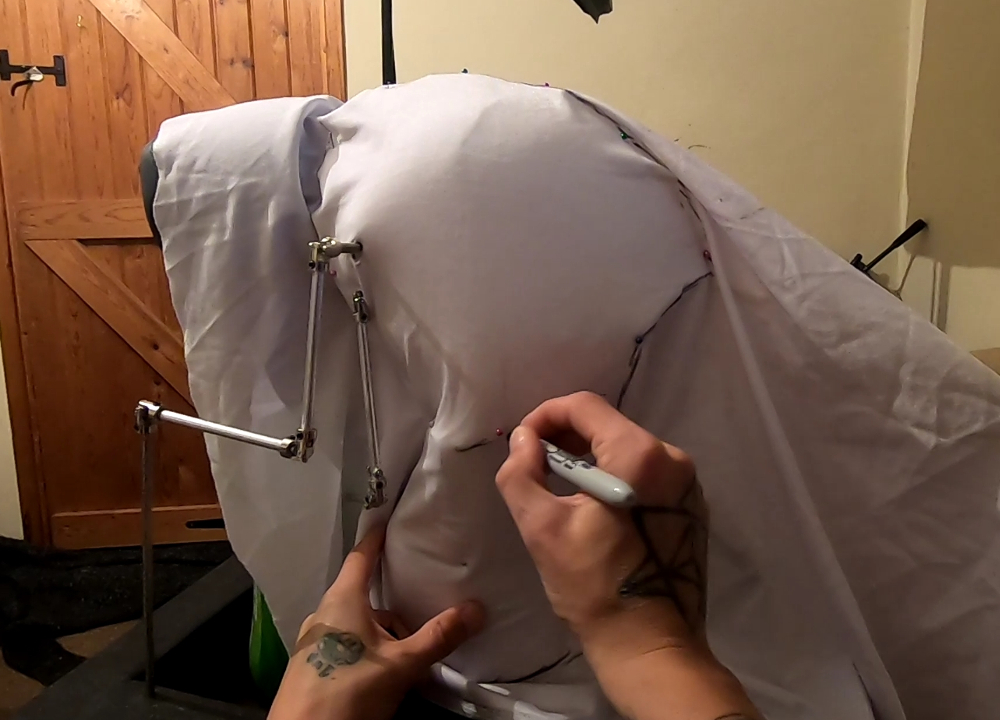
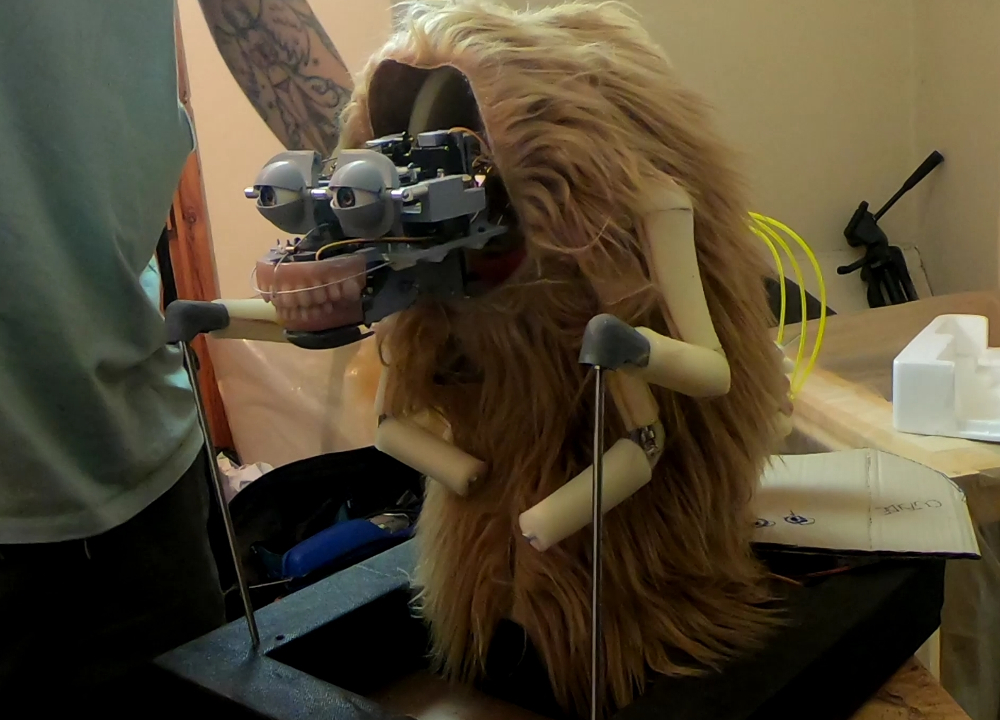
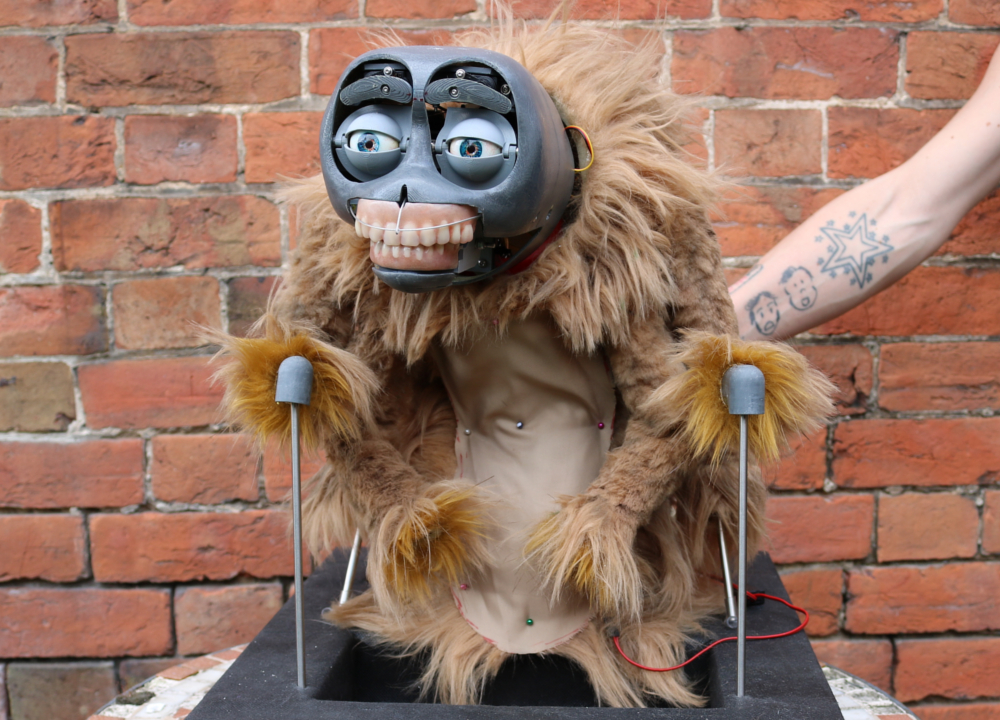
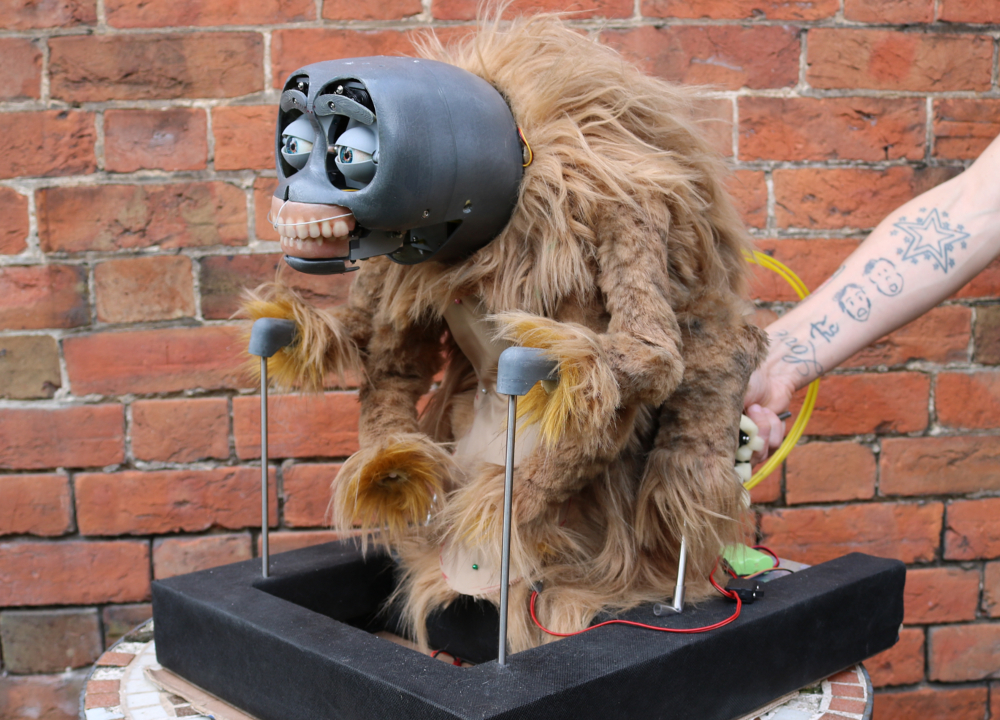
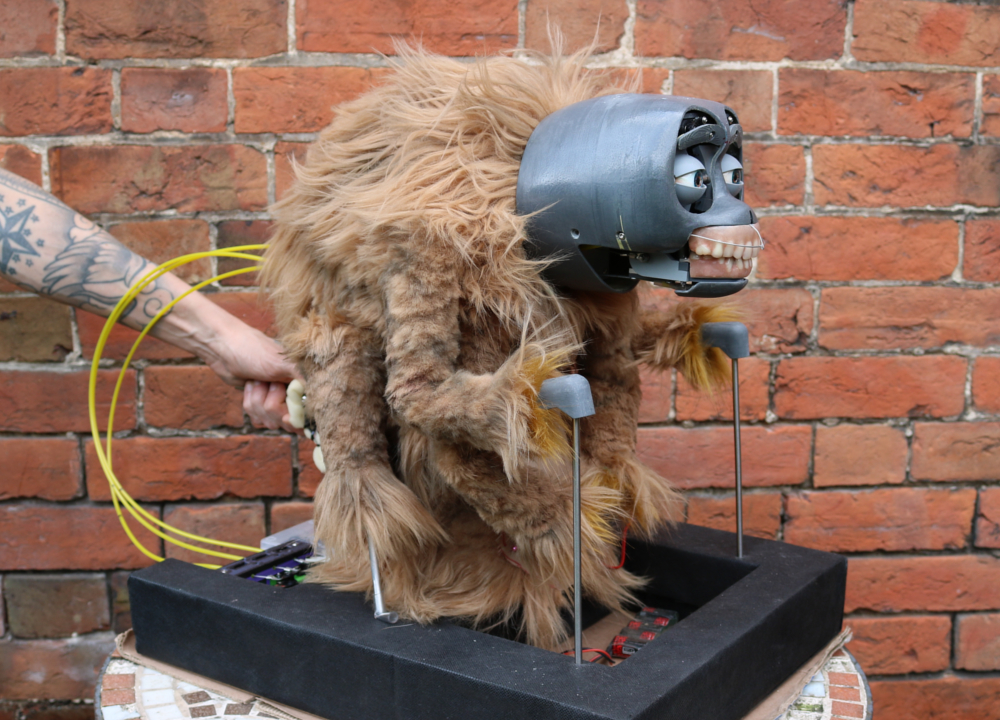
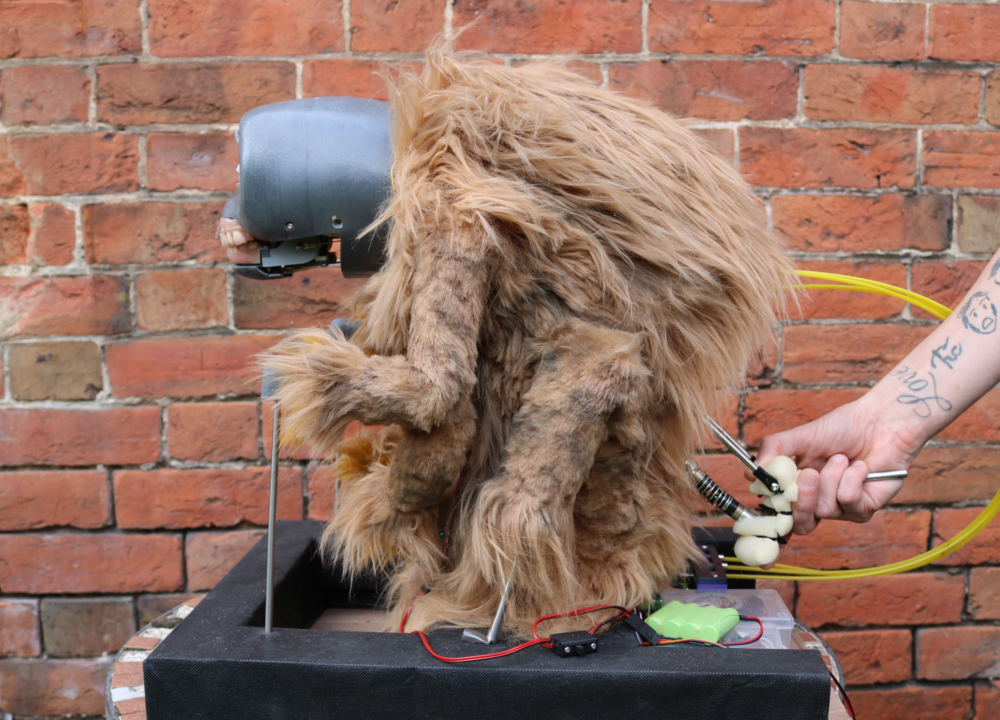
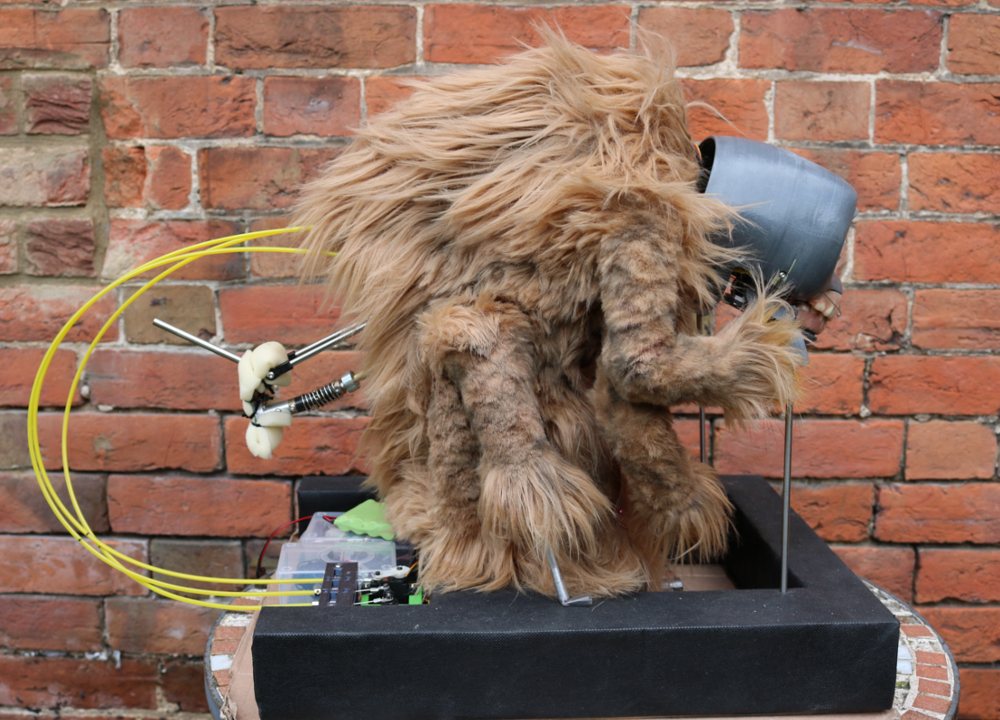
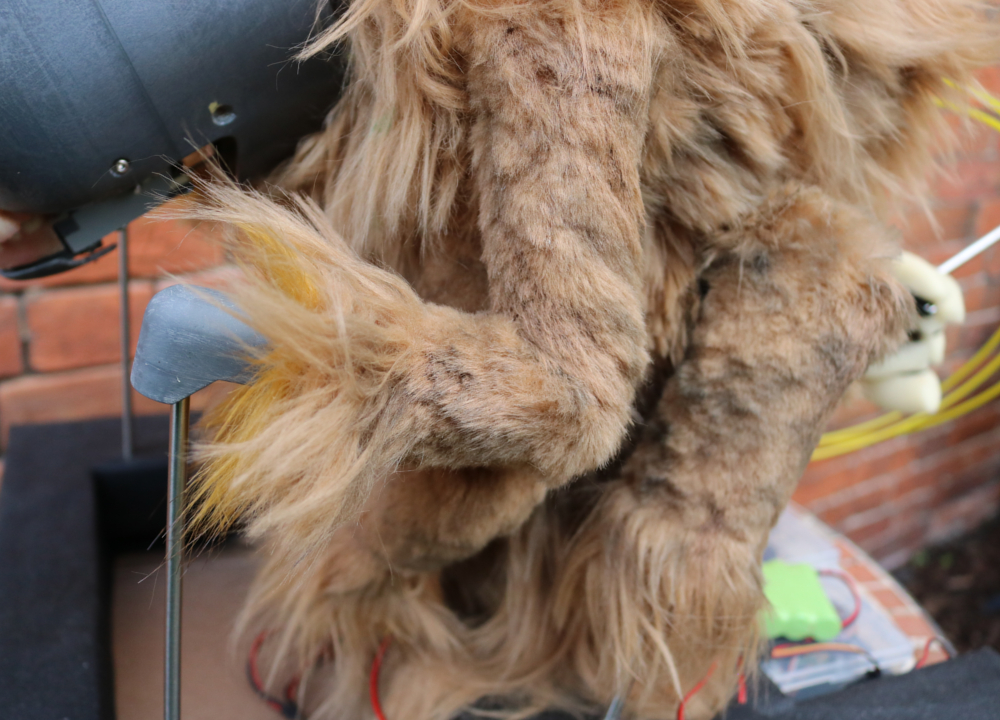
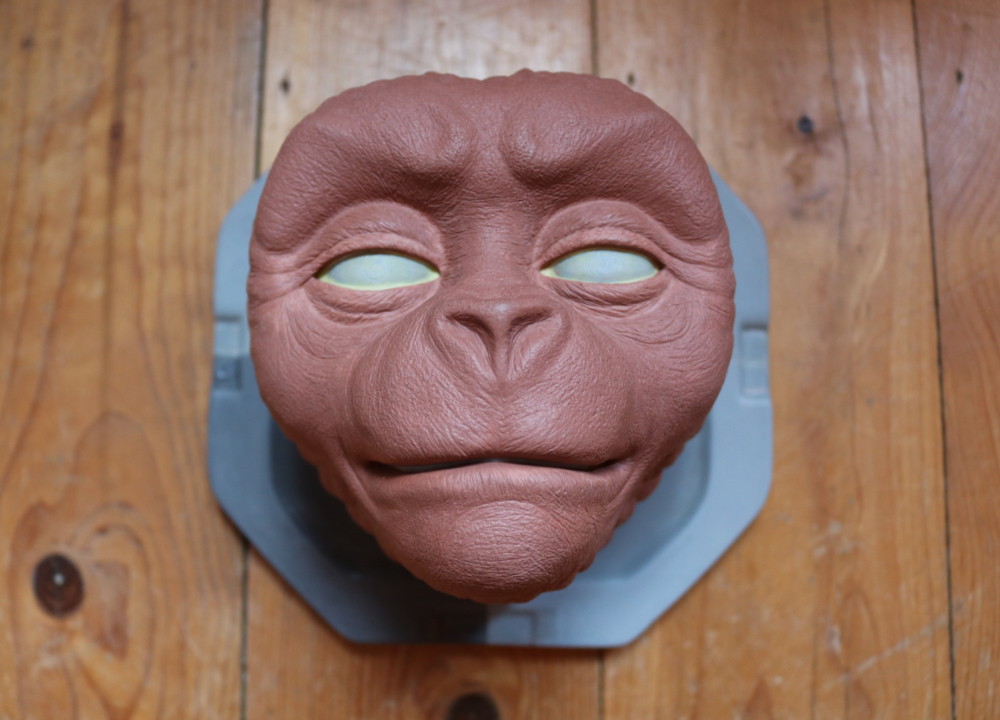
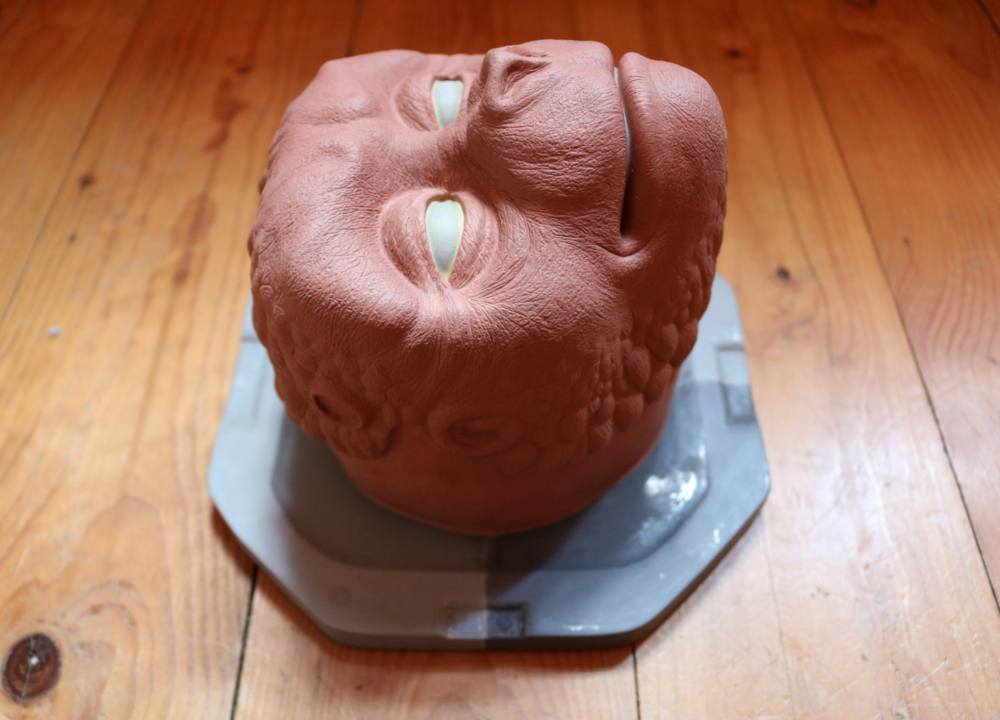
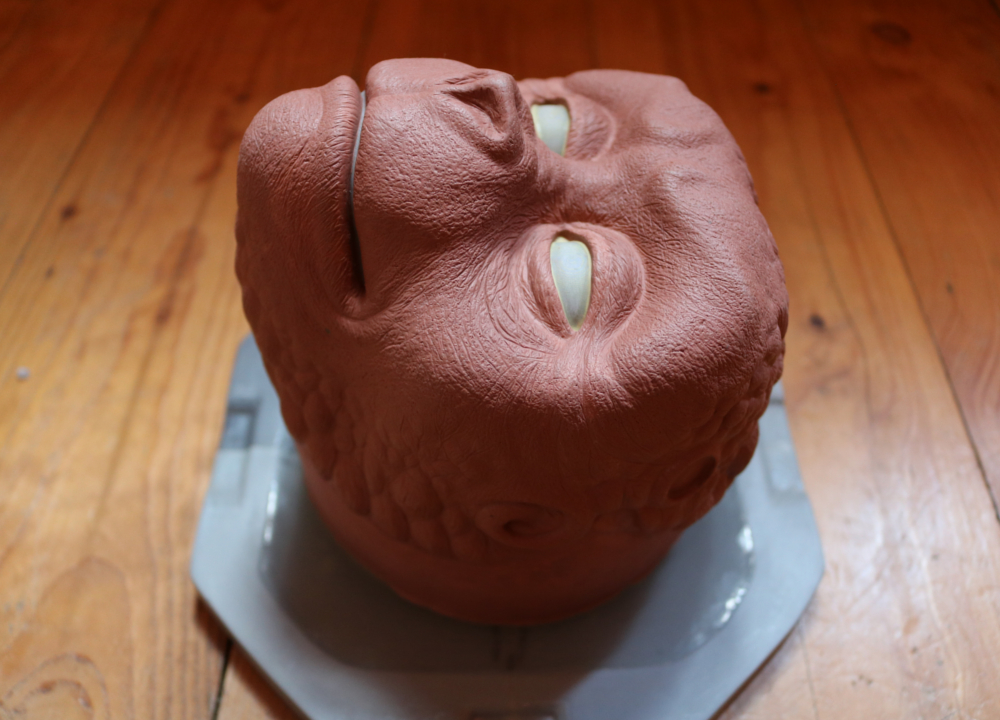
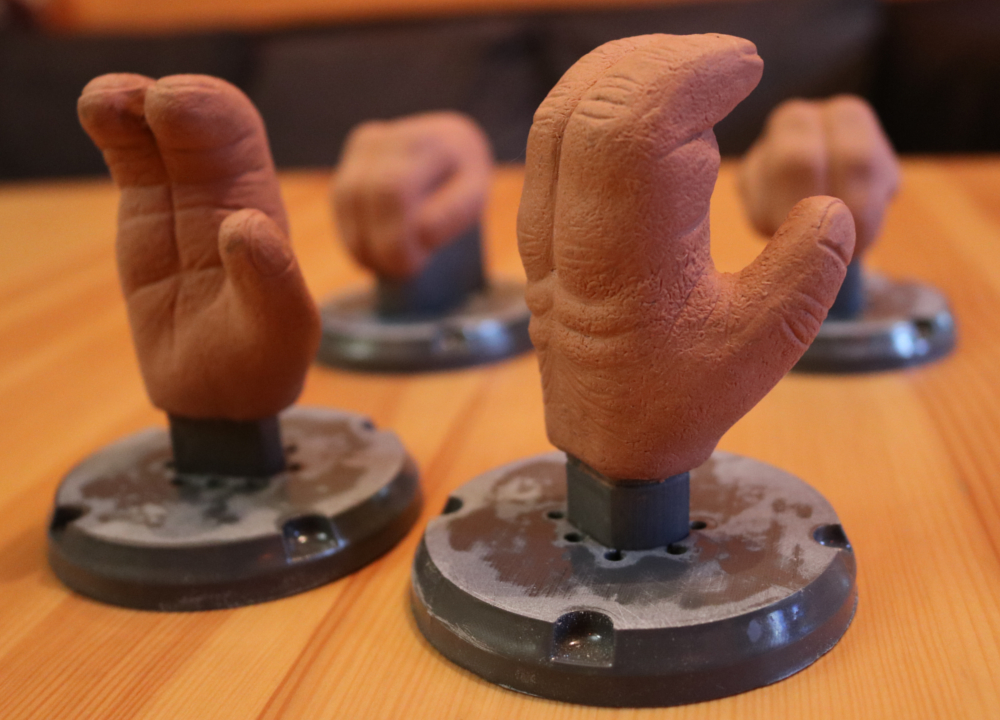
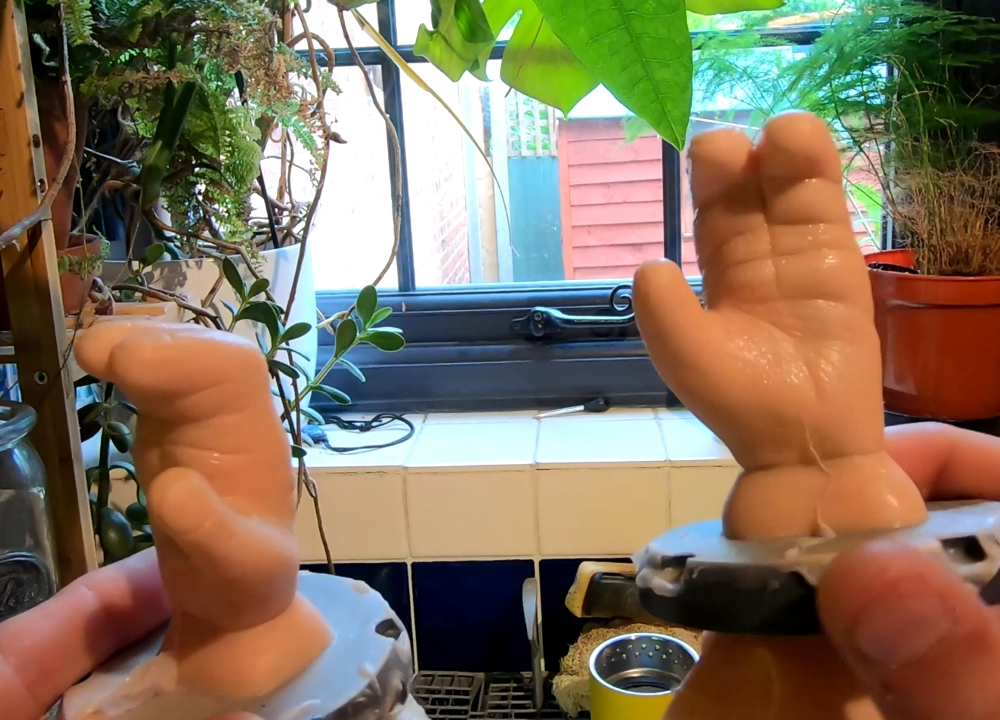
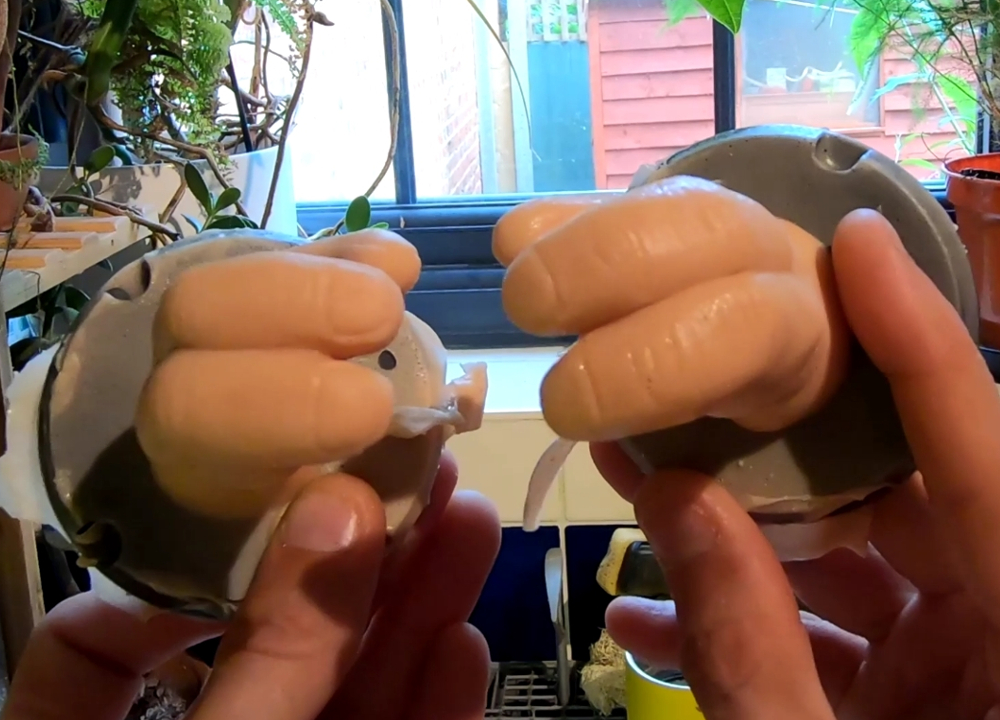
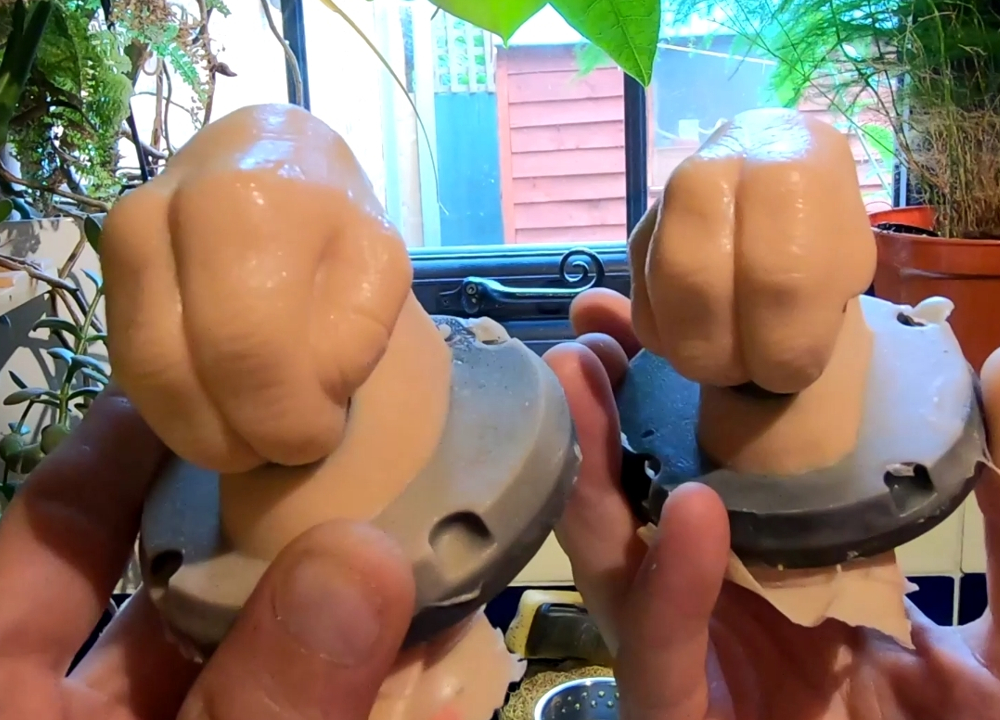
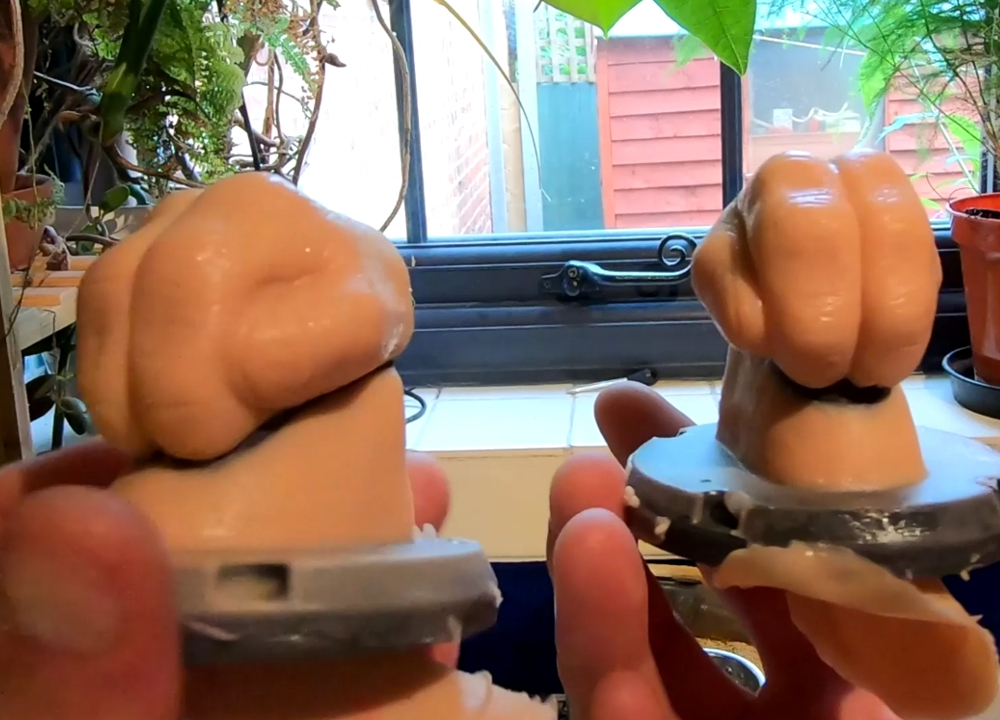
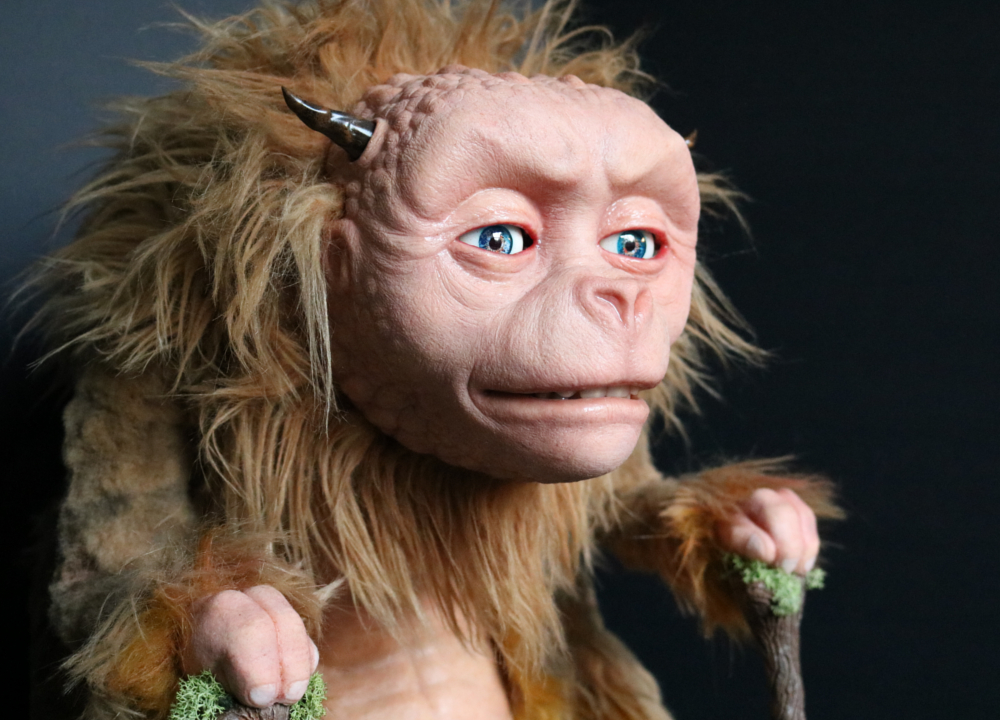
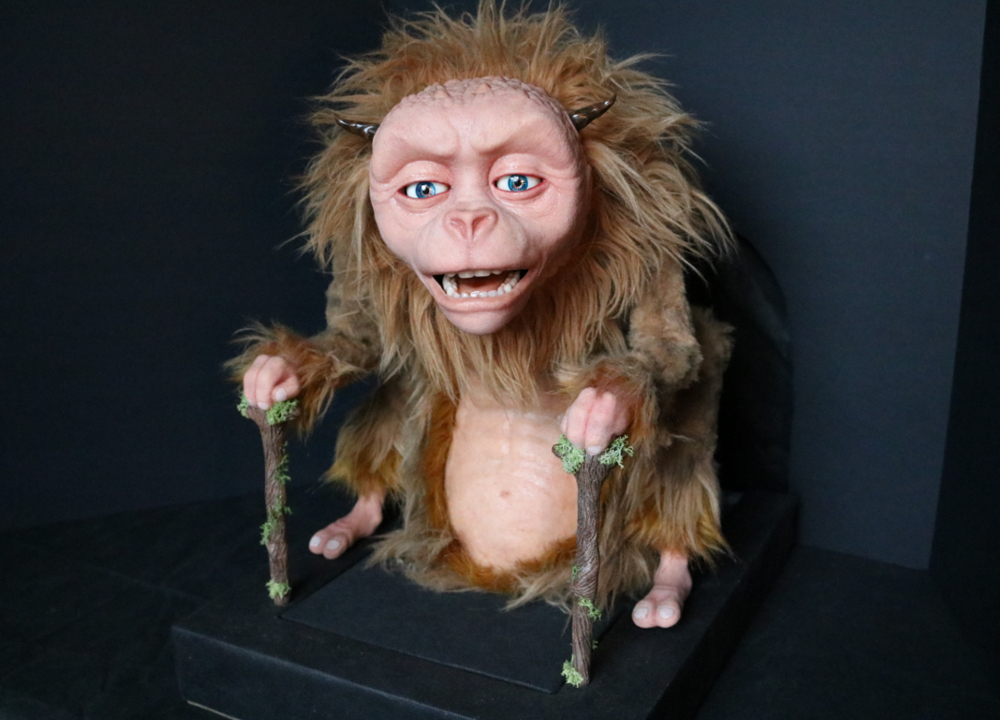
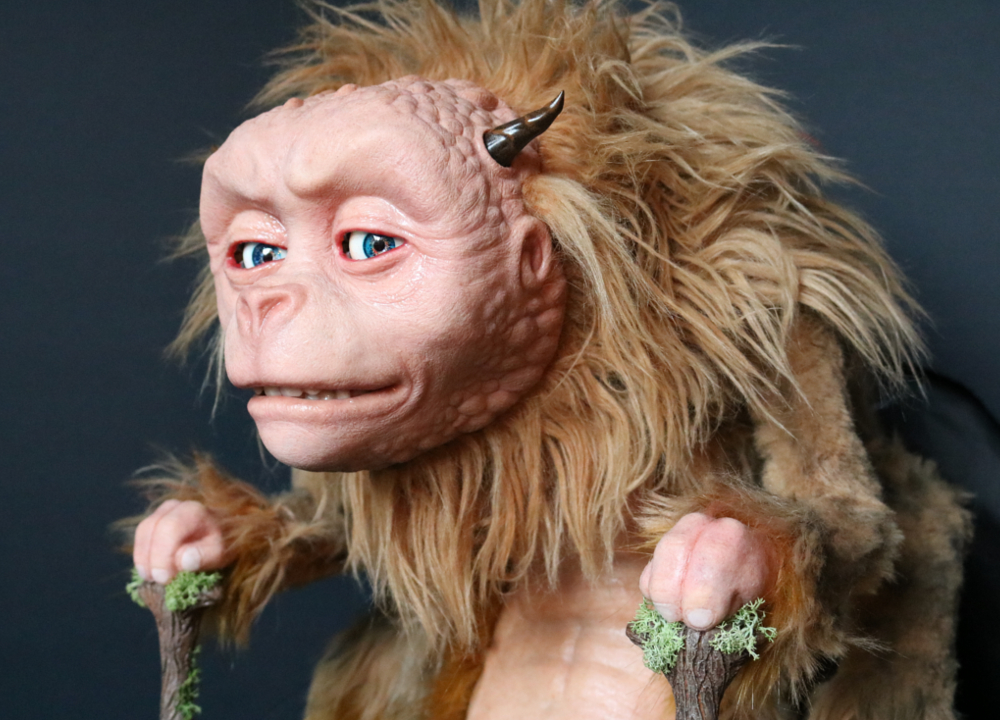
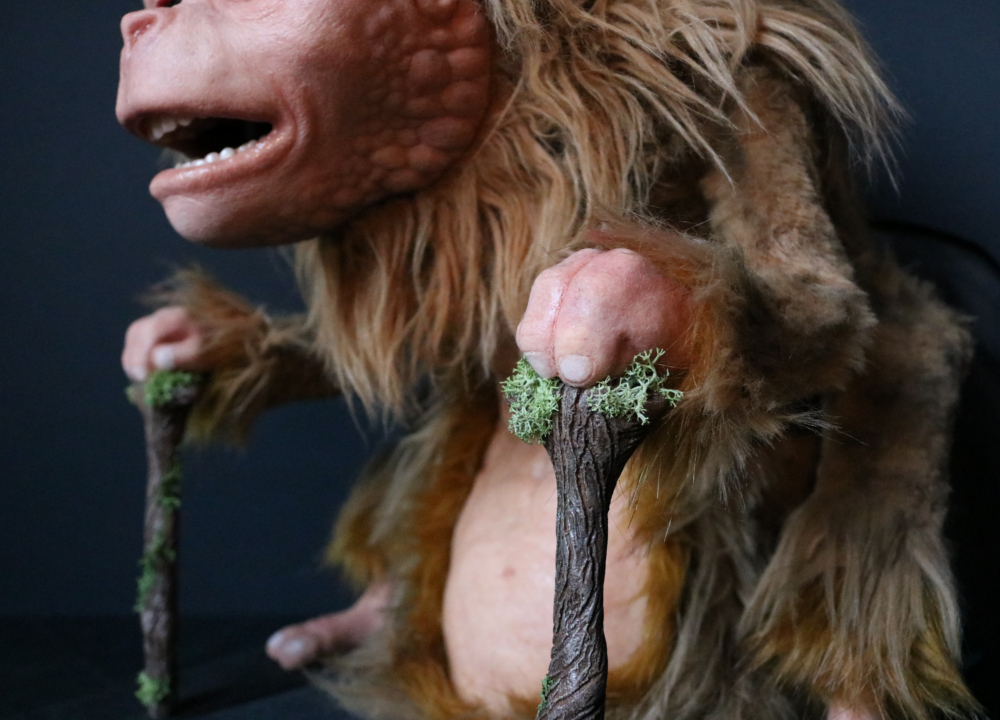
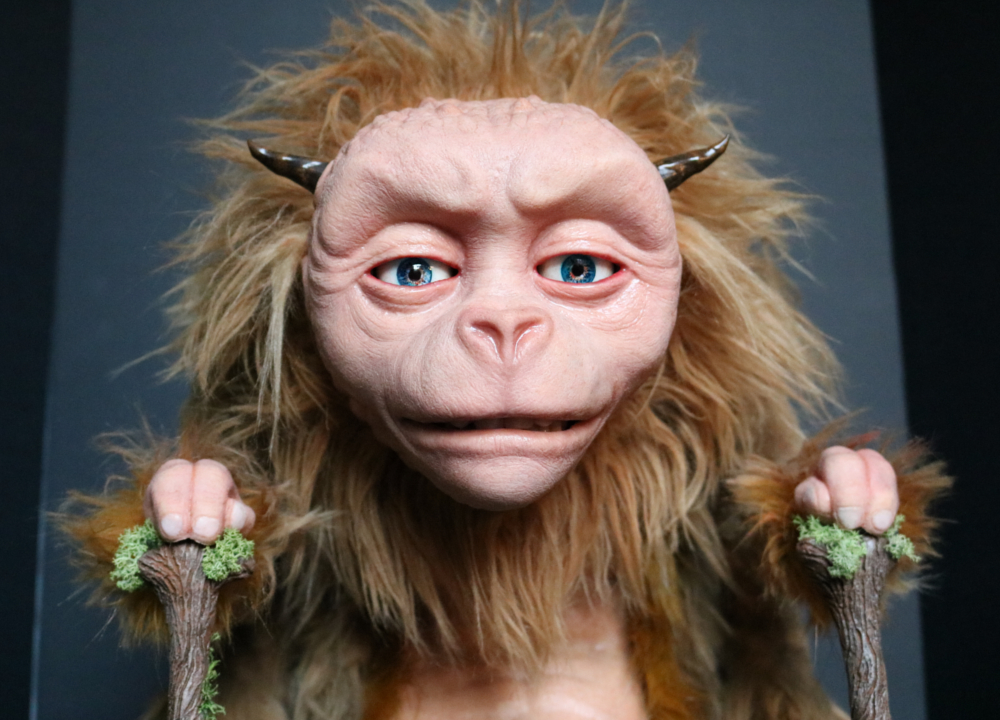
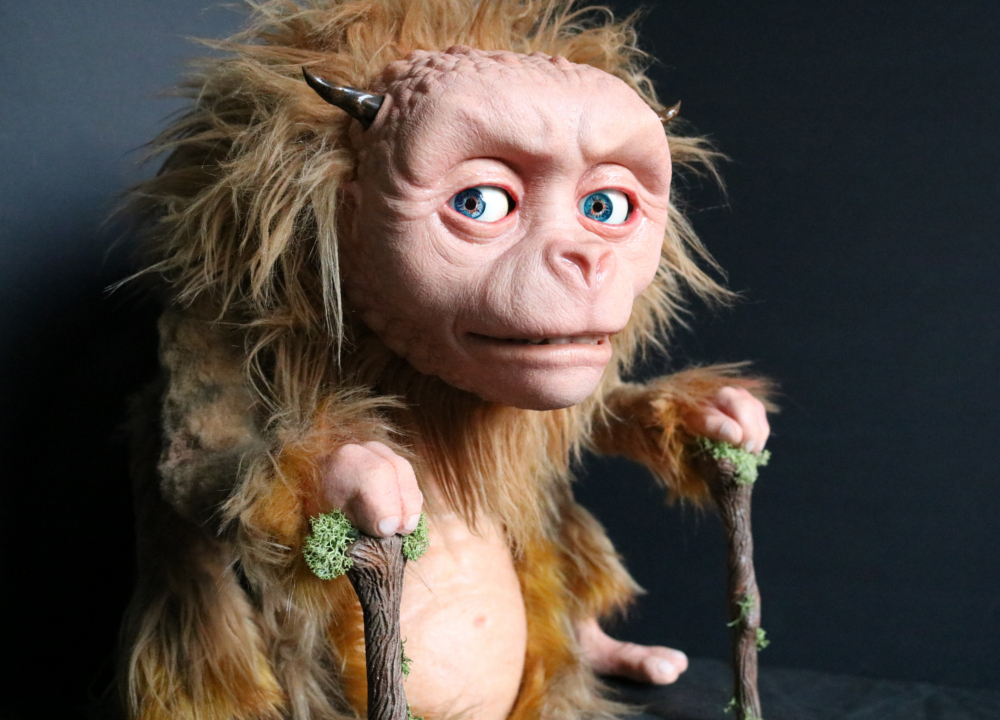
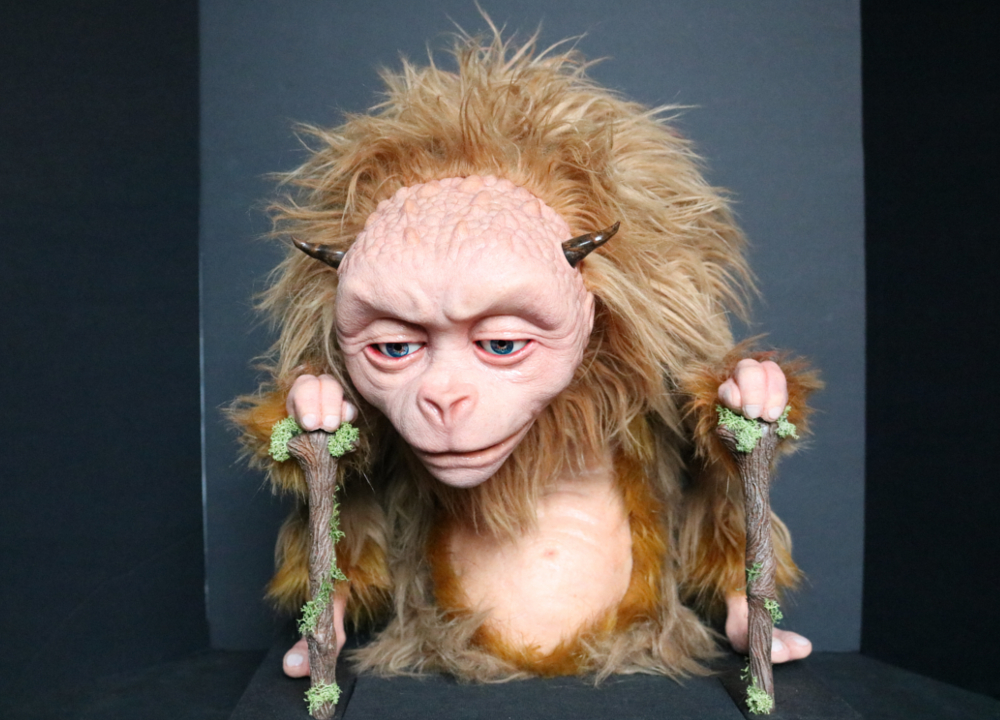
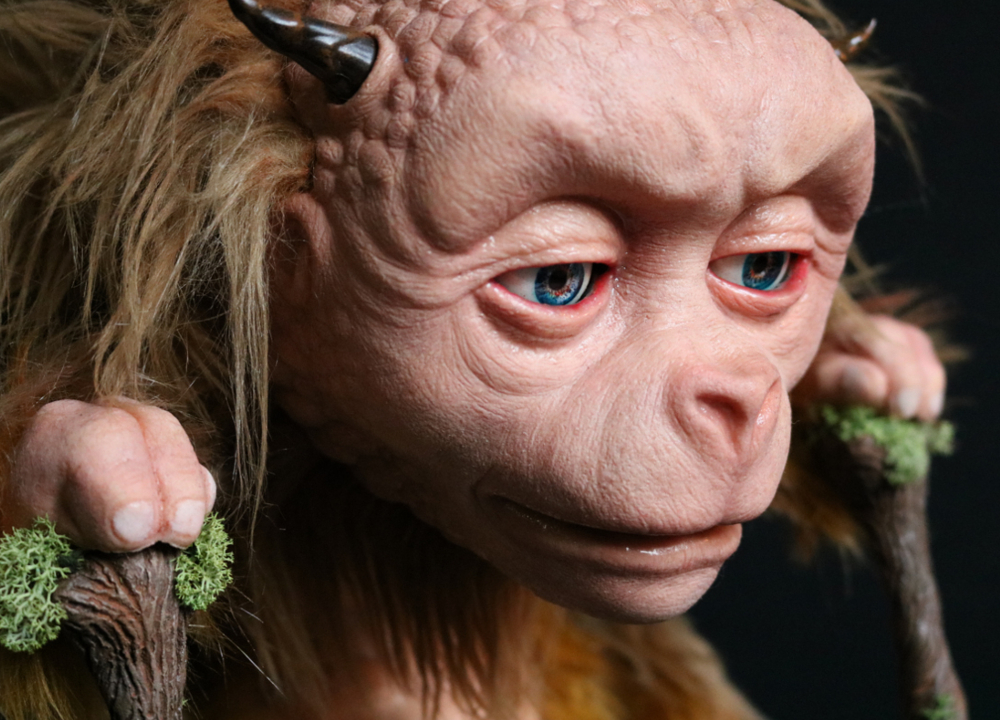
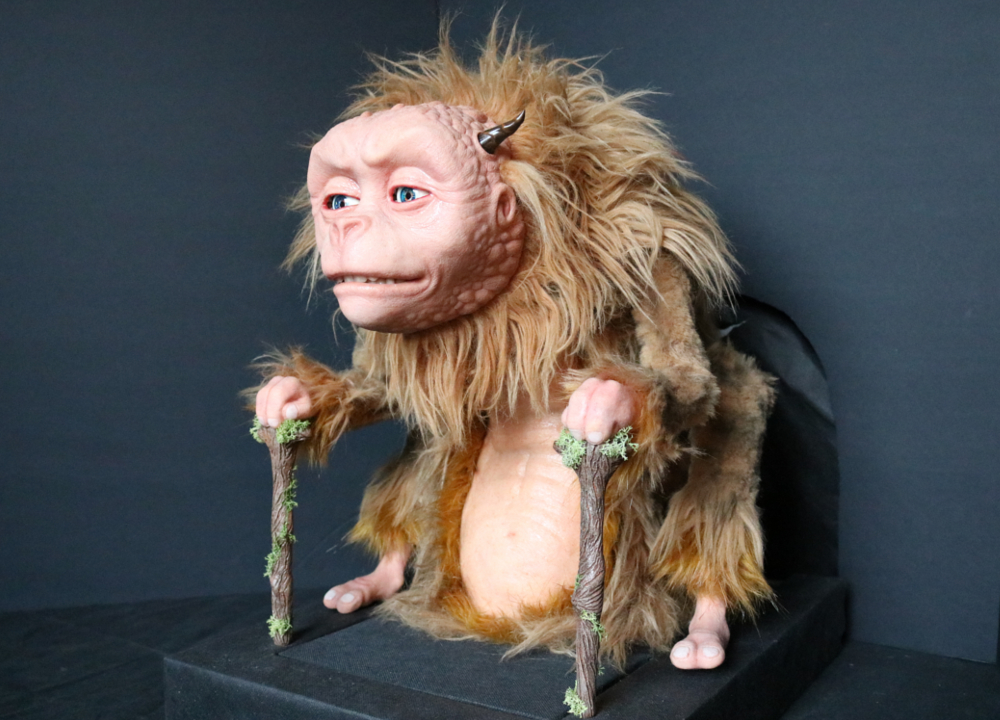
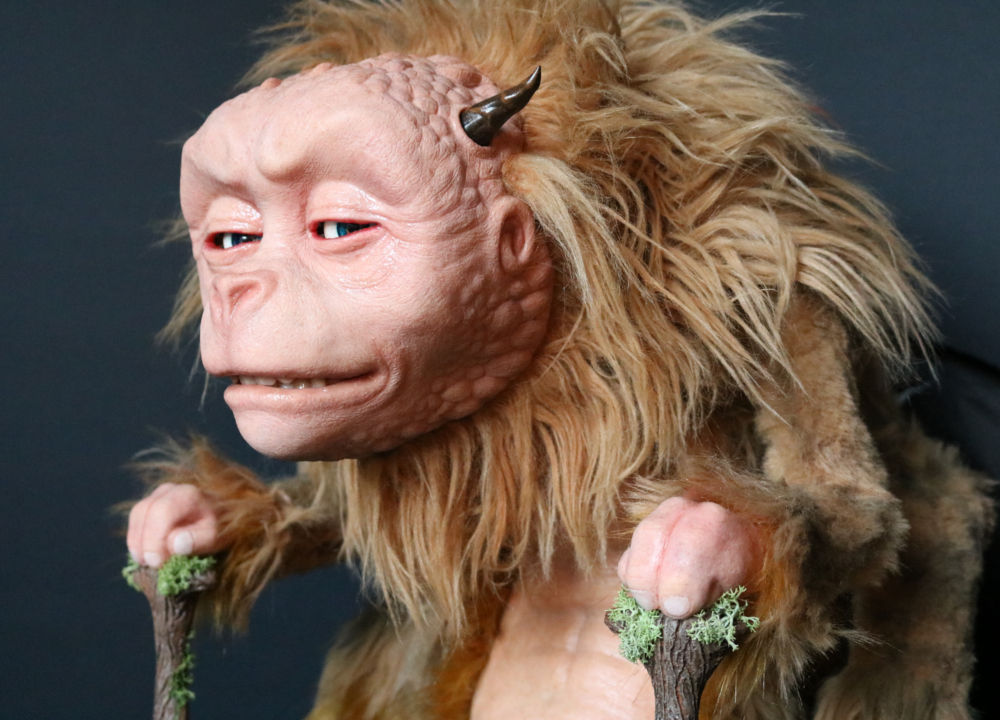
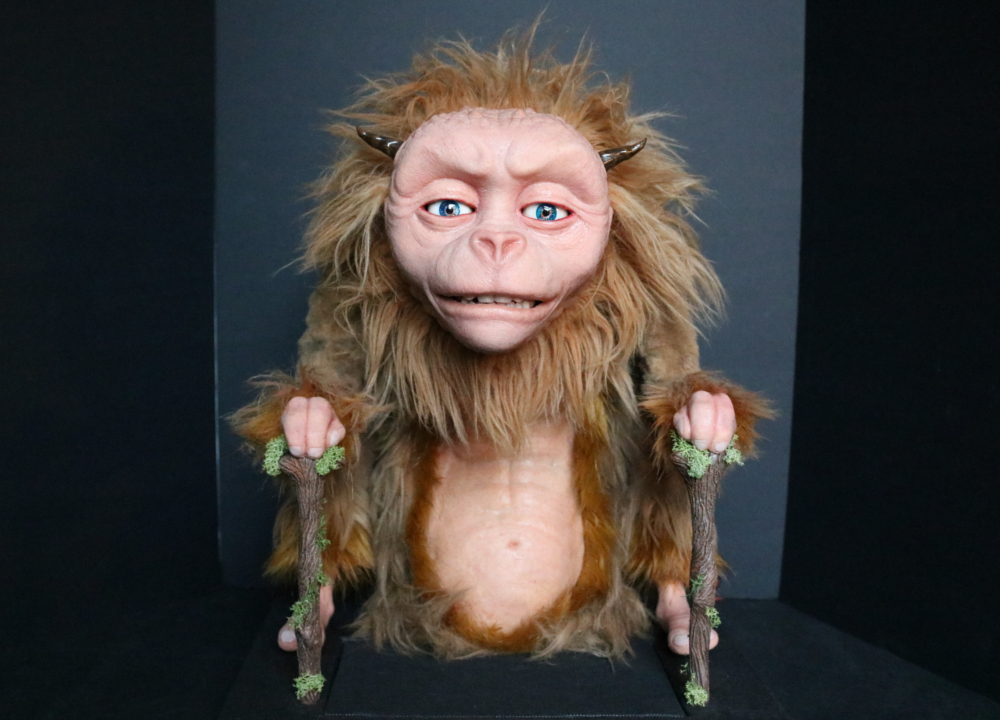
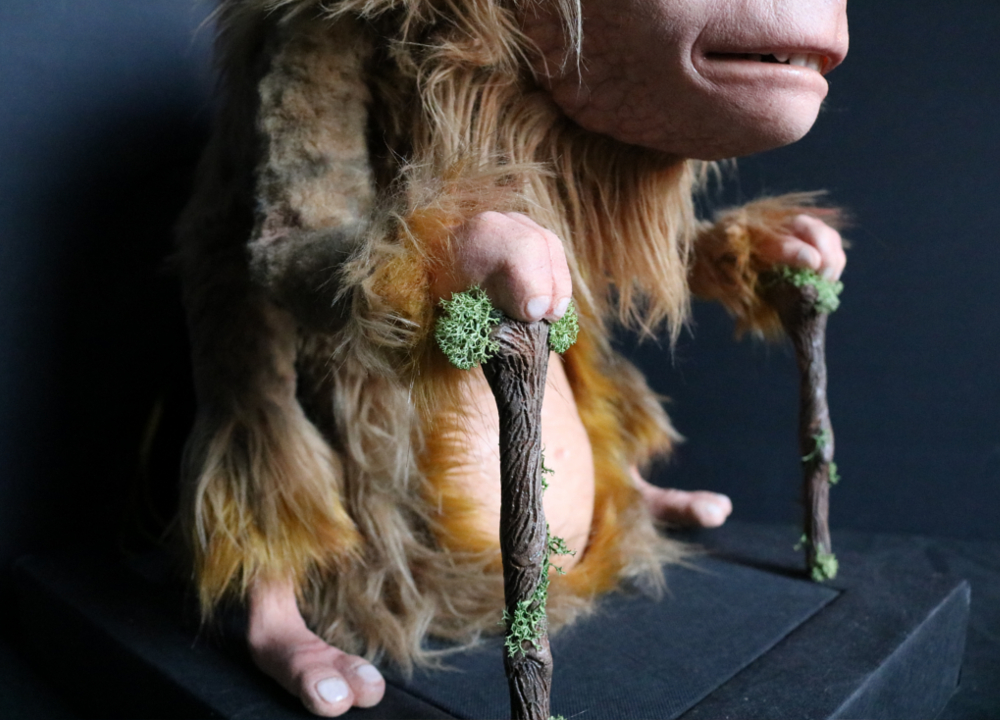
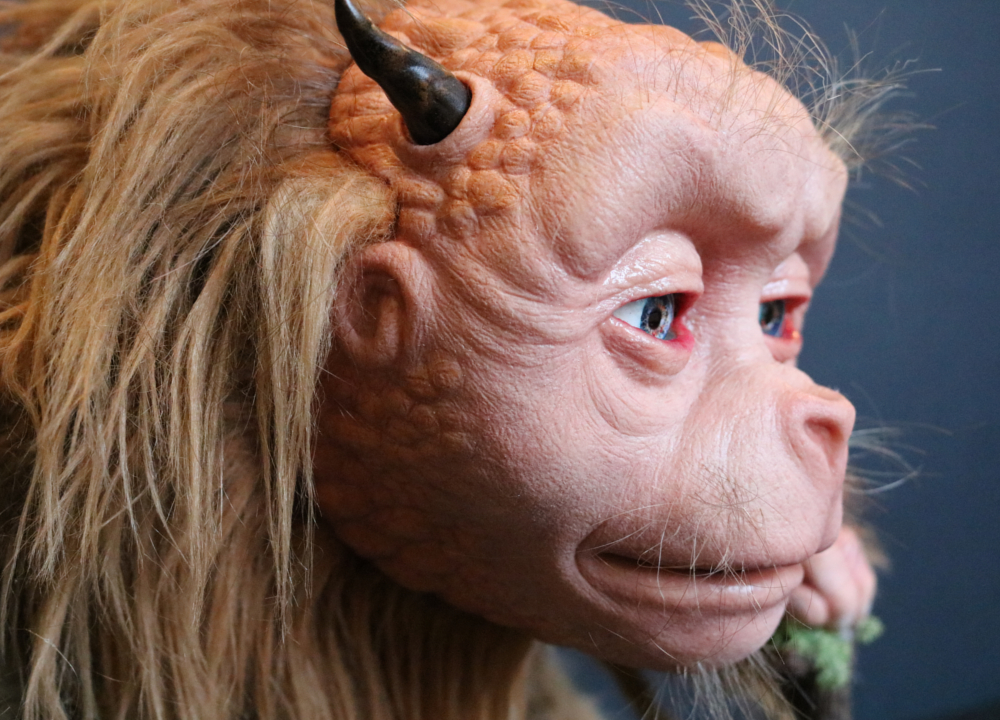
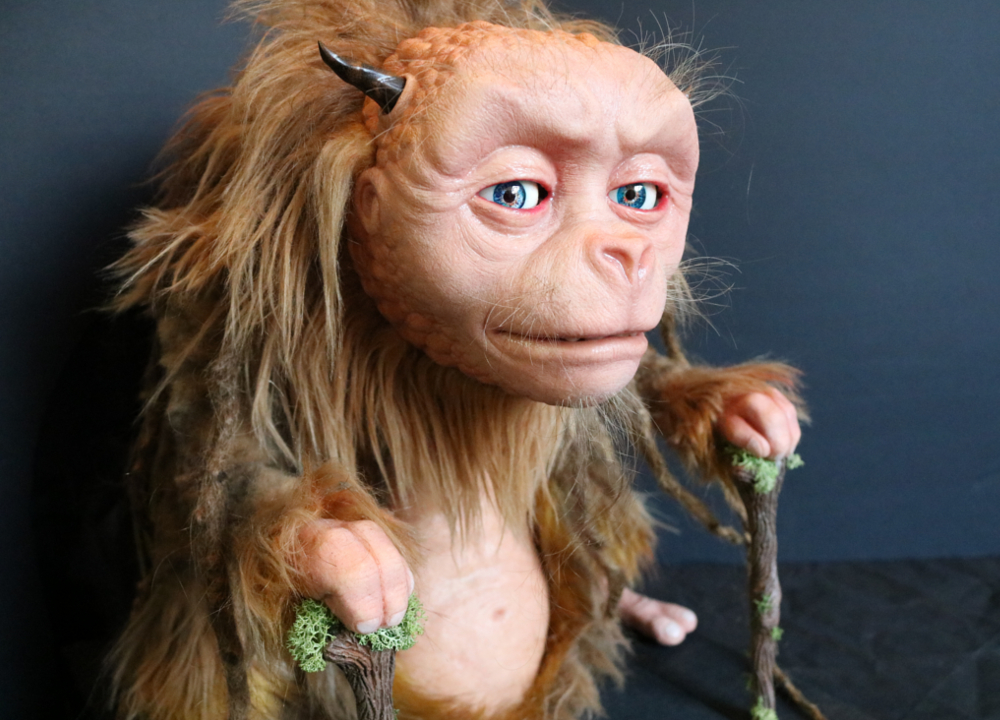
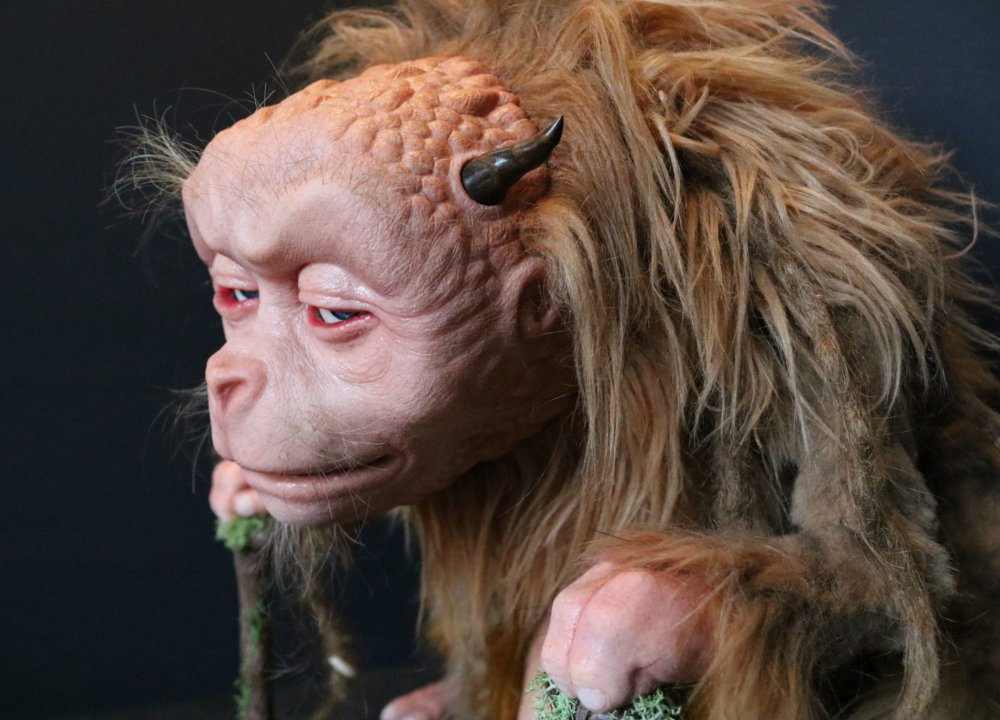
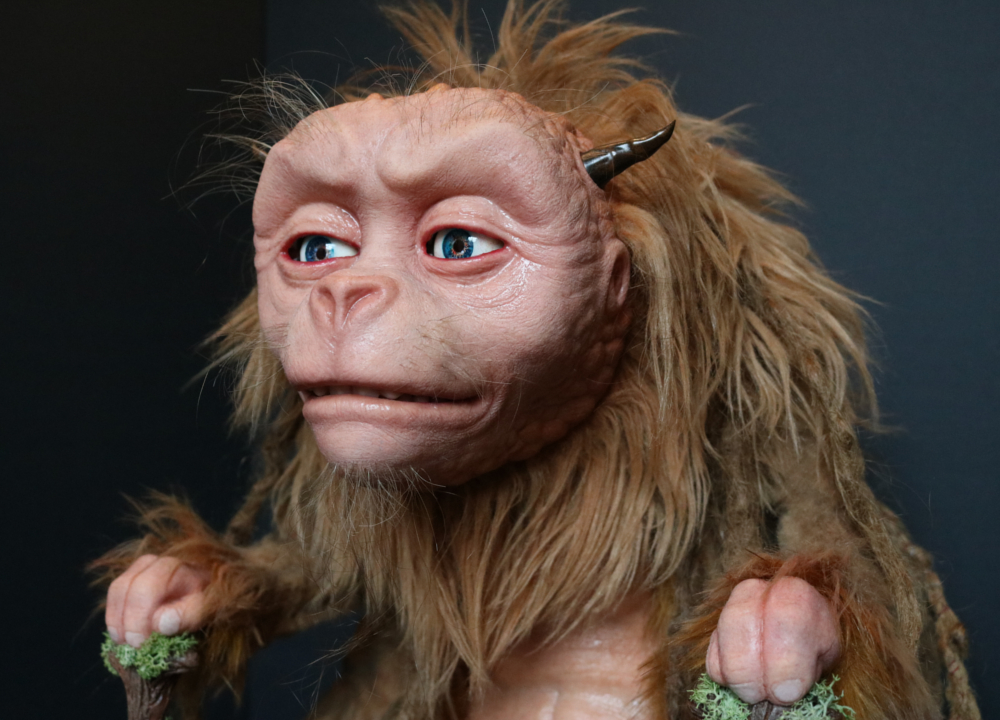
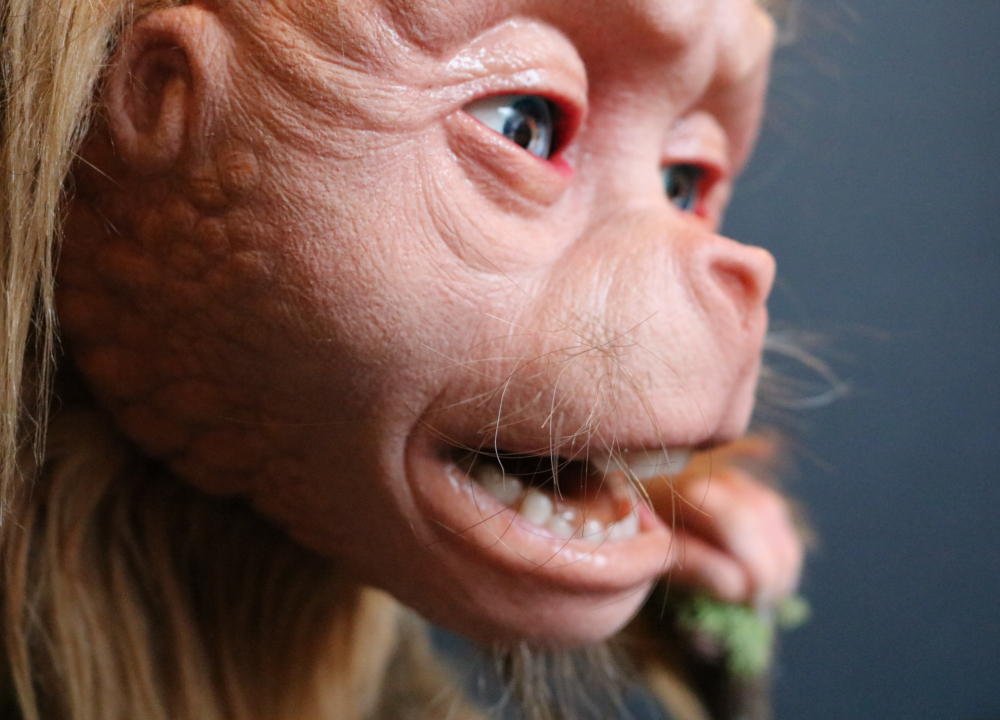
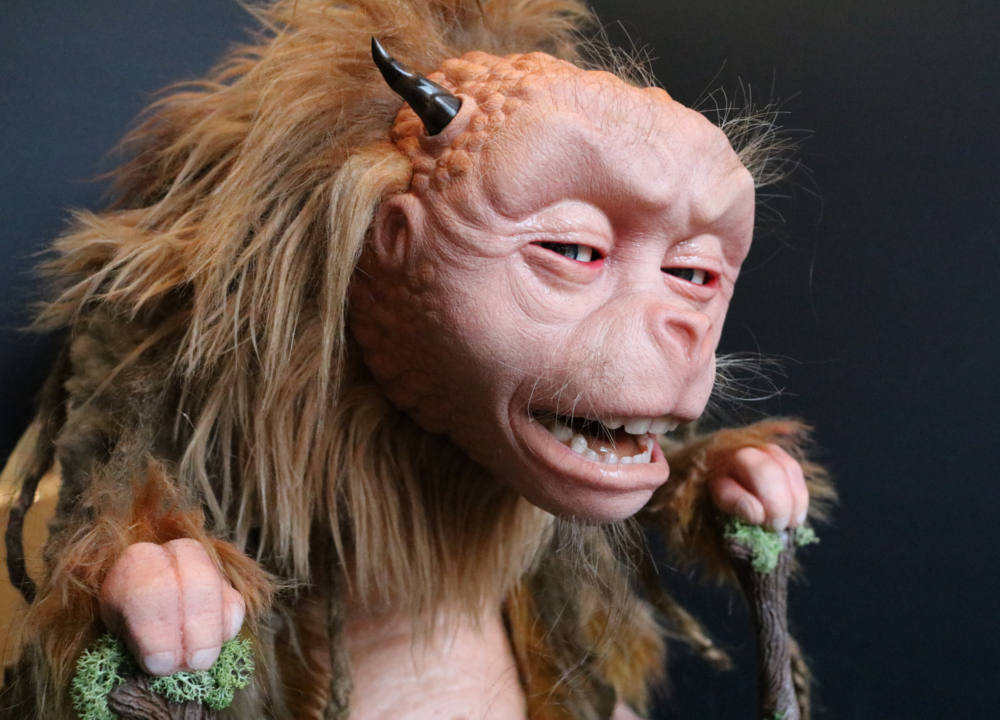
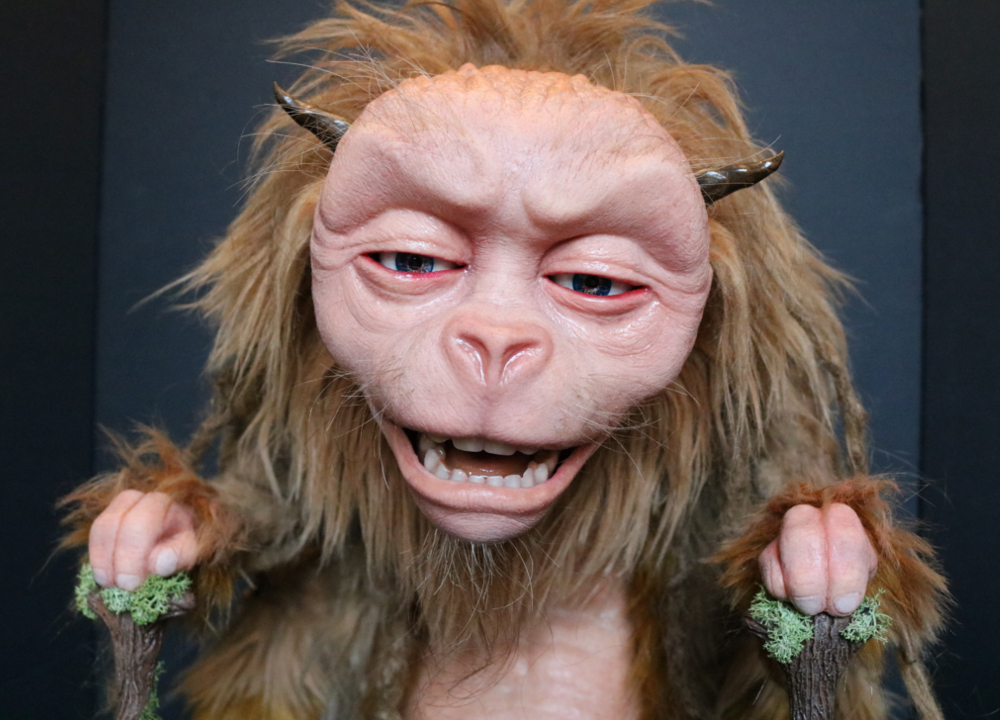
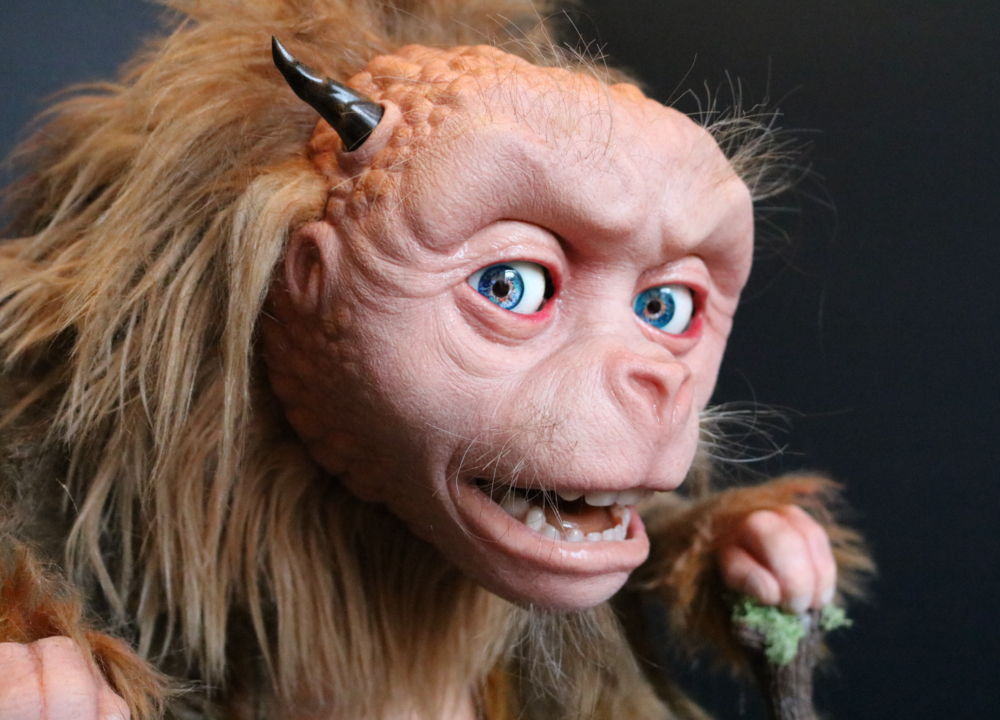
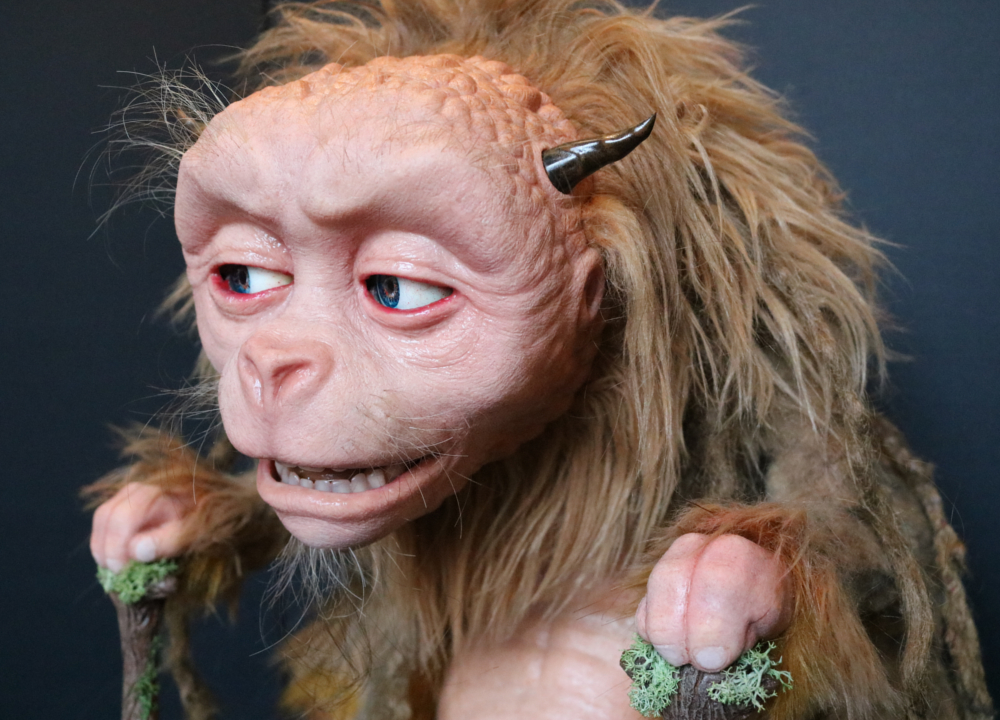
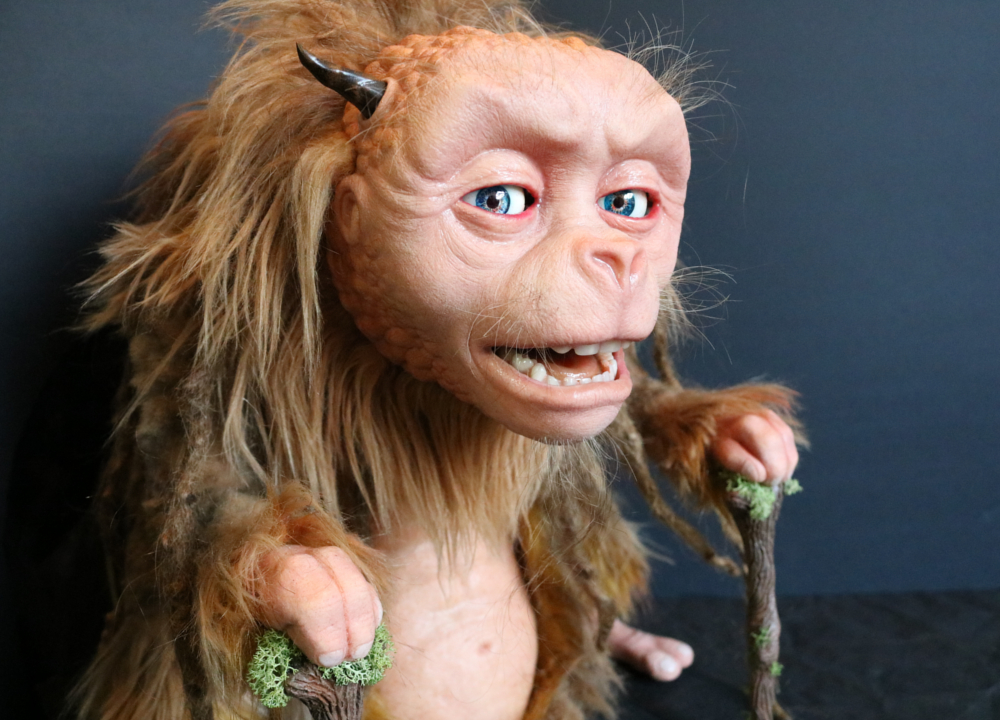
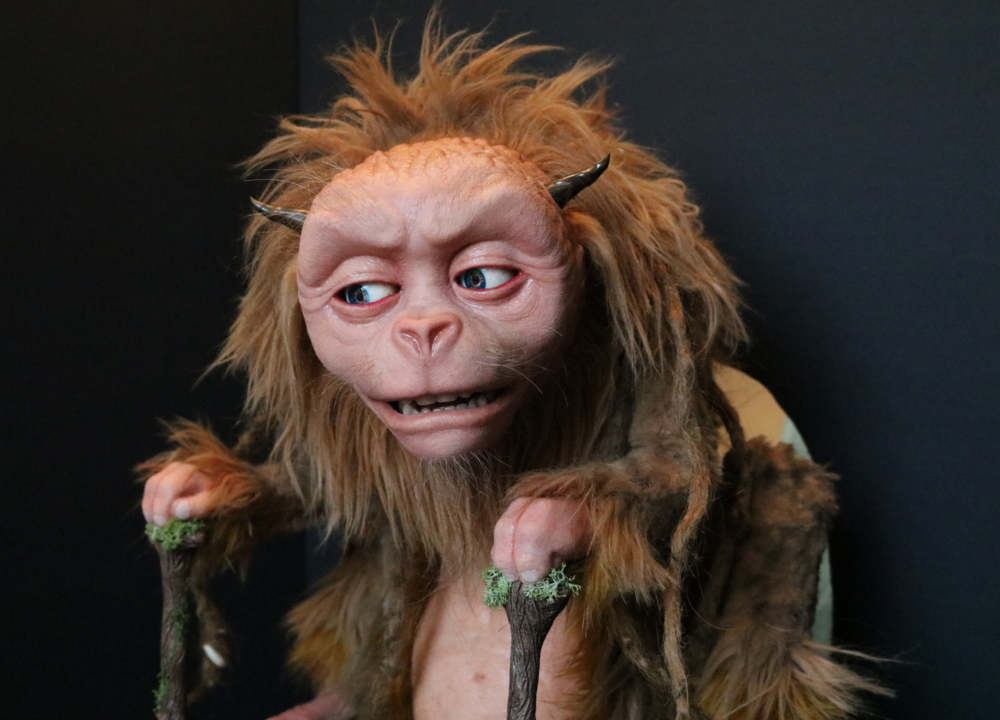
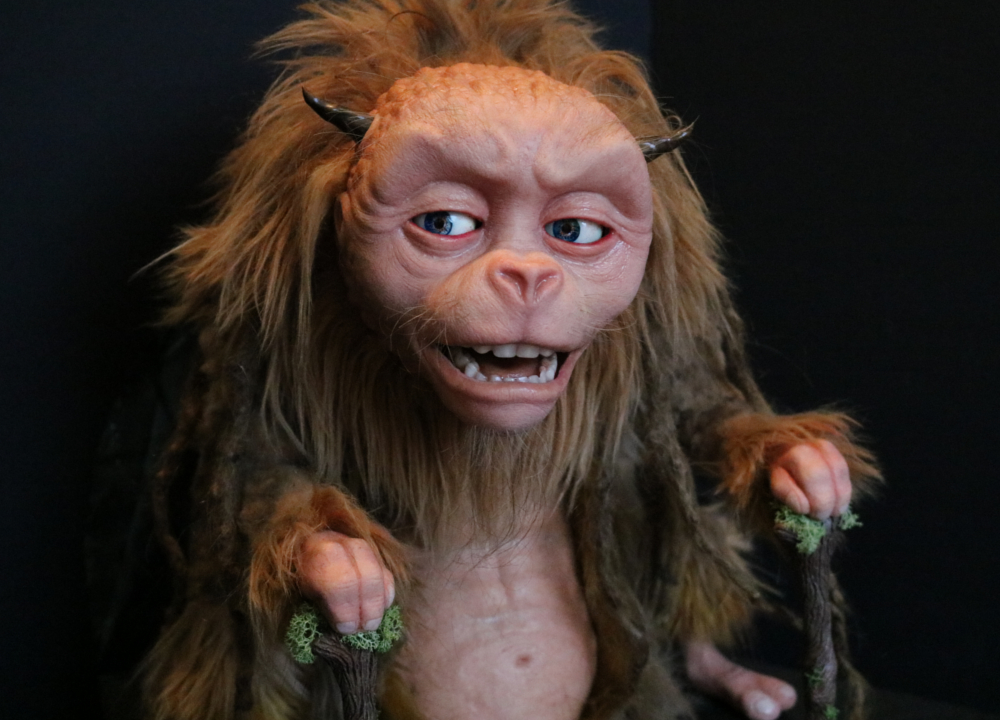
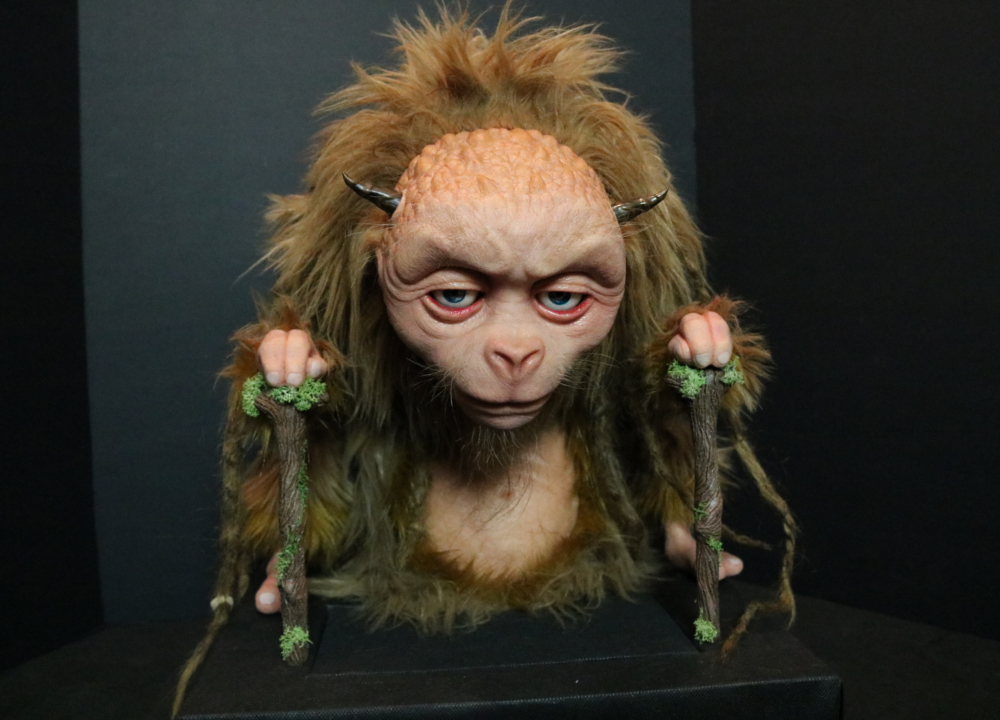
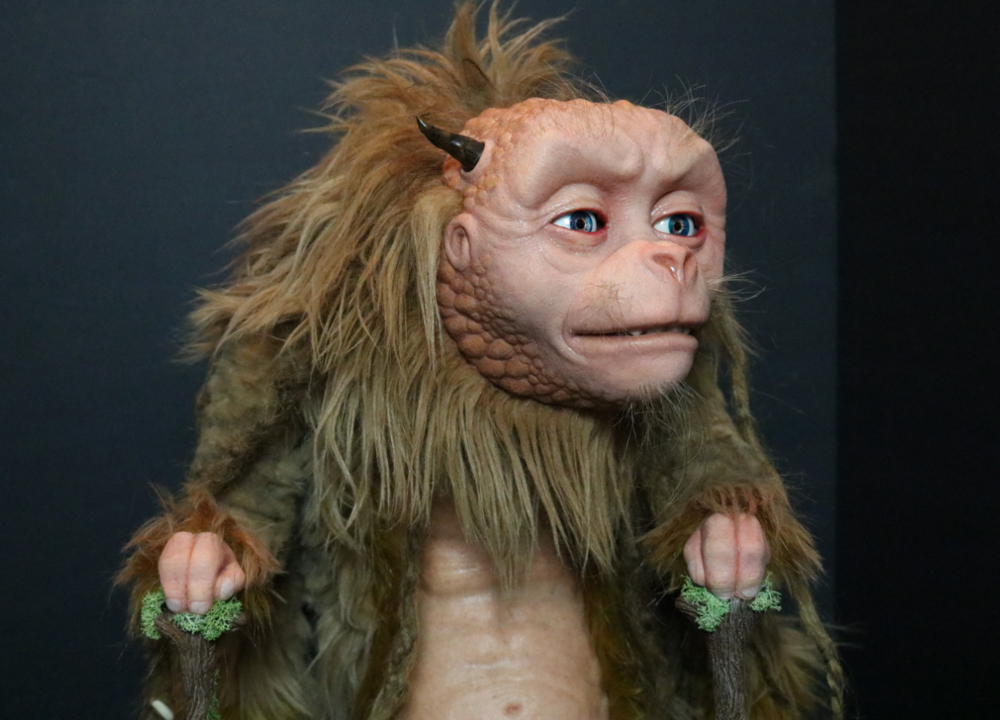
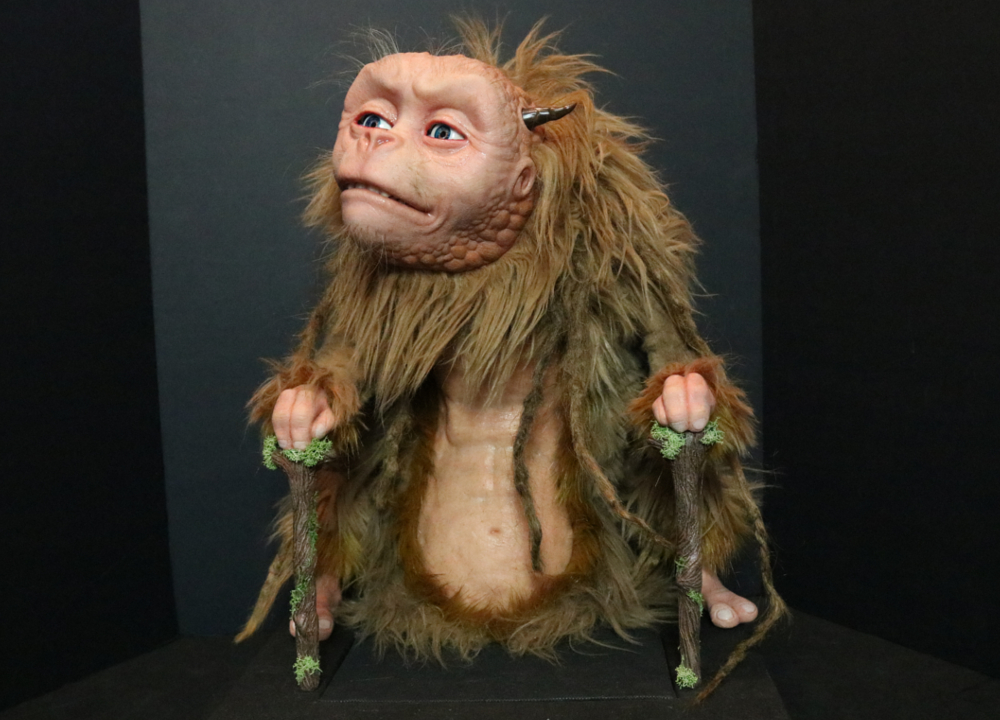
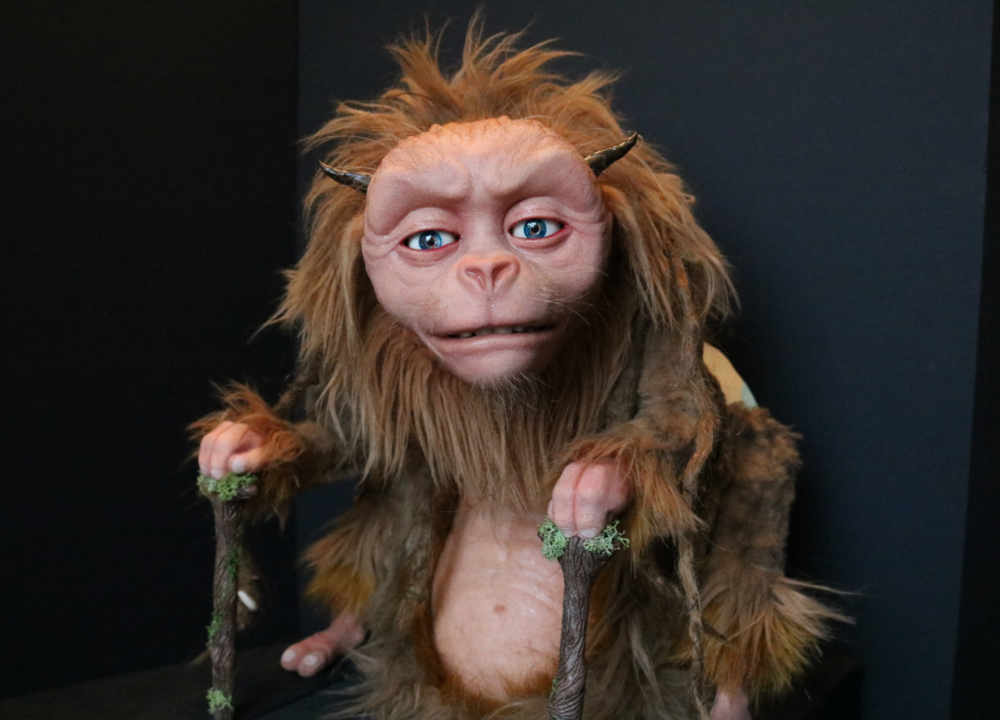
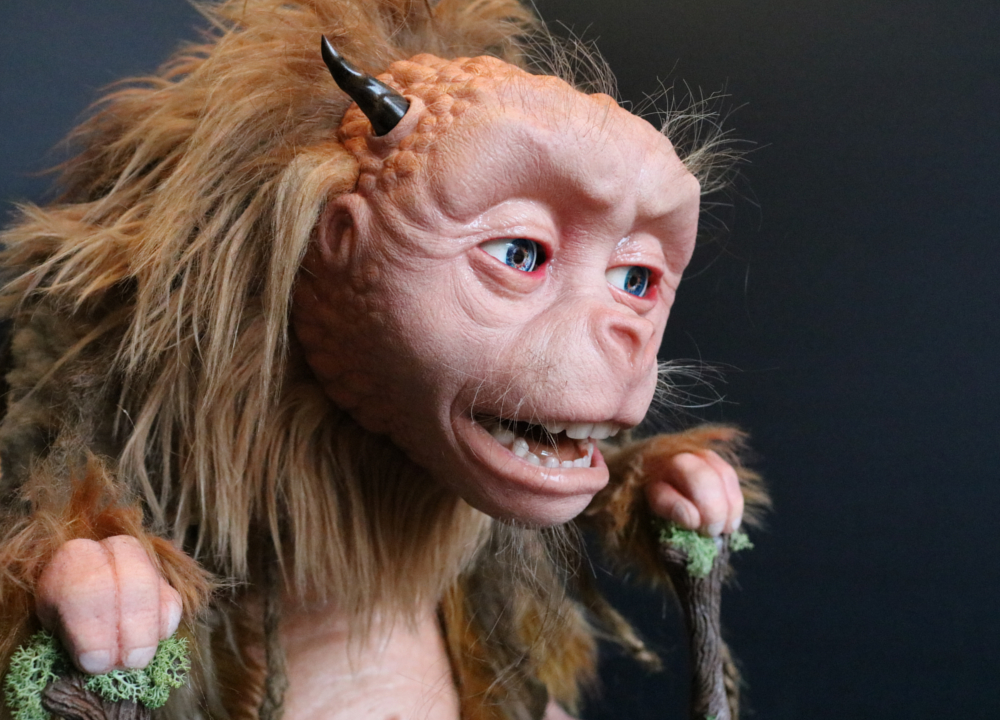
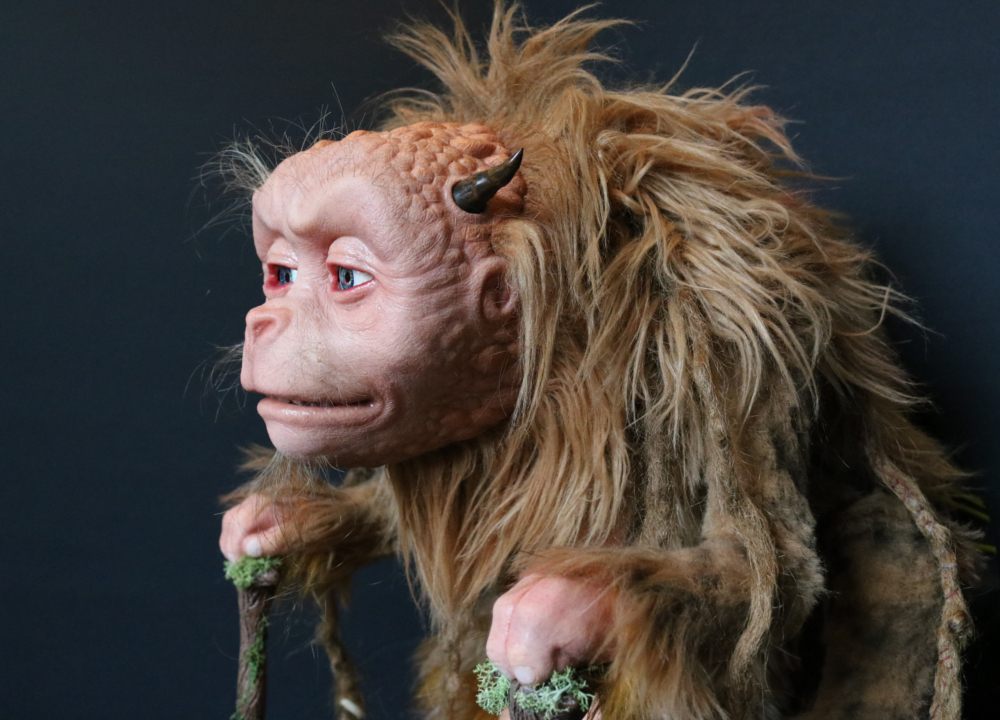
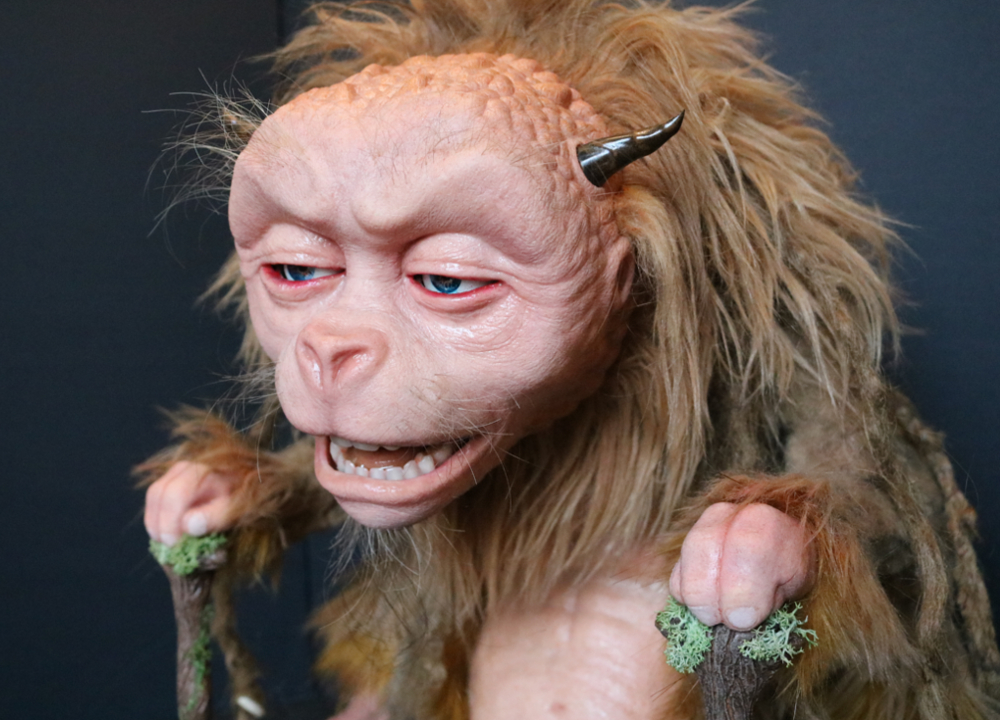
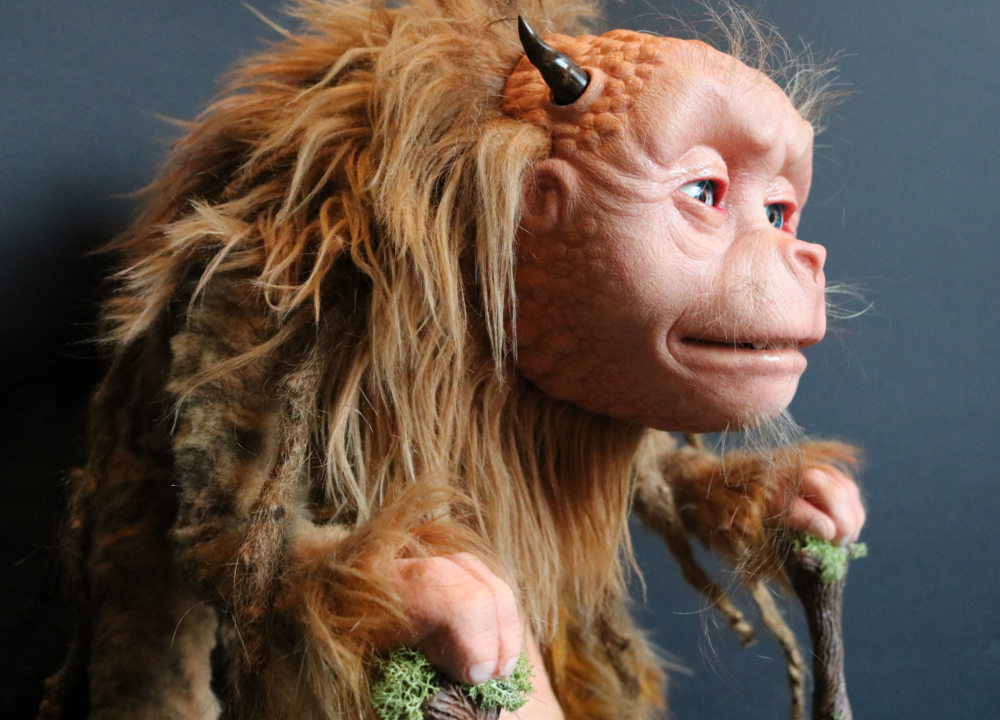
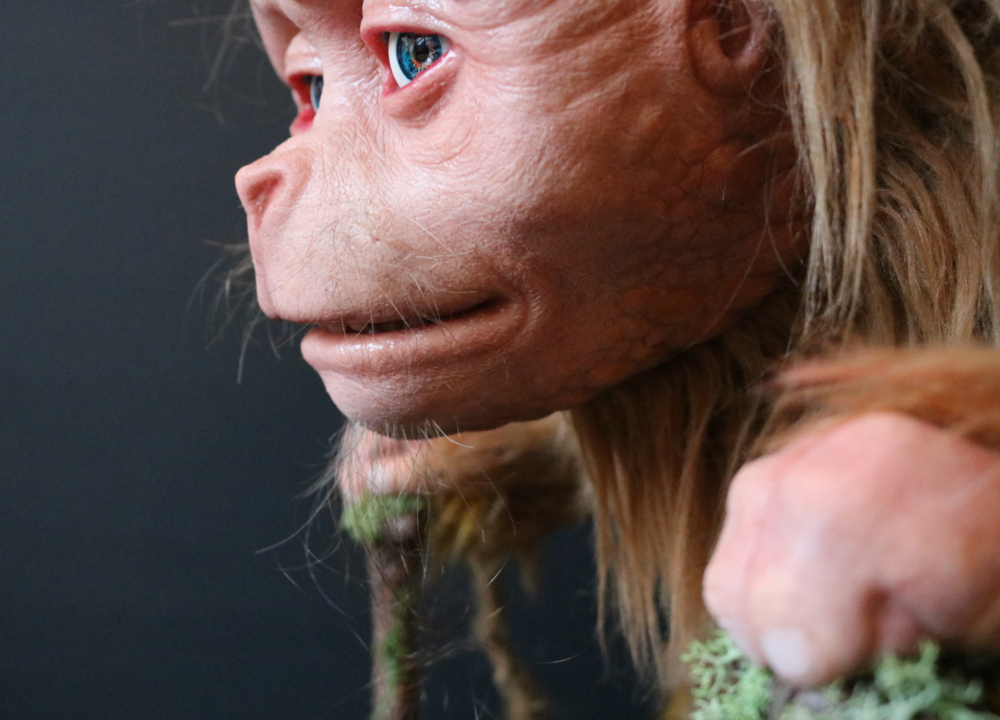
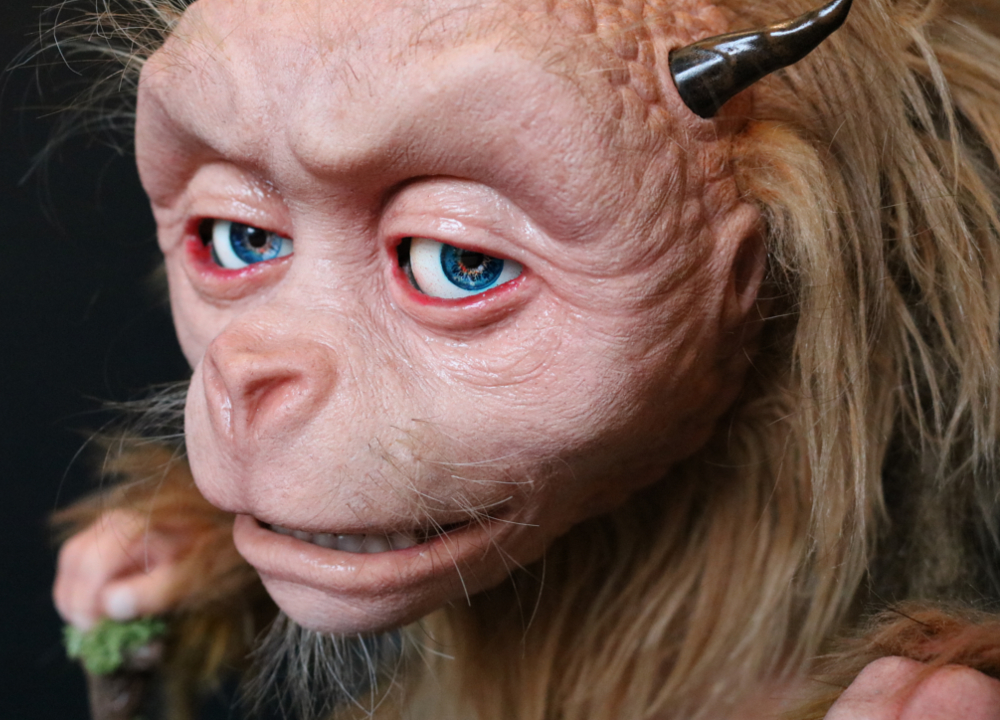
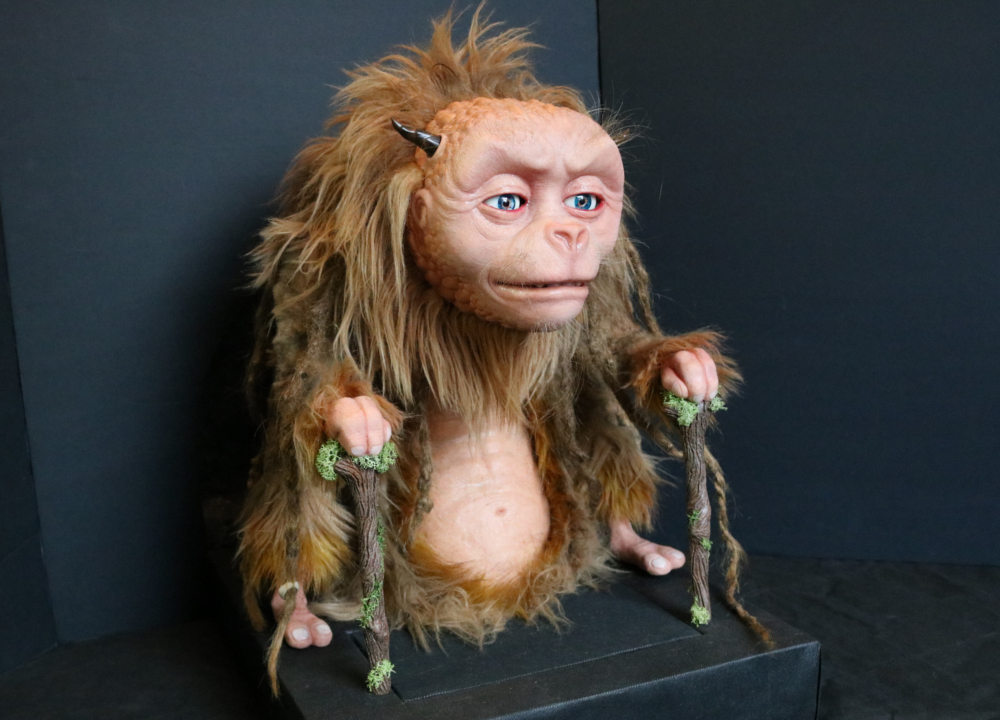
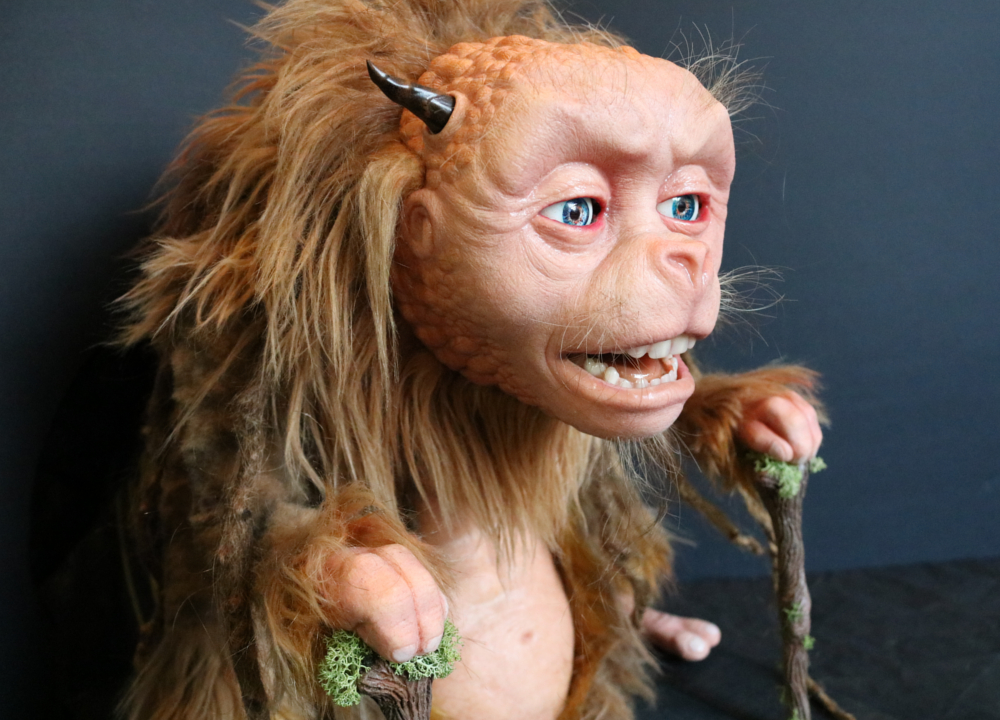
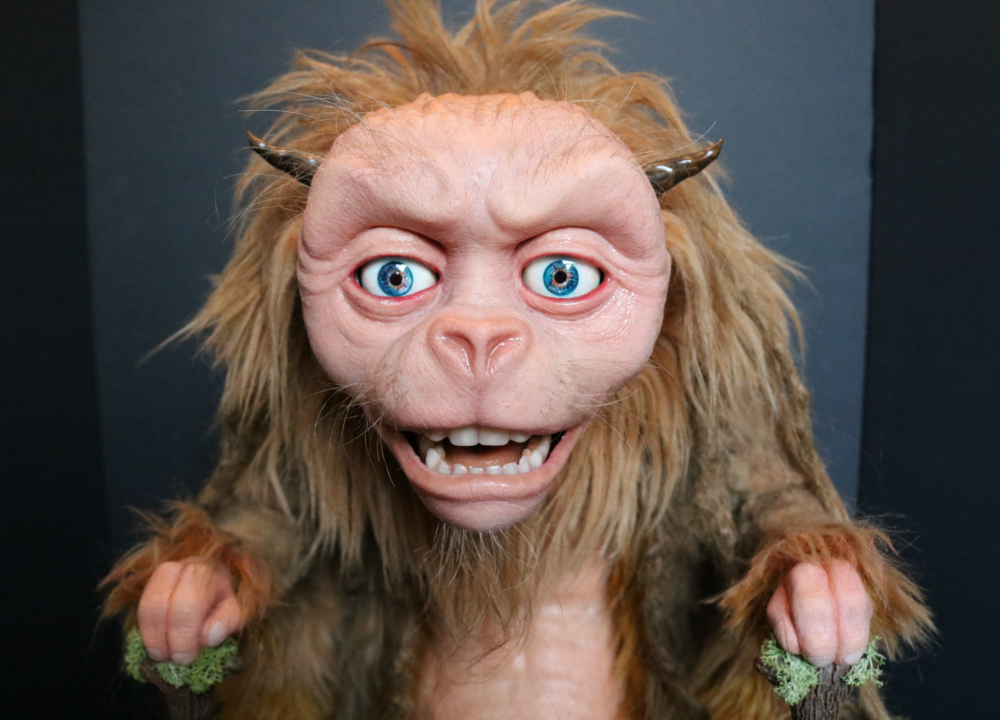
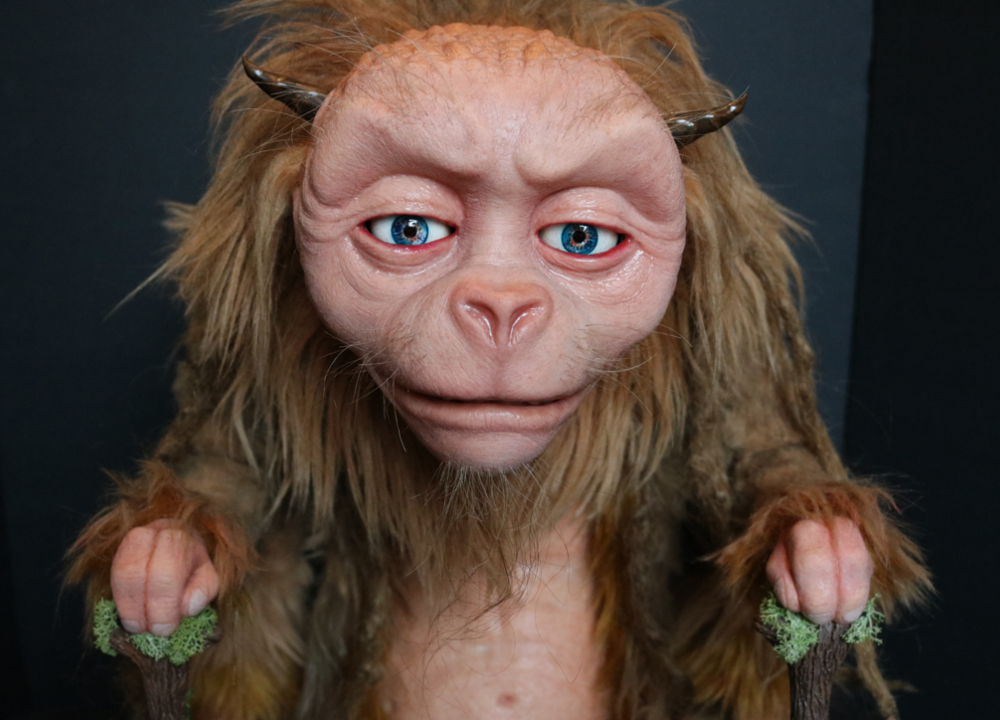
Animatronic Rod Puppet

Making A Jim Henson's Creature Shop Inspired Rod Puppet

Project Overview

I started this project back in February of 2021 to create a portfolio piece that would combine my skill set and demonstrate my interest in creature design & animatronics to prop departments as a means of finding creative work. I filmed most of steps which are covered below to exemplify my efforts as a novice learning and combining the various techniques that go into something like an animatronic puppet. For a more indepth look, a playlist can be seen on my Youtube Channel.

Monsters In The Making

Ever since I saw 'Labyrinth' and 'The Dark Crystal' as a child I've been completely captivated by creatures. My impressionable infant mind was warped forever seeing those beautiful and terrifying little things. Clearly leaving some long term damage, for years I've wanted to make an animatronic puppet of sorts but I never knew how. Over the course of nine months I set out to make a background character from scratch that wouldn't look out of place in a Jim Henson-esque production.

Creating A Creature

Character Design:

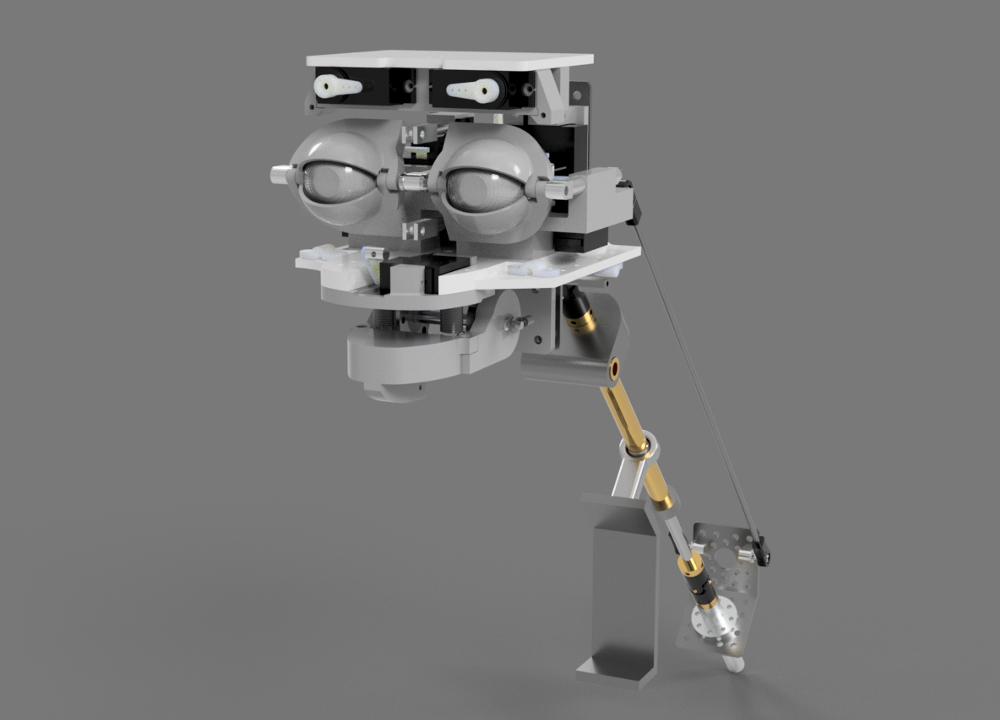
Although I had a rough idea in mind of what type of character I wanted to make, I figured it'd be helpful to show my concept to others and also at least give me a visual basis to plan out the functionality & general design of the puppet.

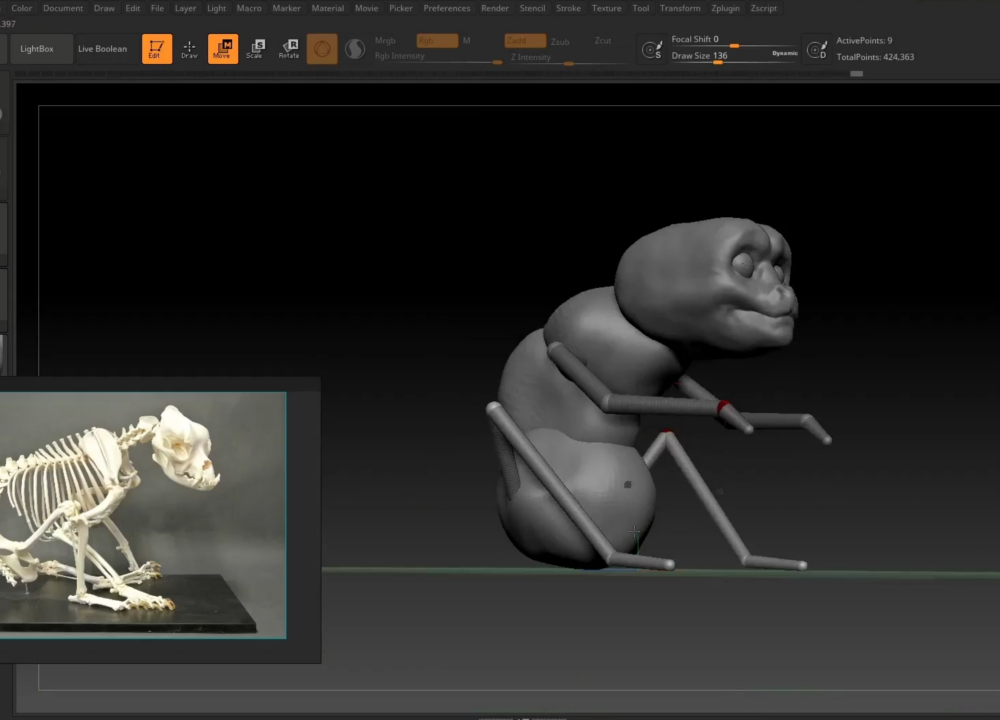
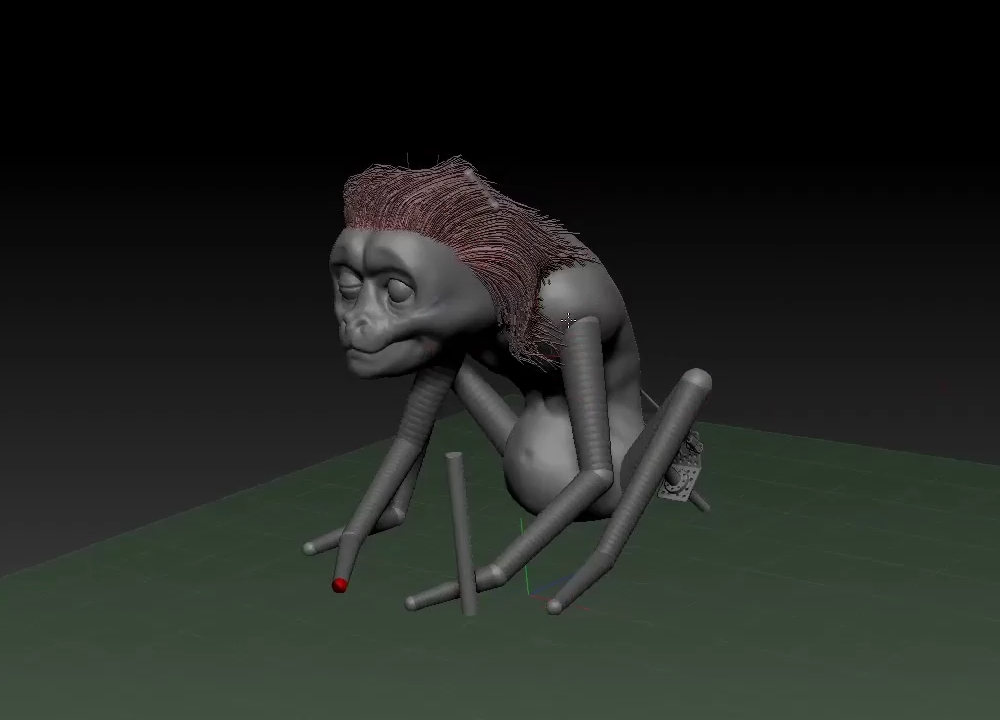
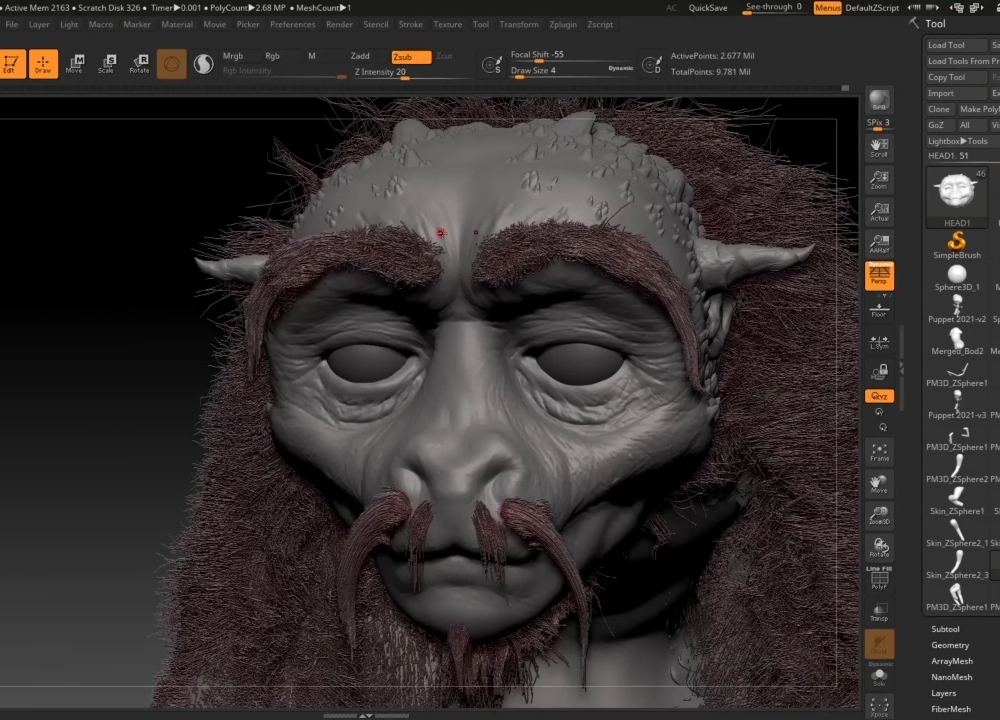
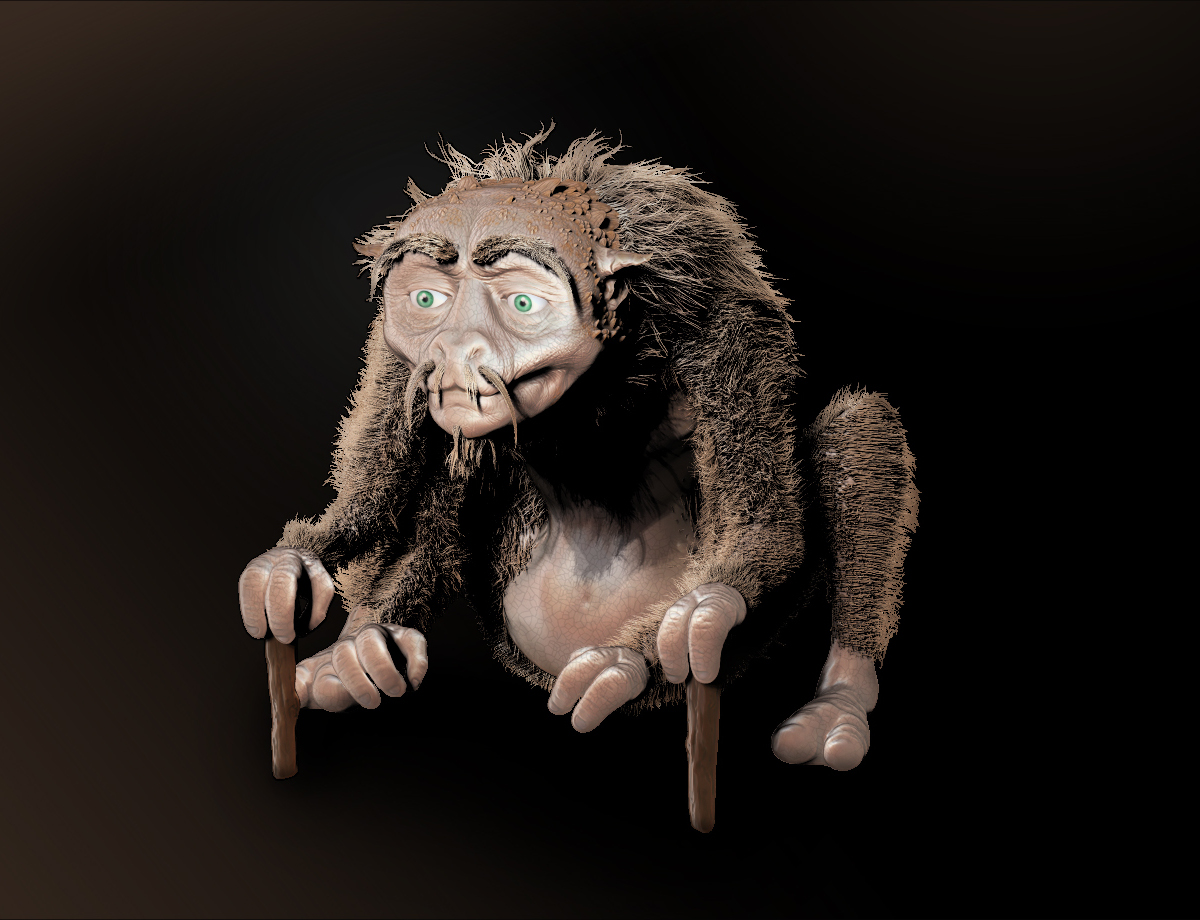
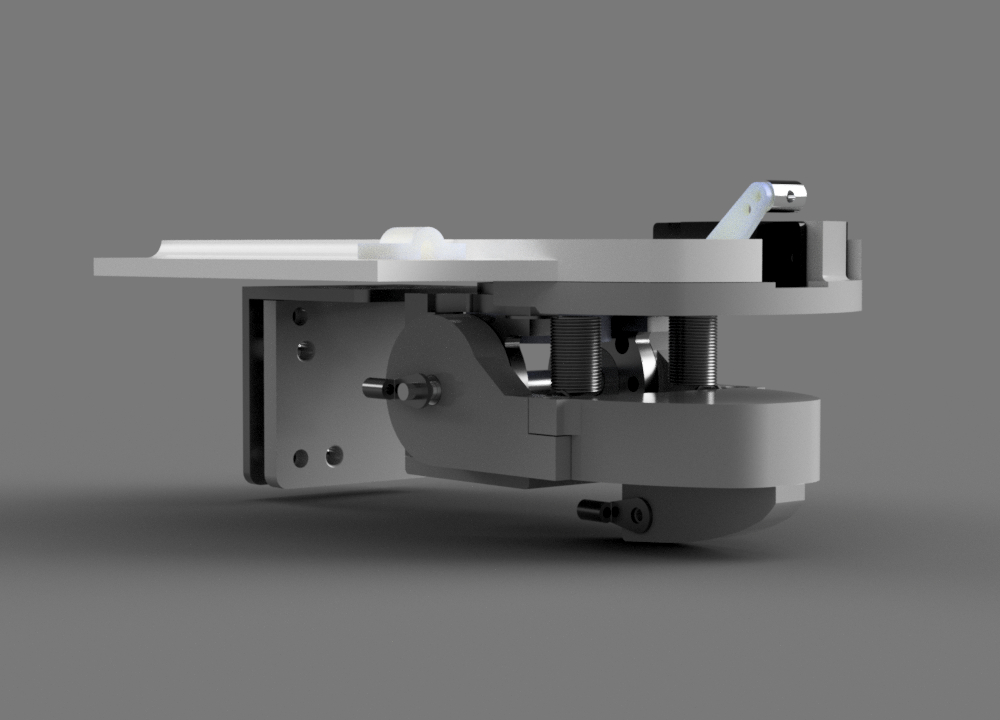
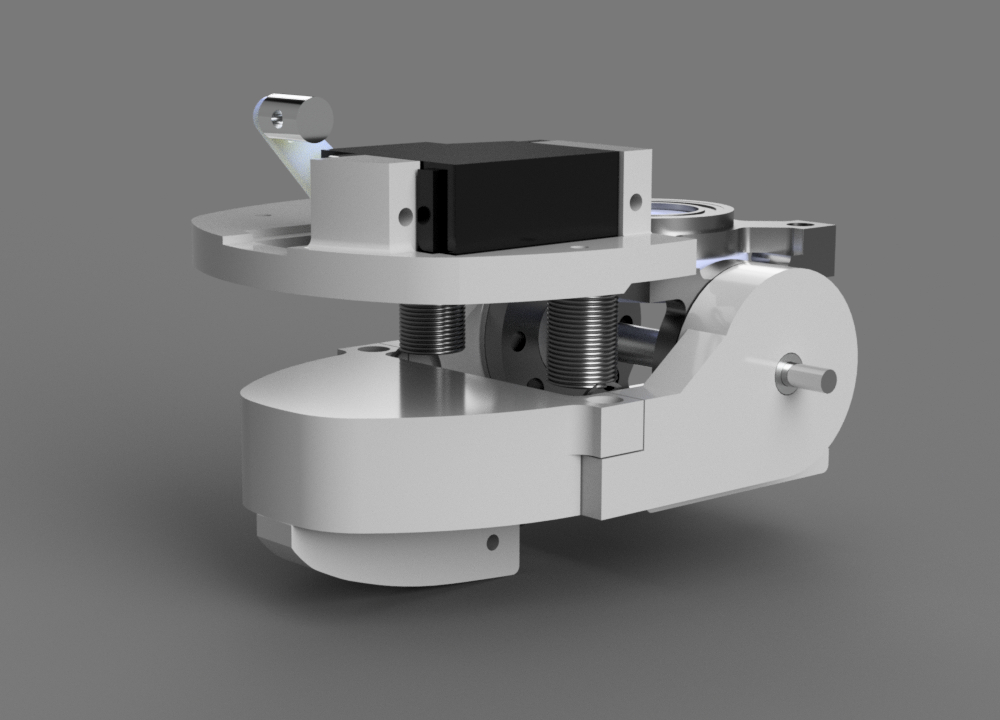
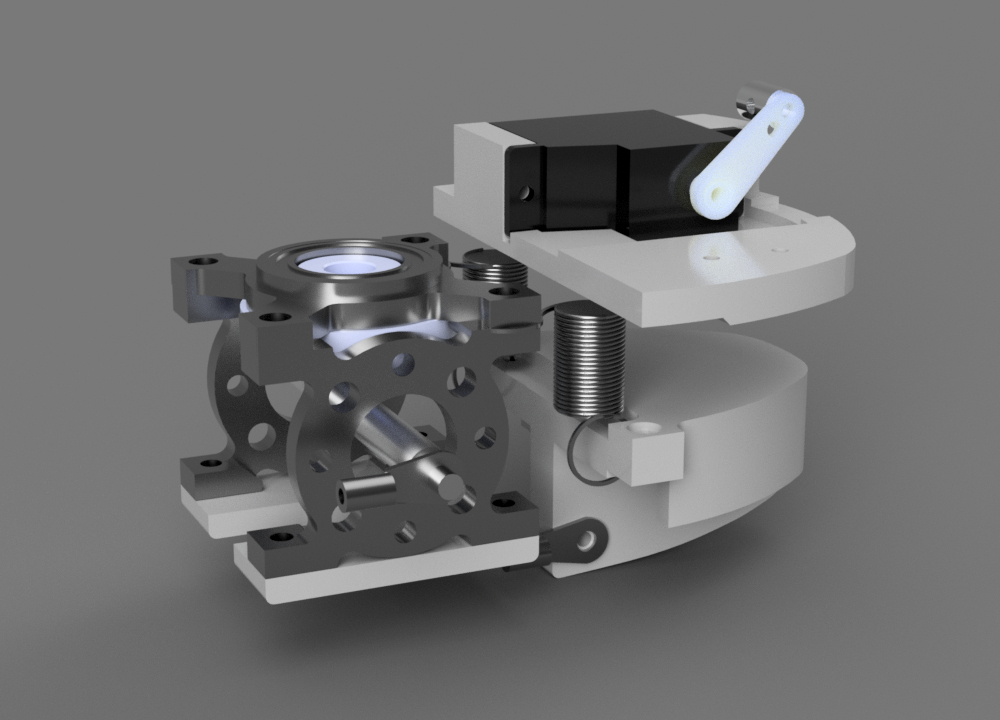
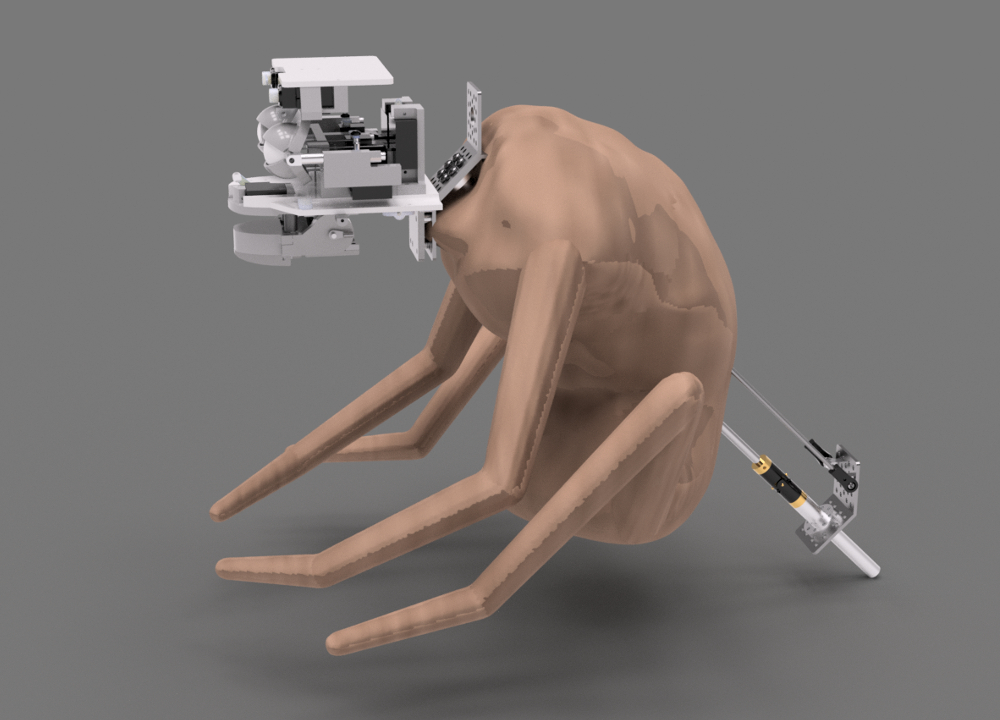
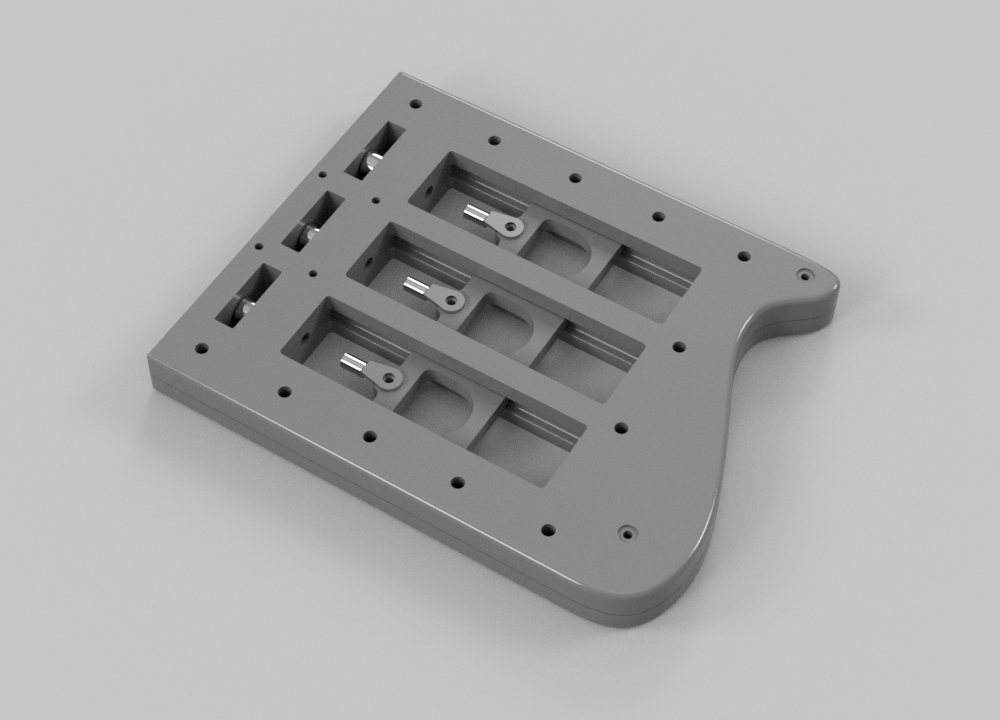
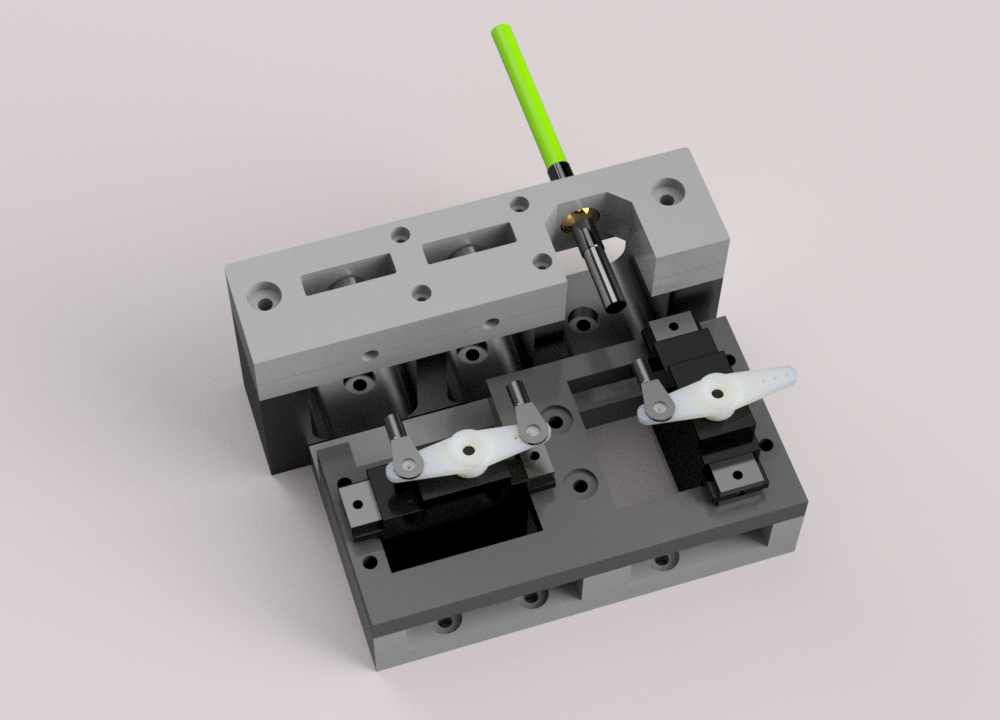
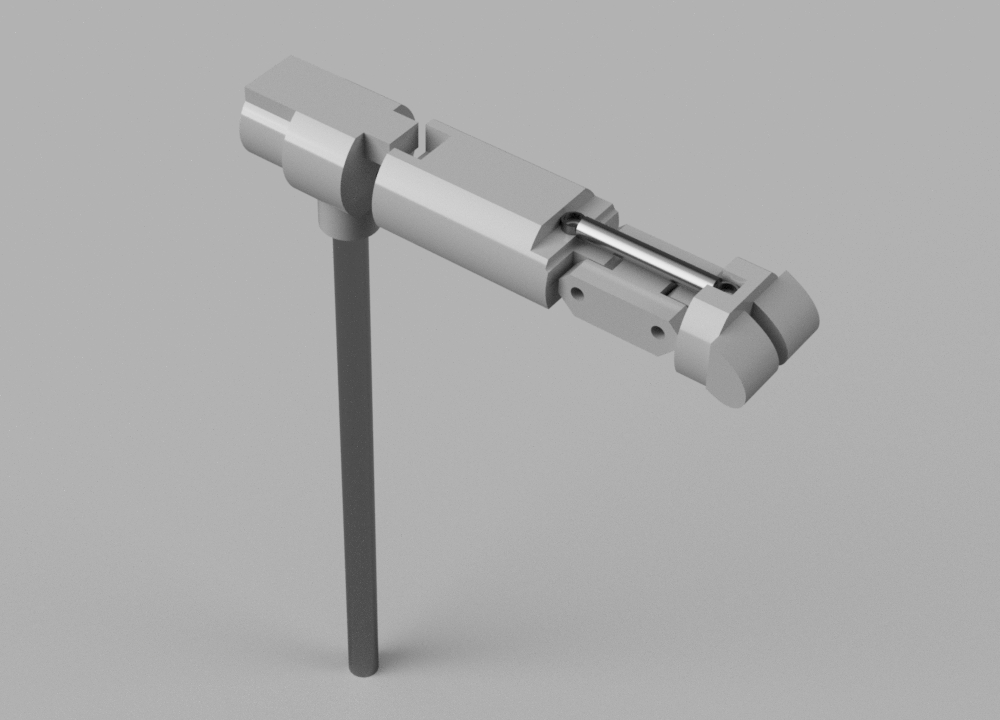
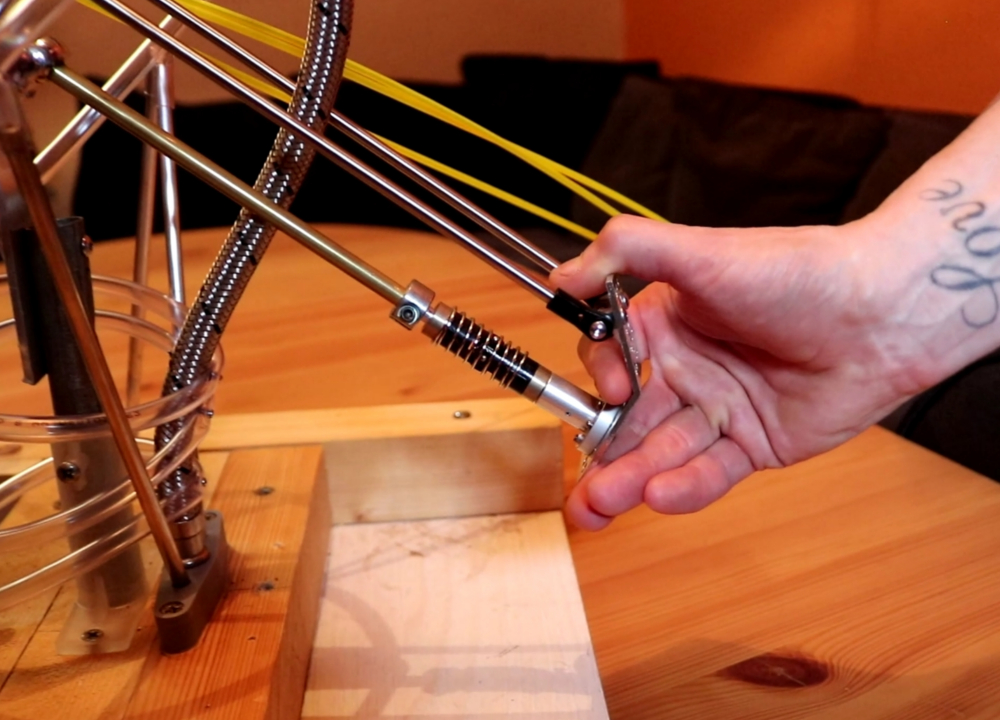
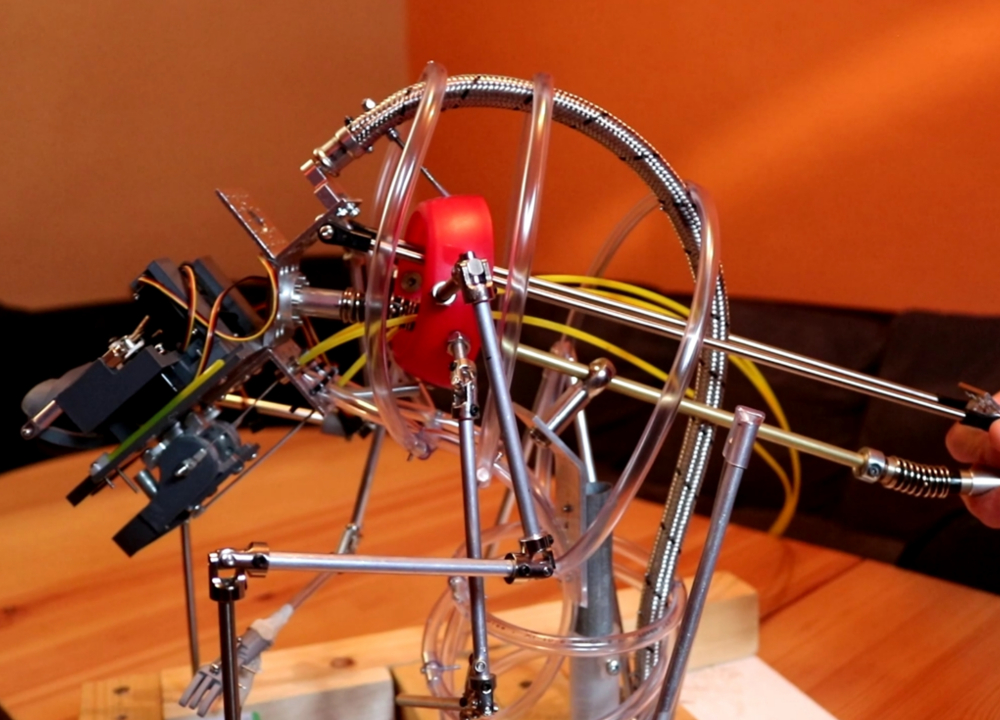
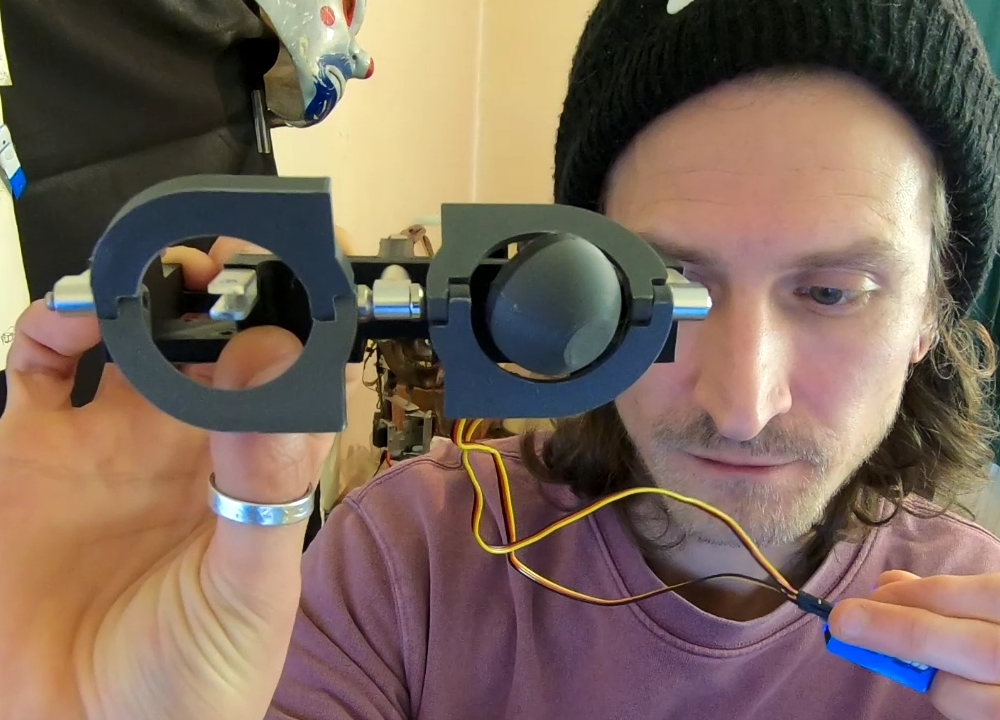
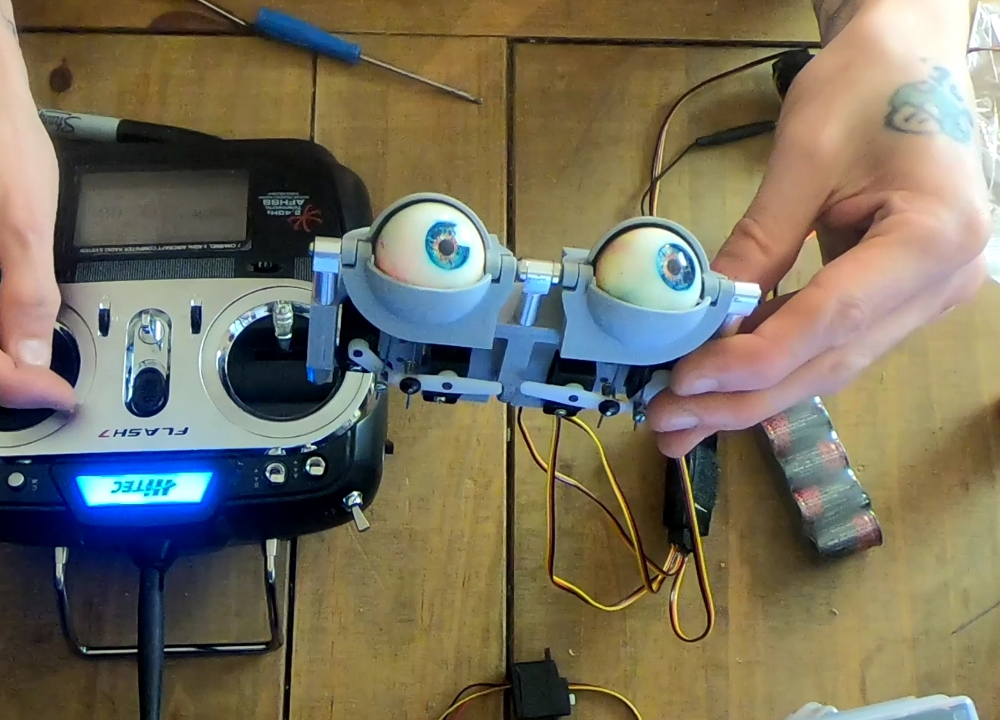
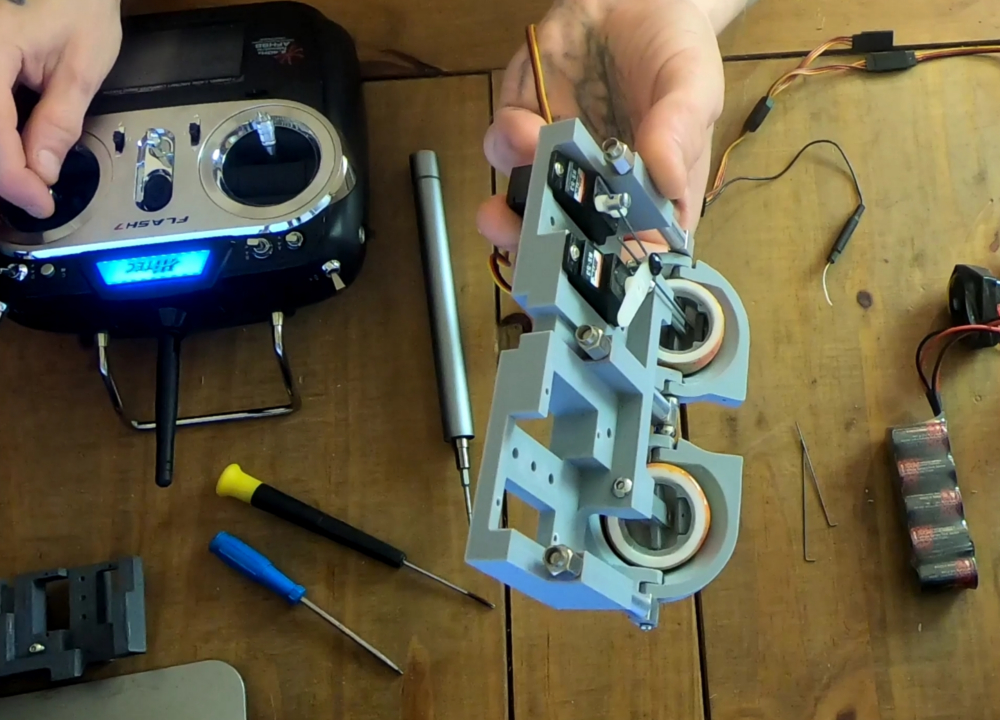
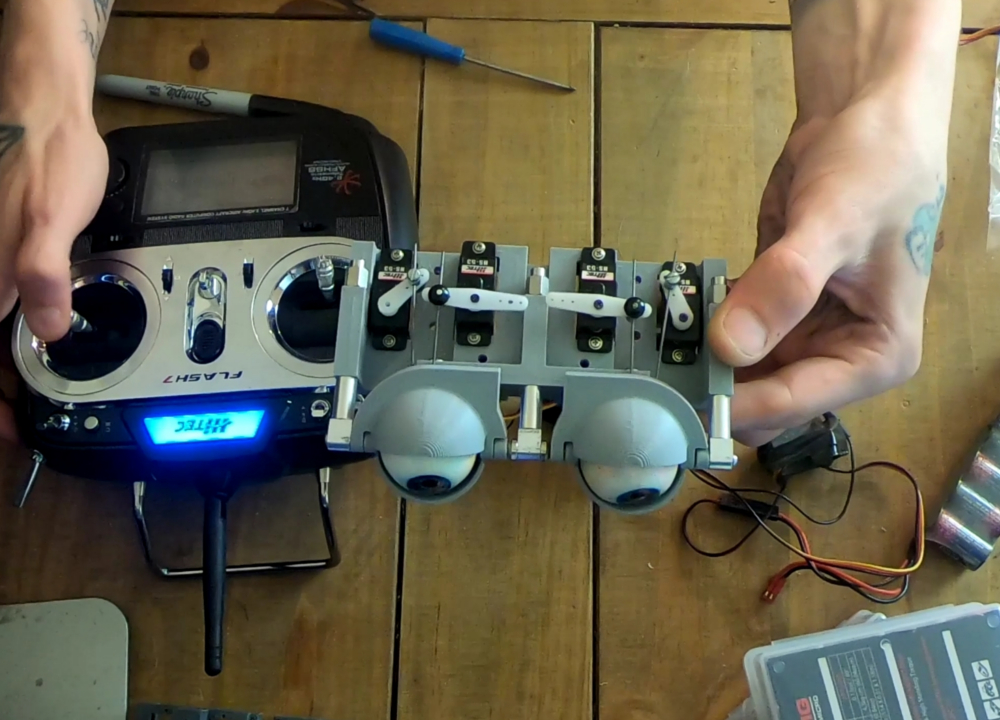
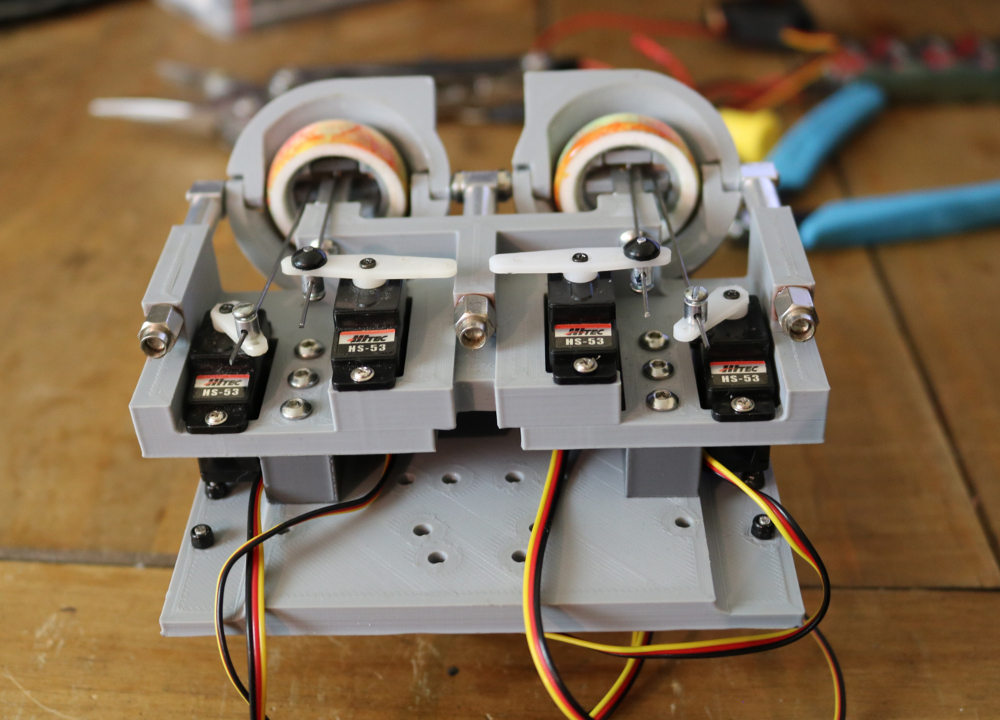
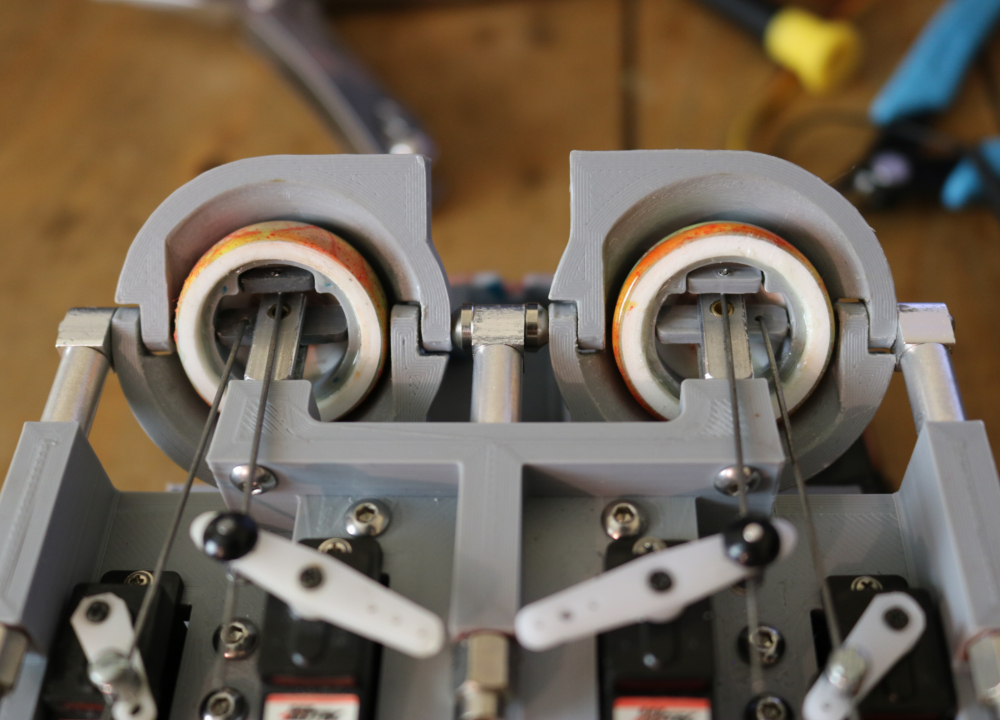
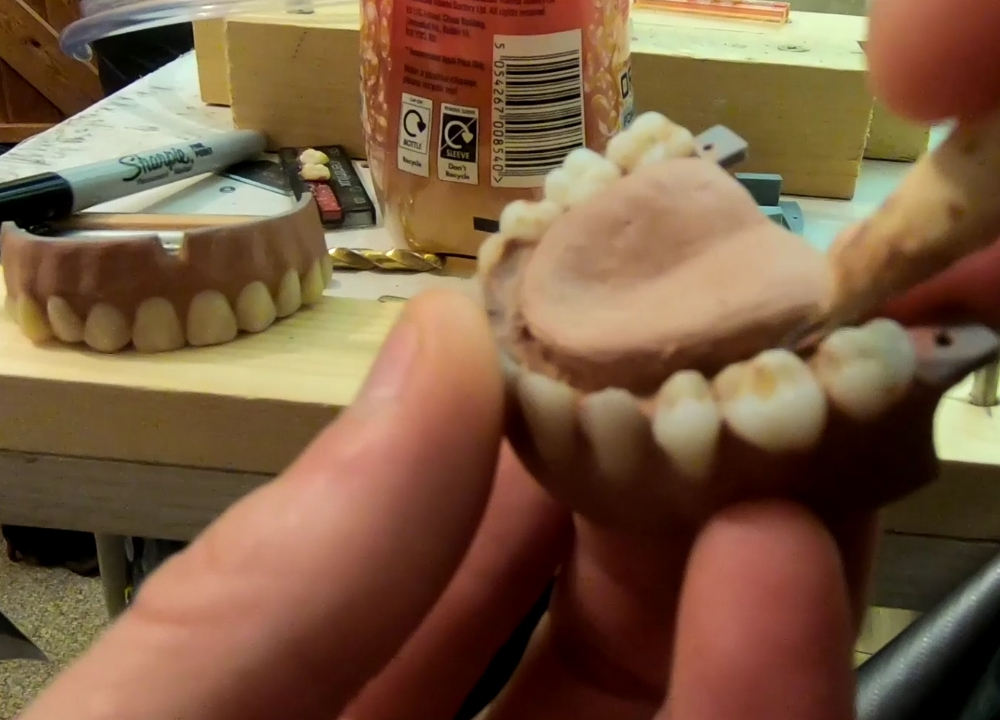
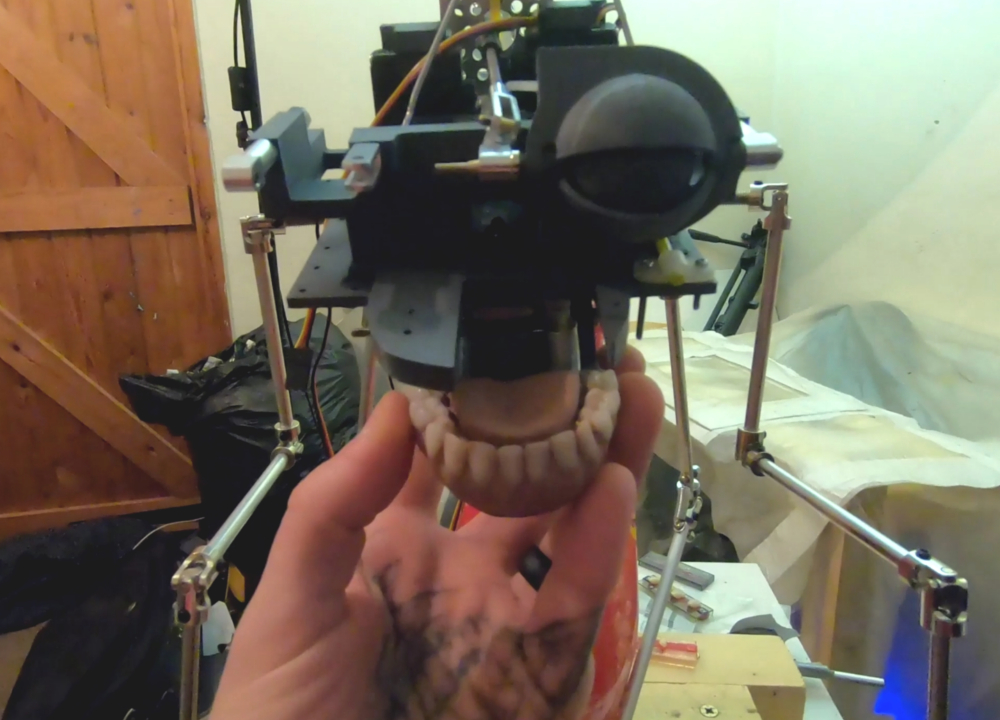
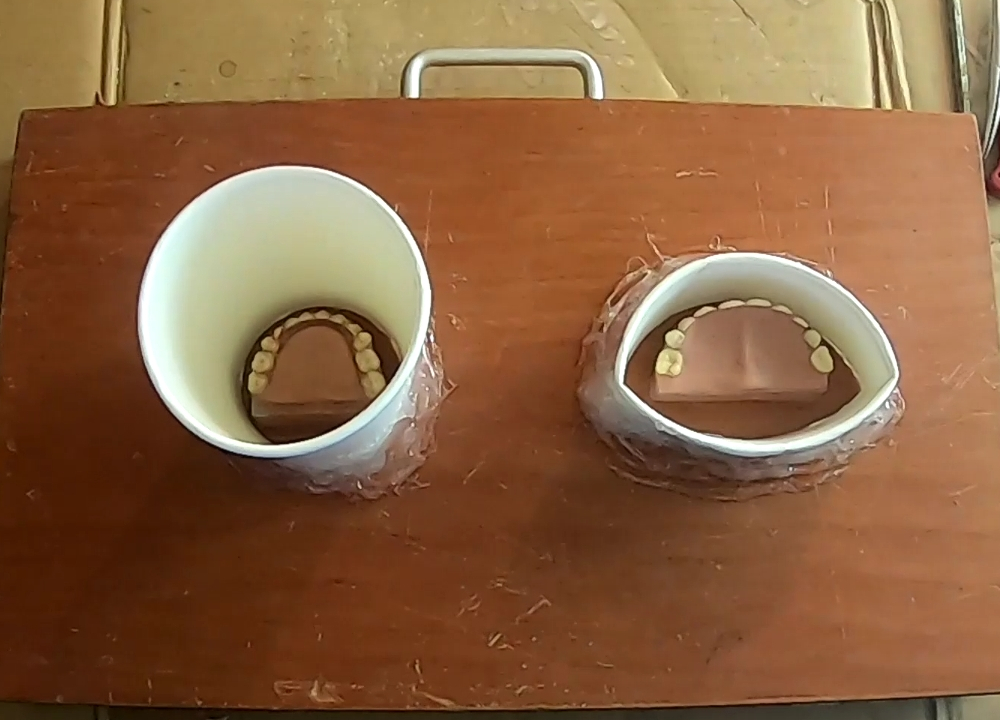
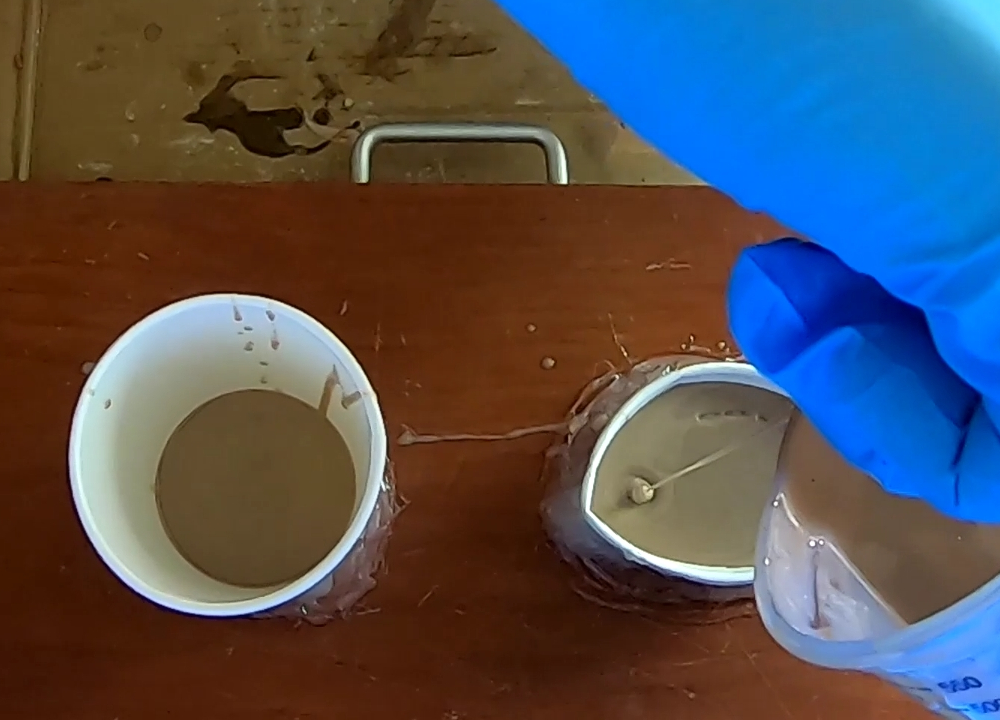
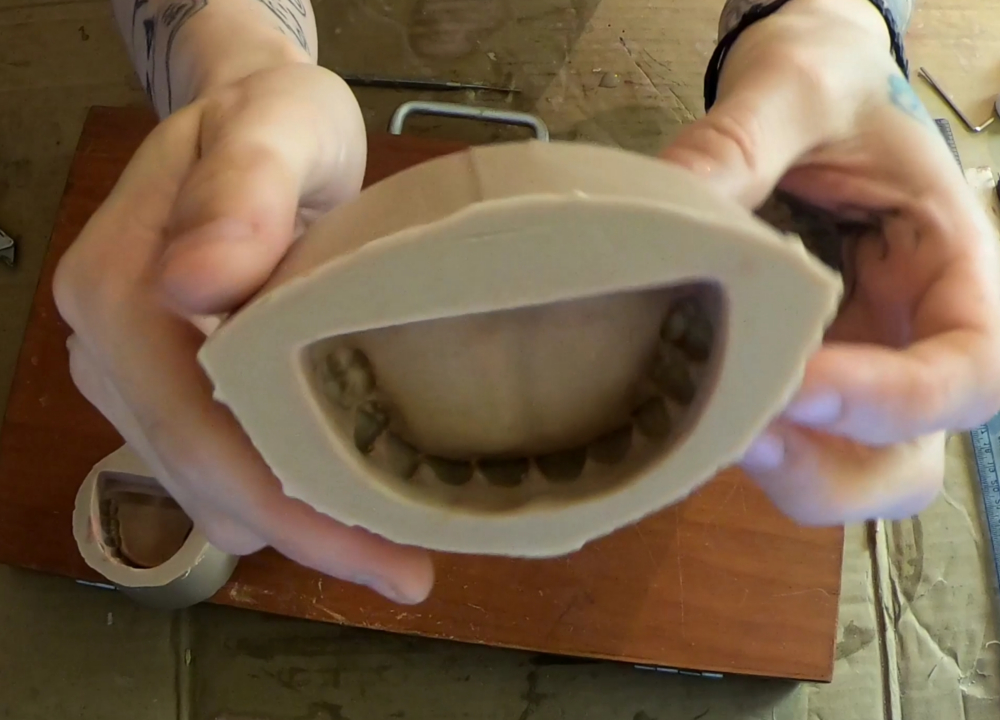
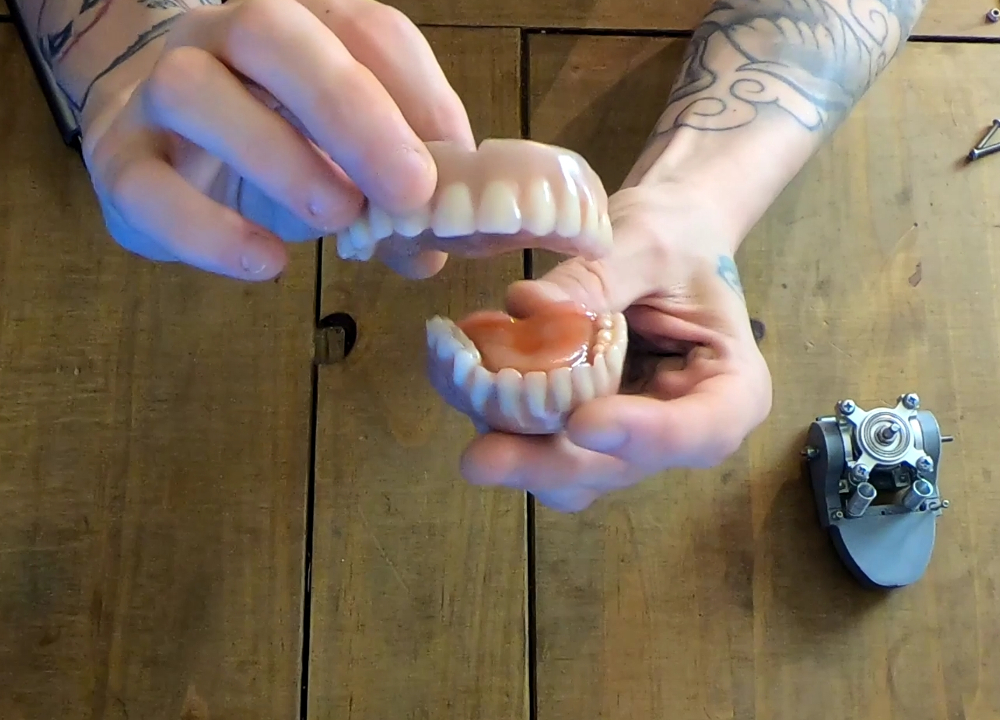
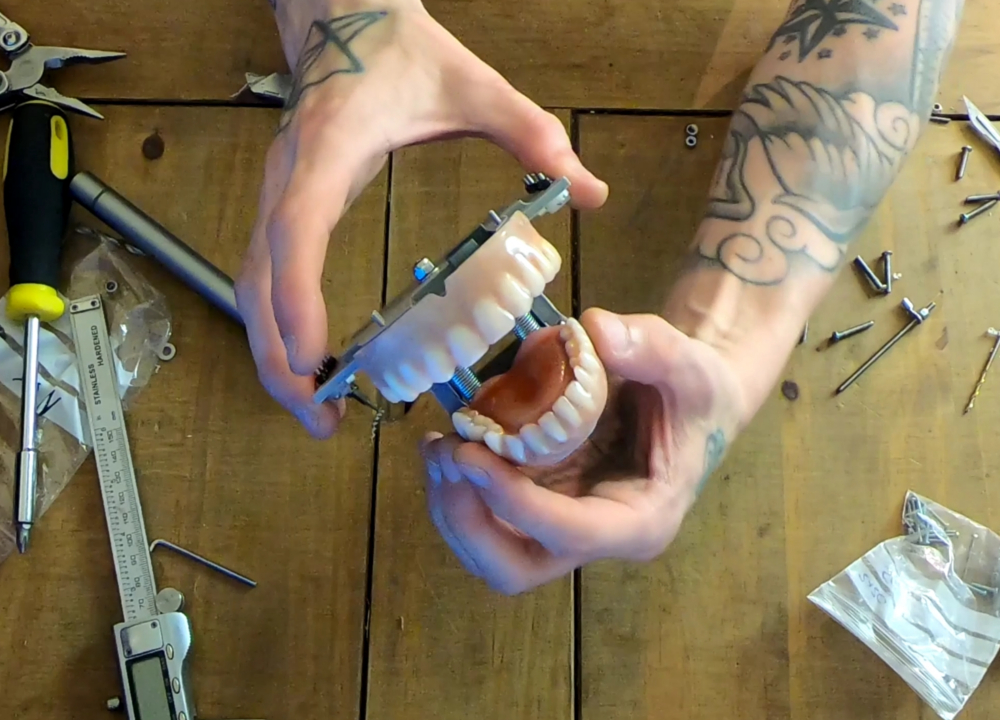
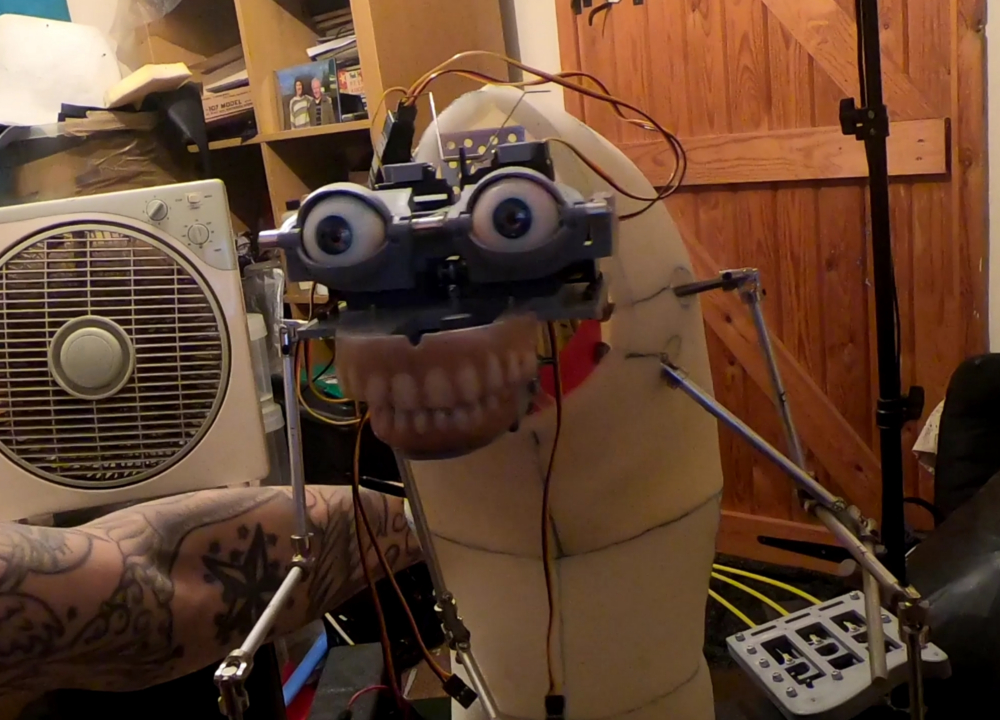
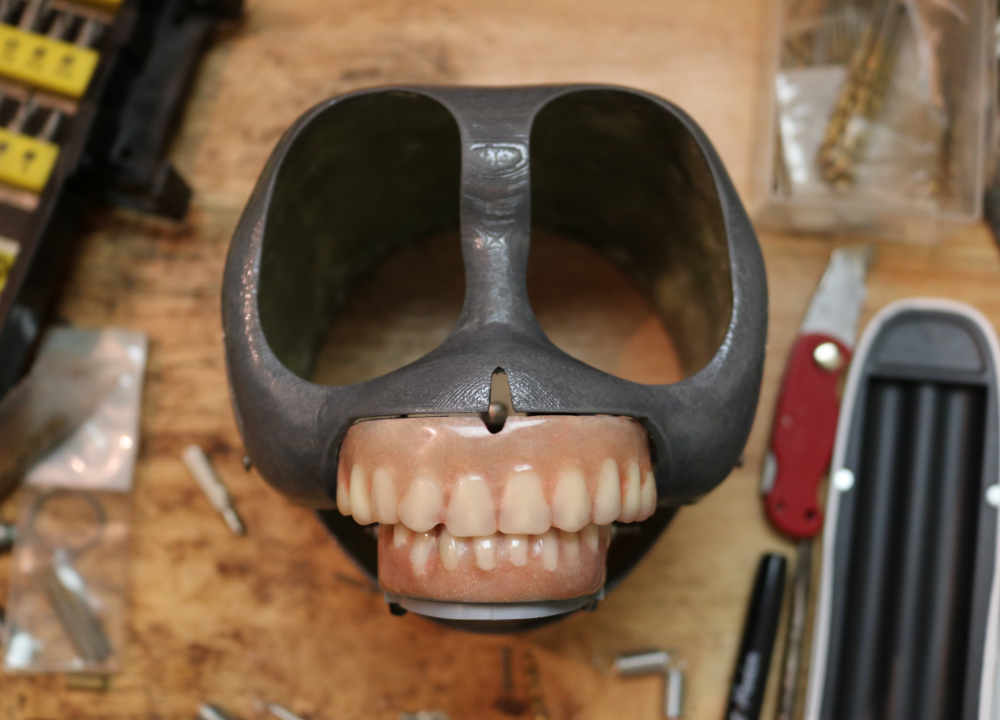
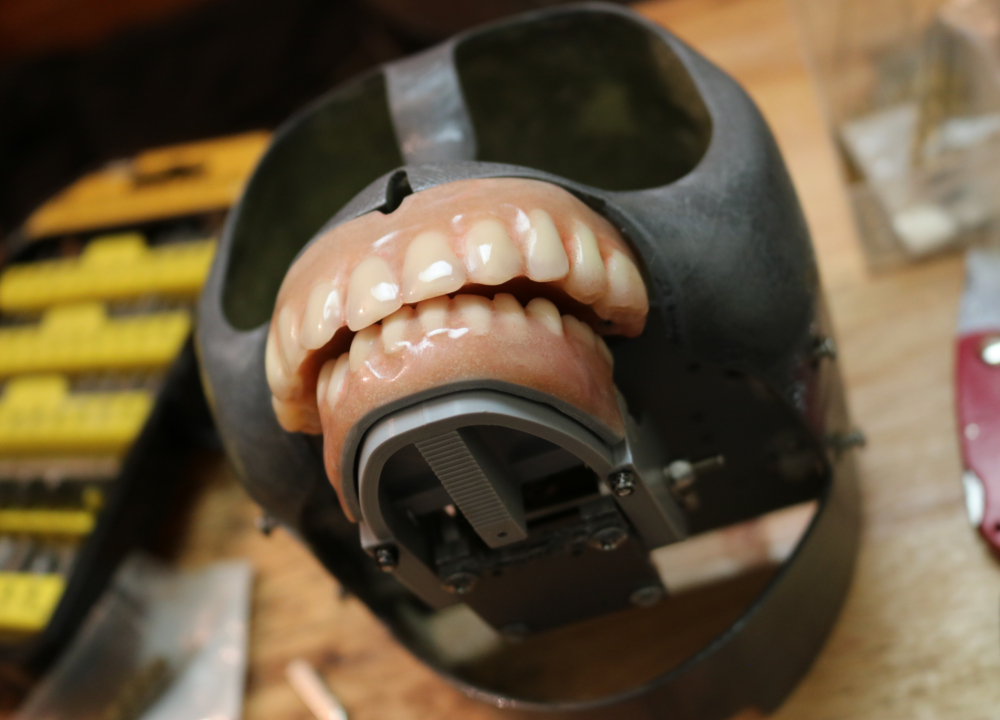
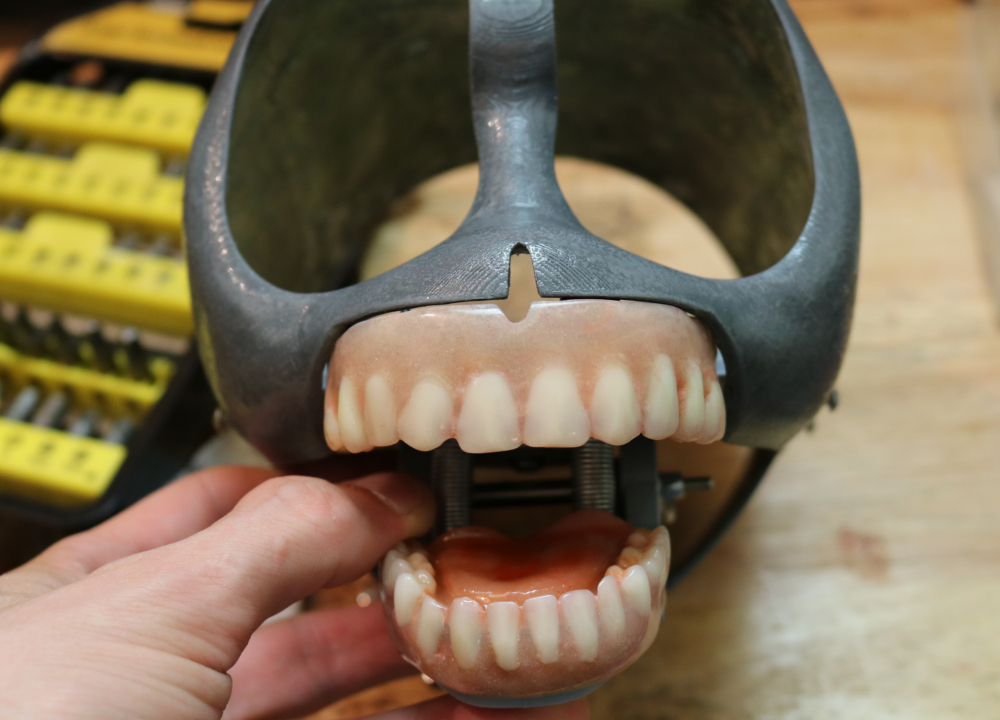
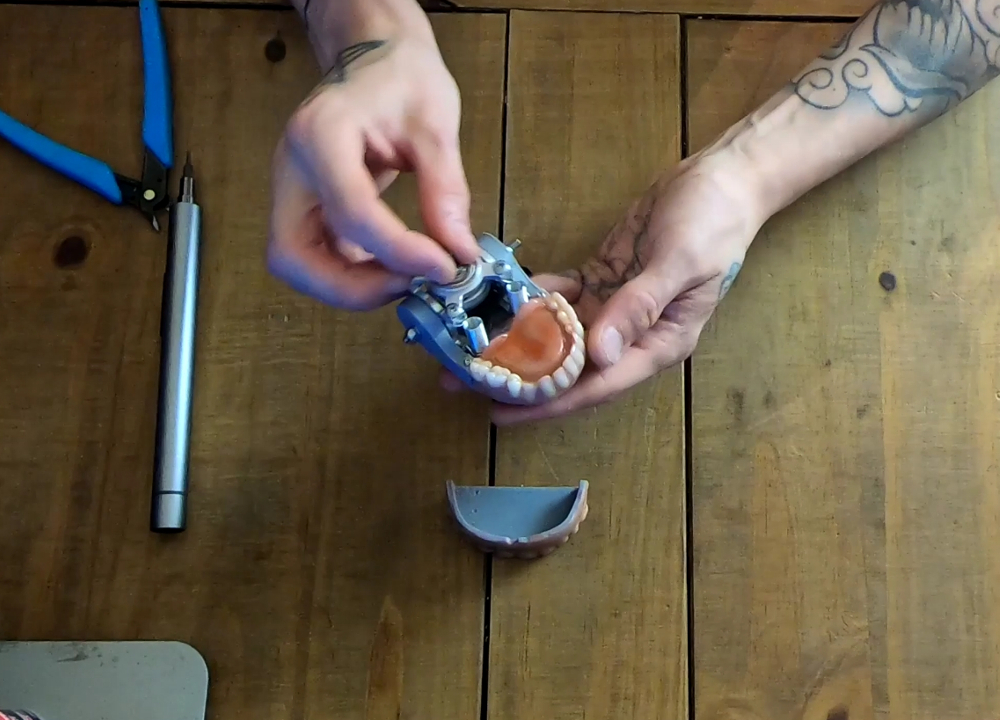
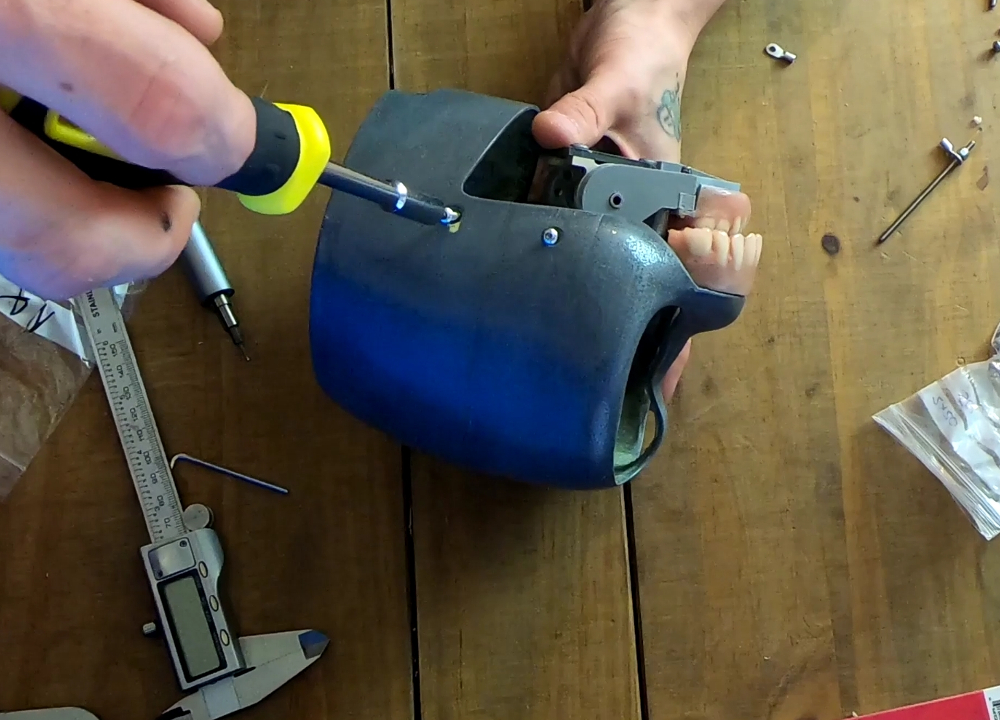
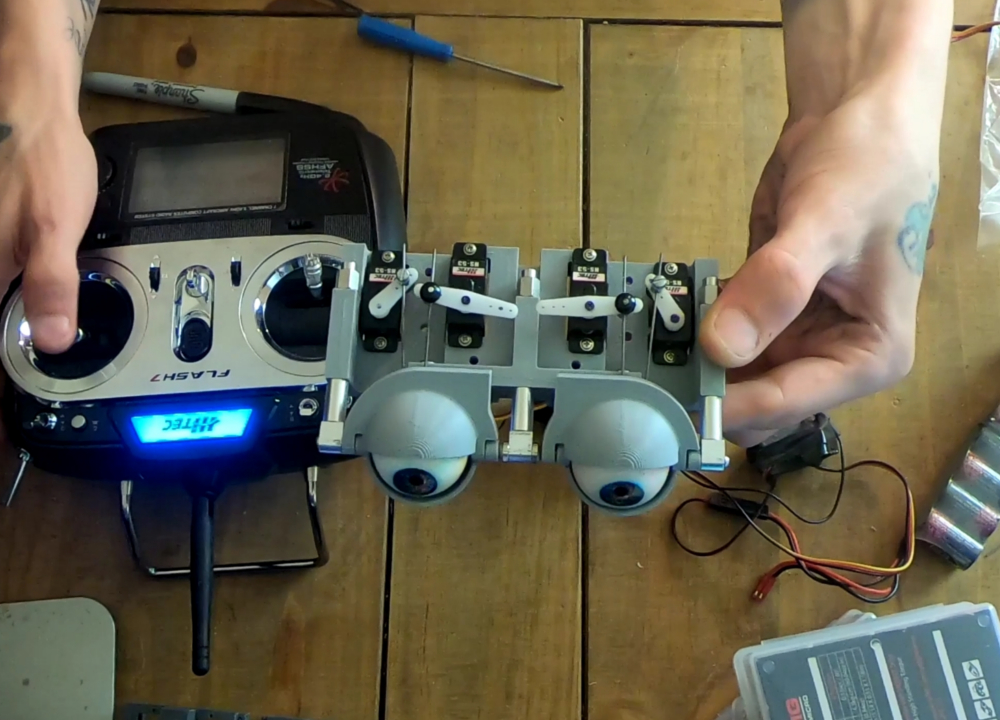
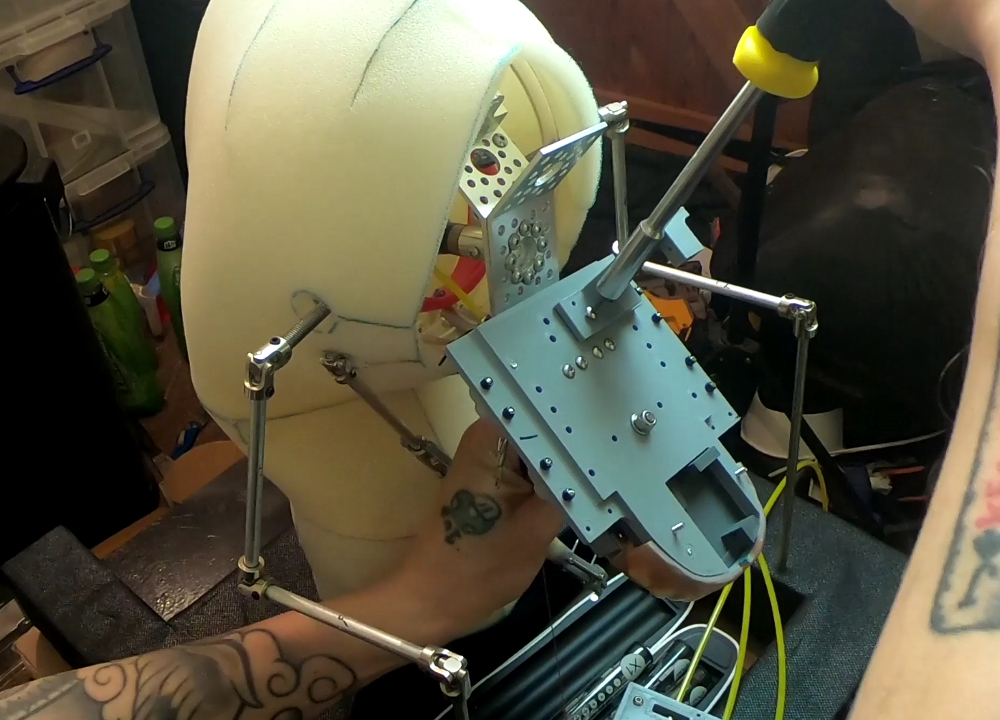
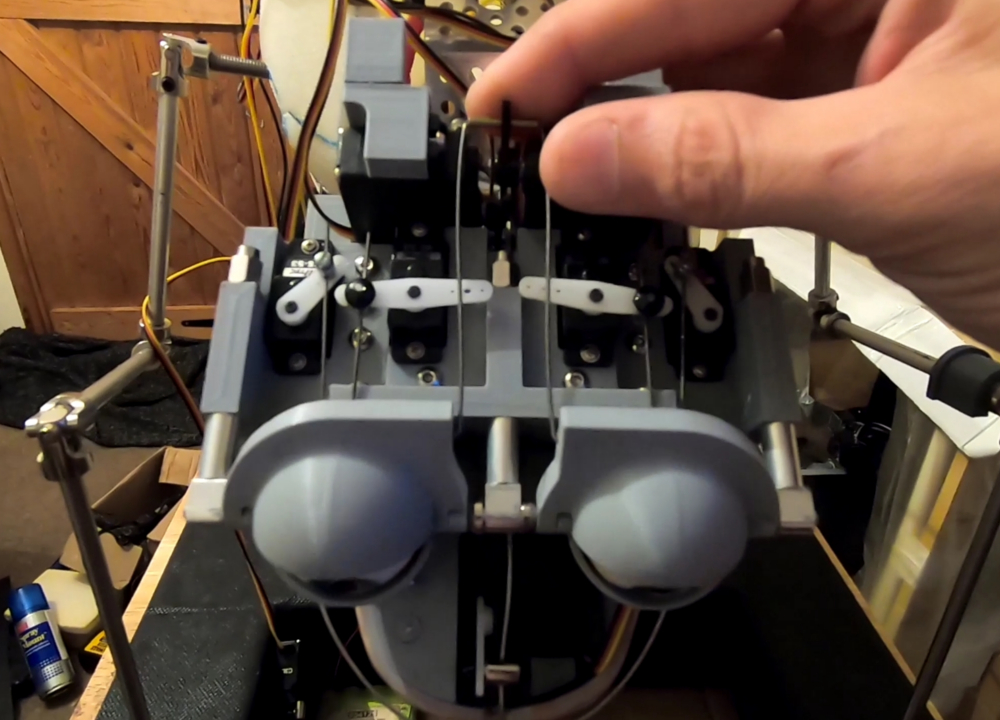
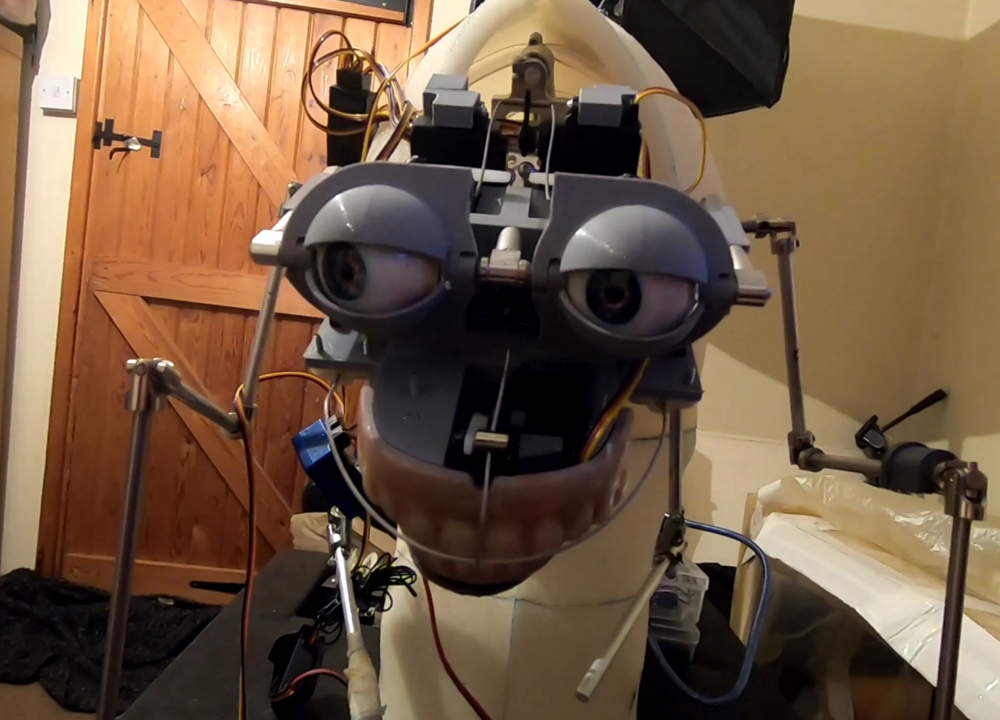
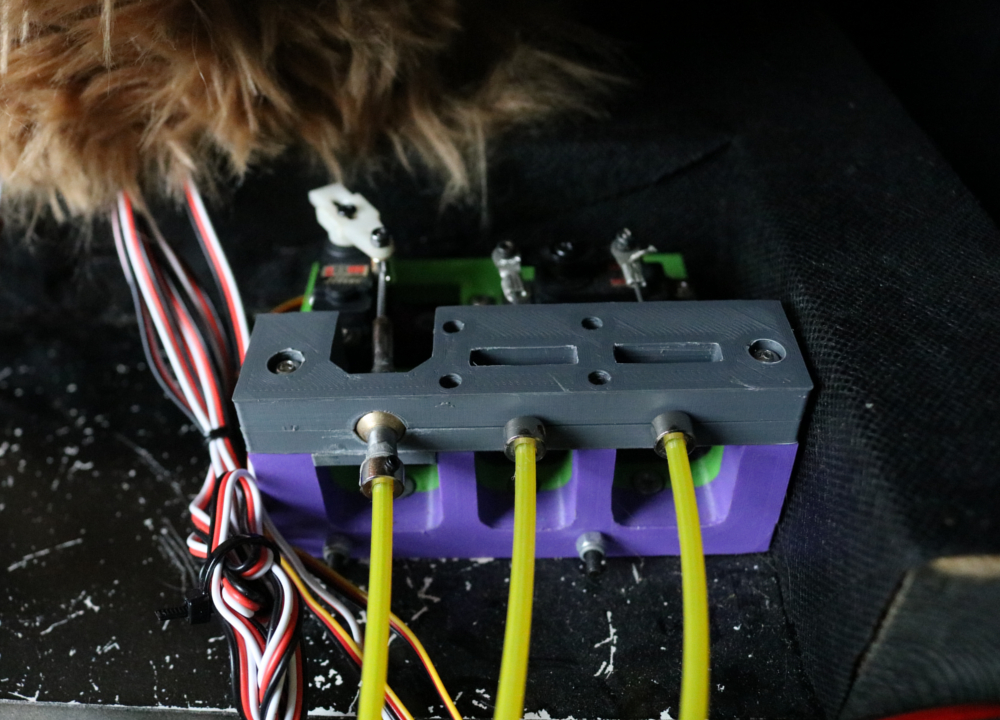
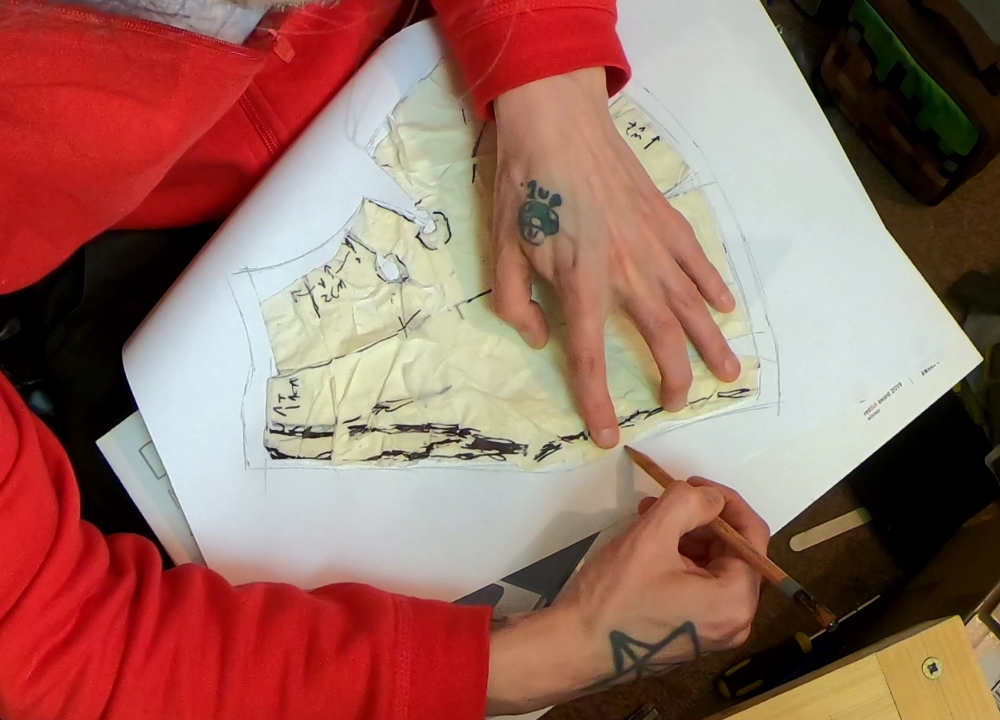
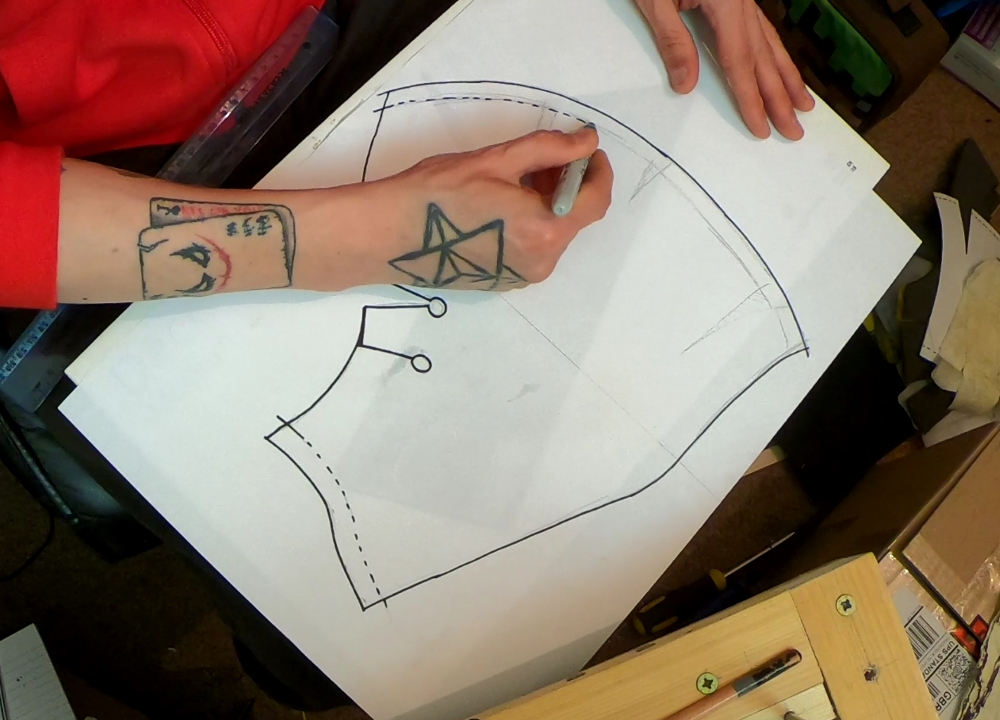
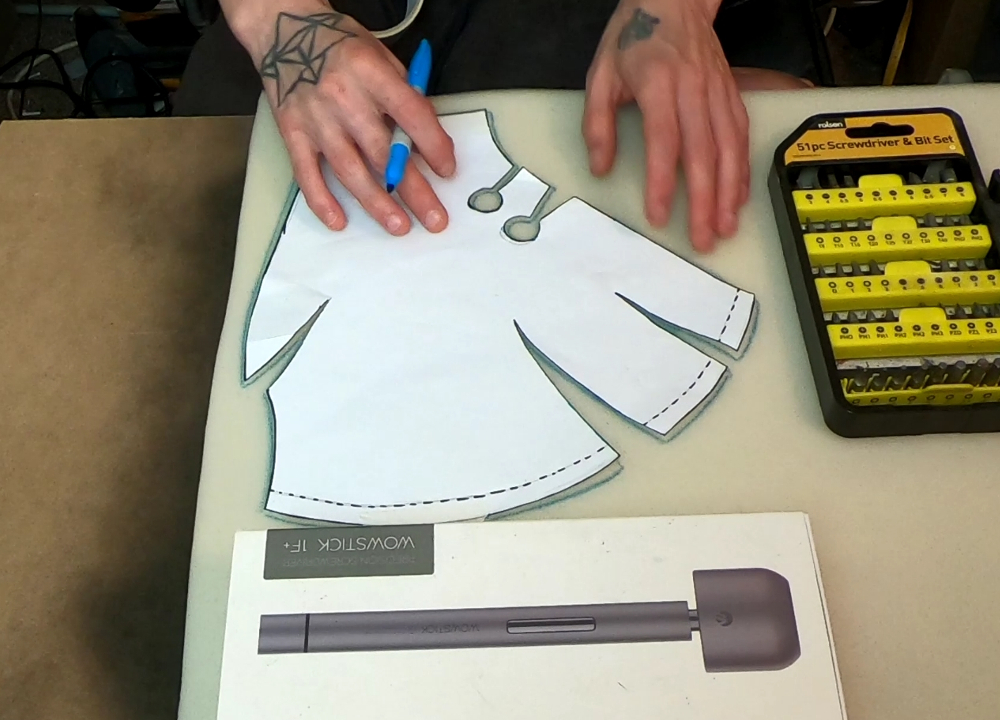
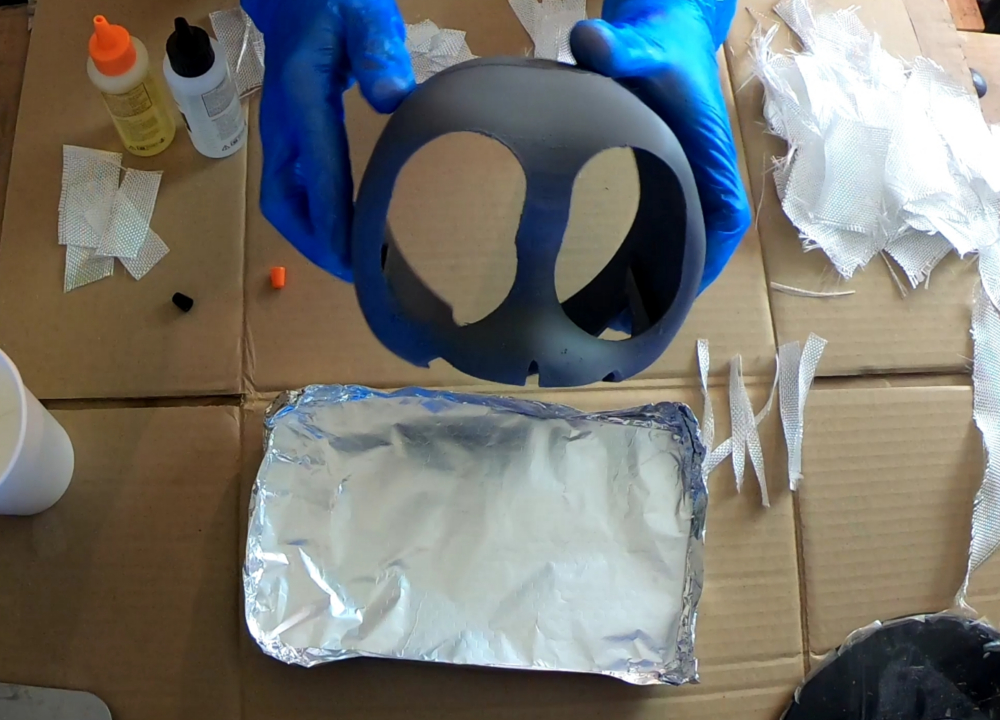
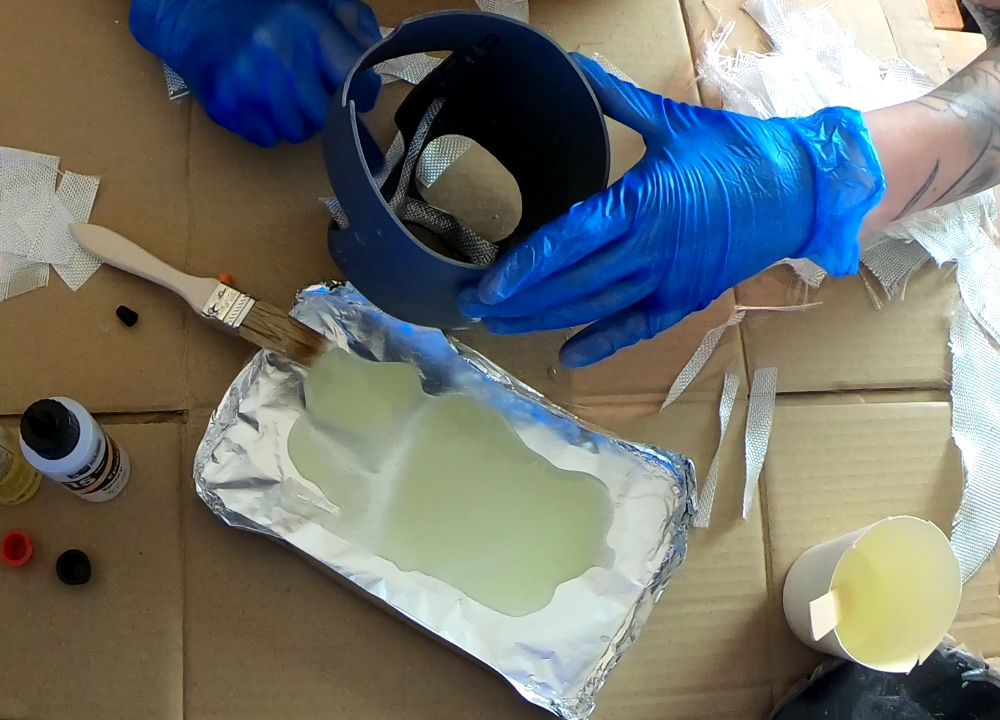
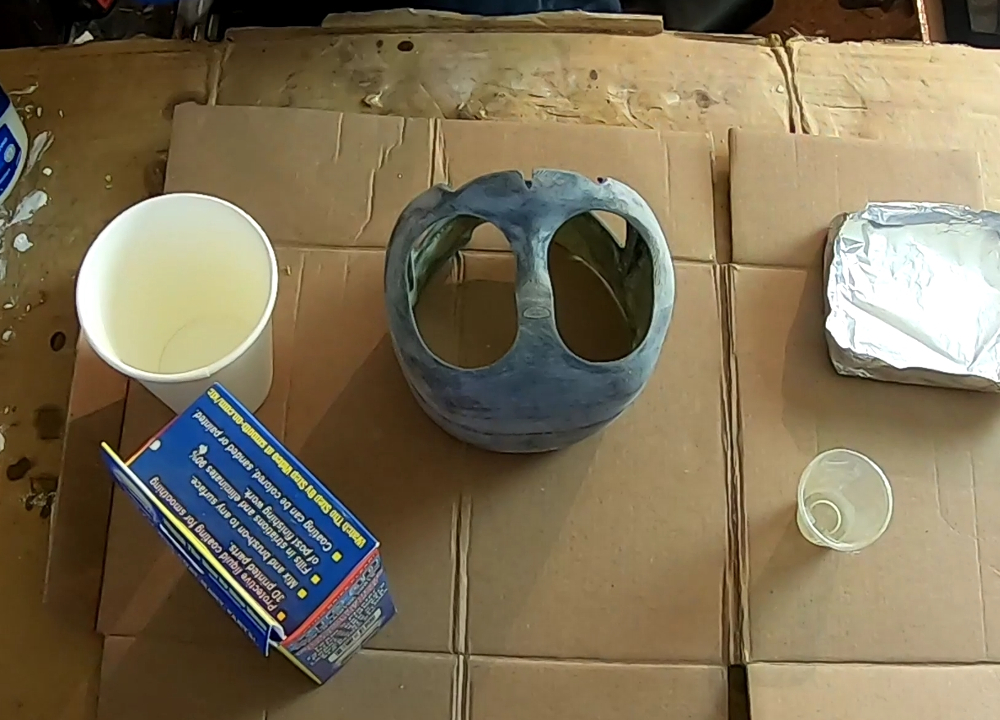
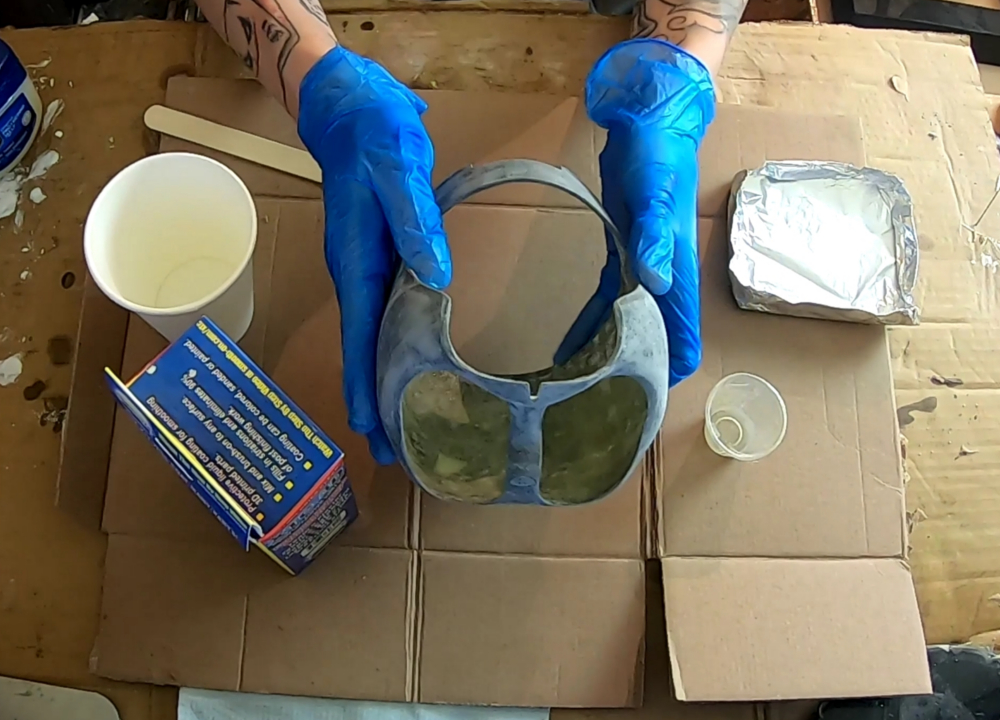
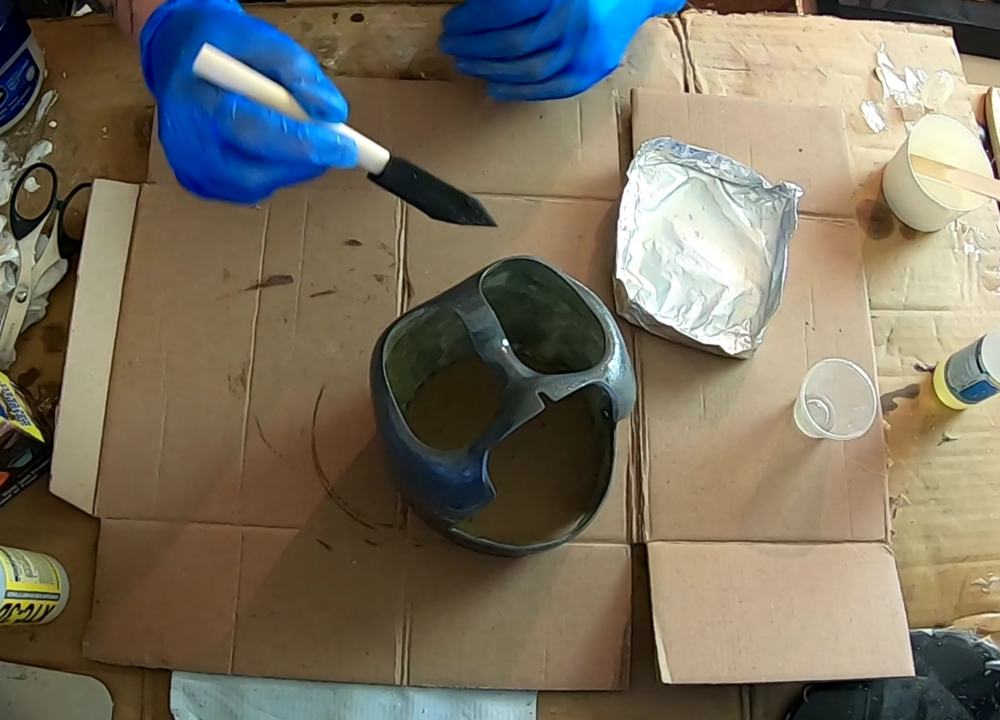
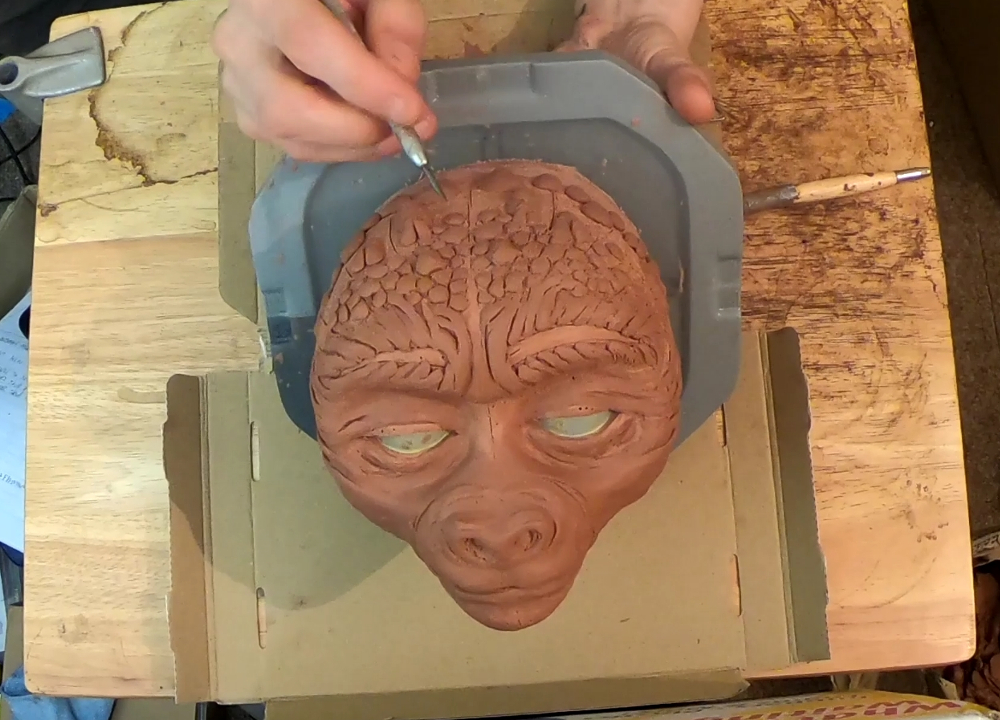
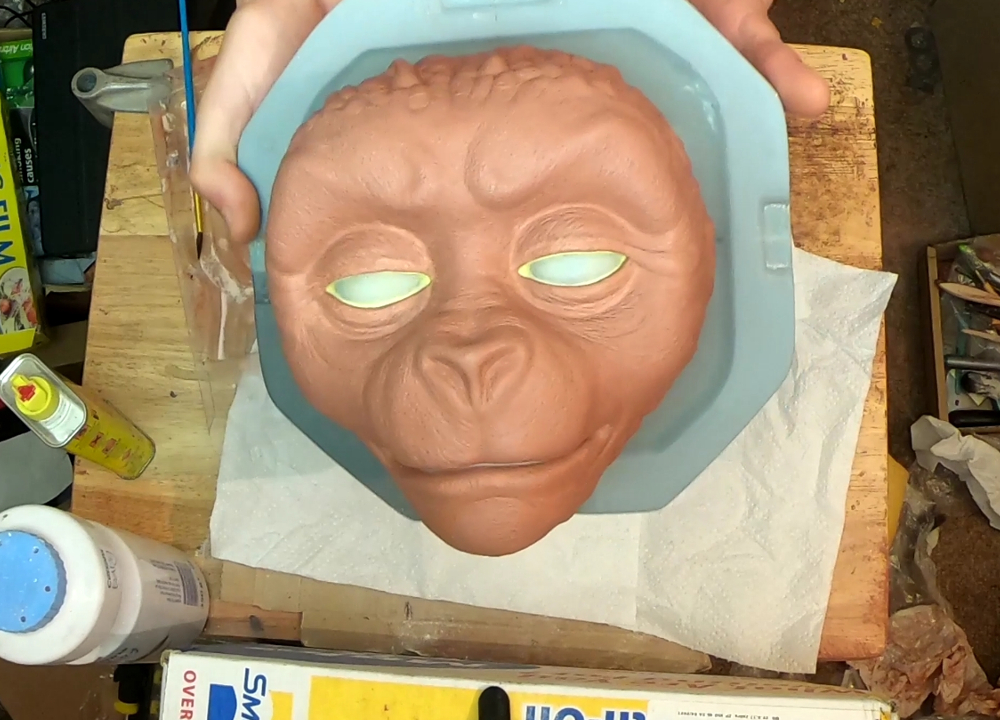
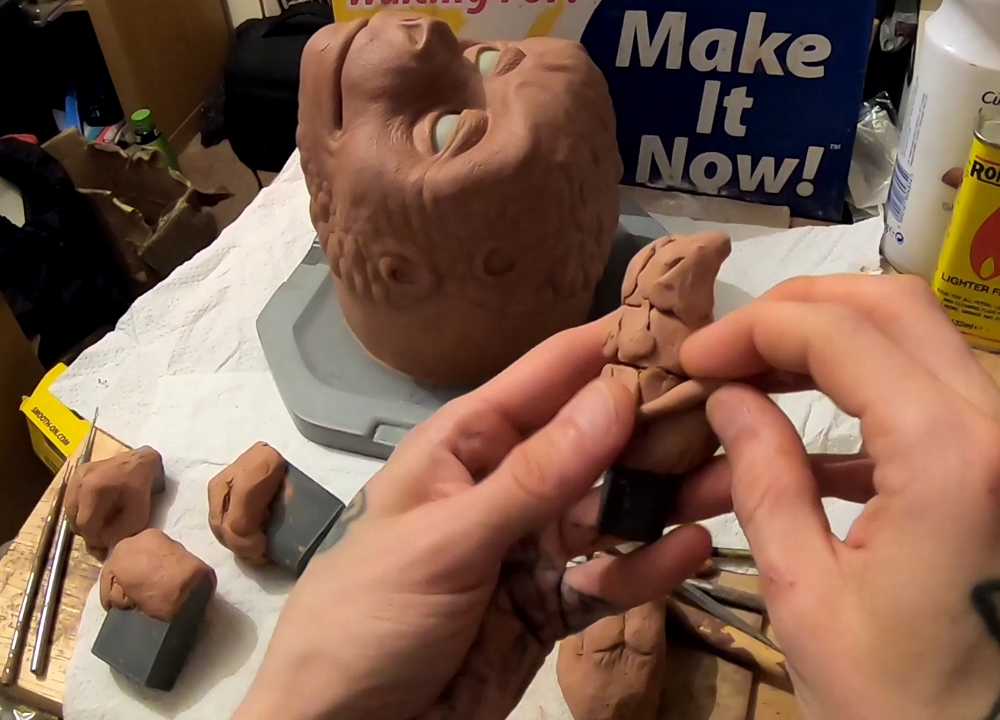
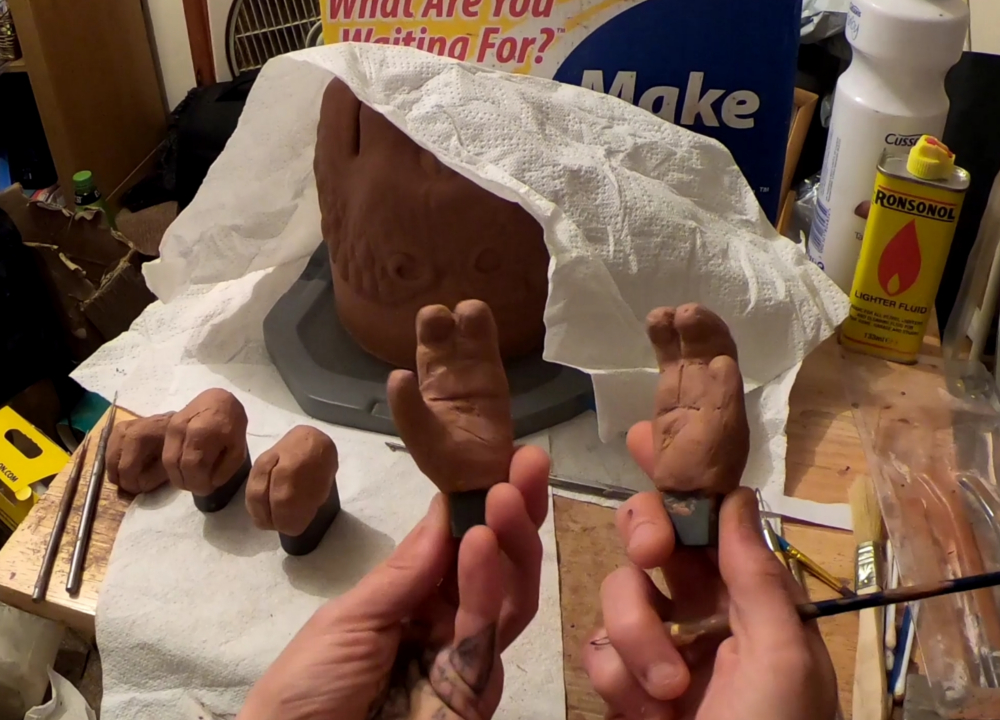
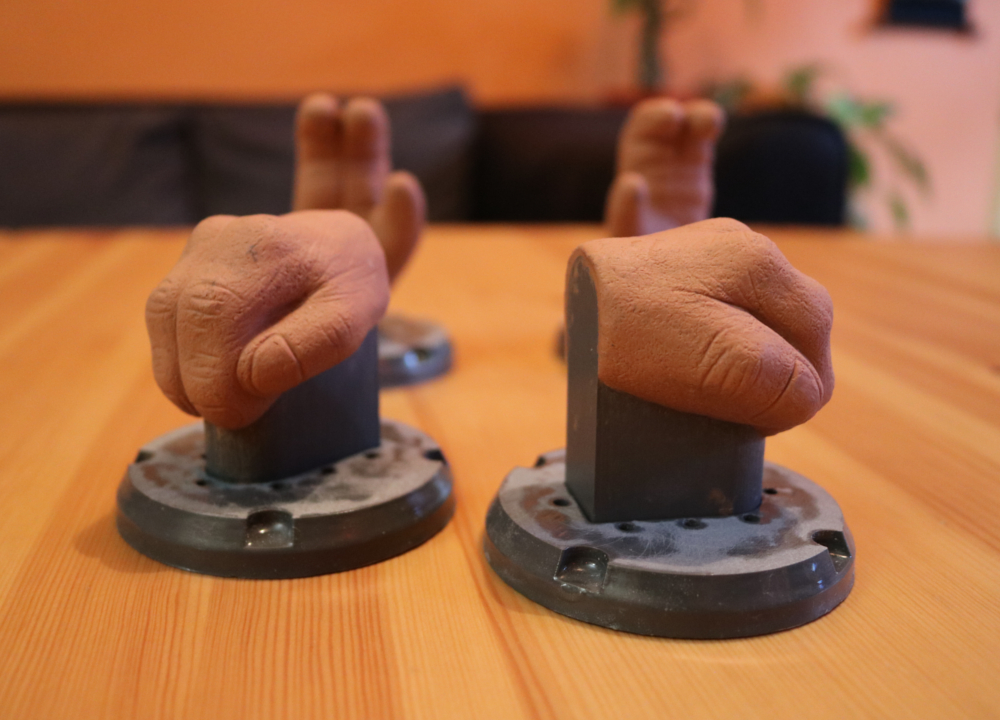
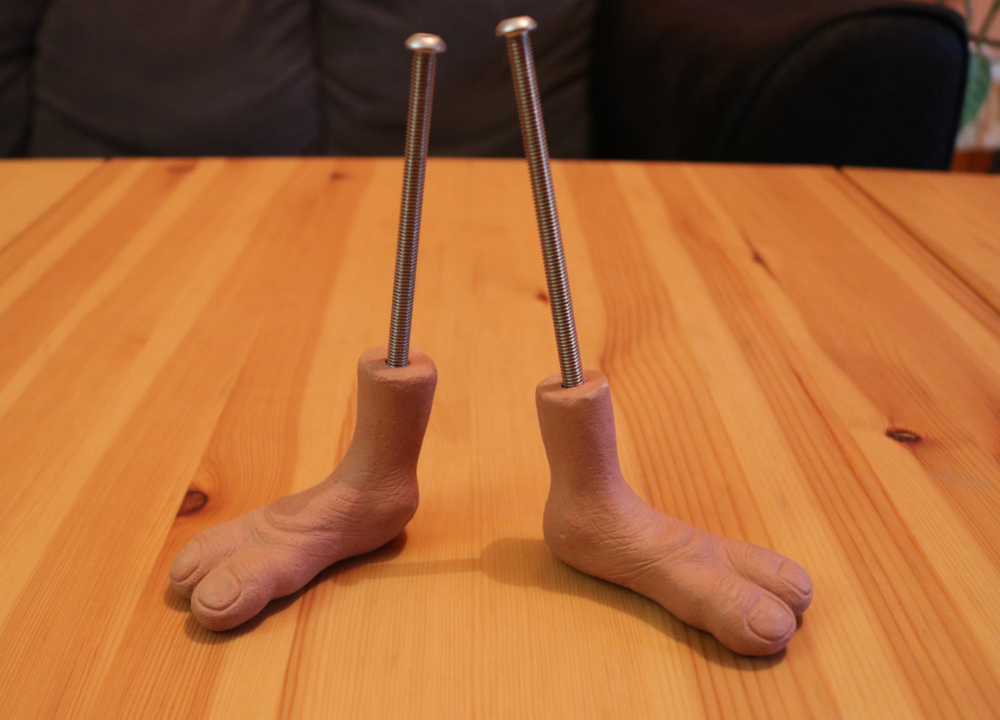
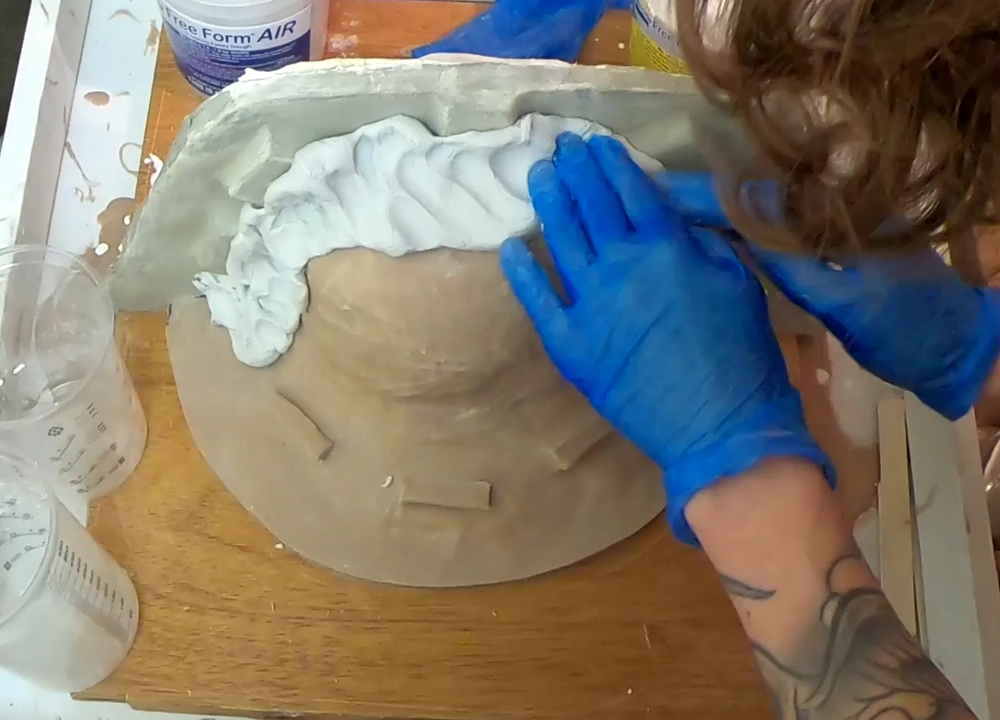
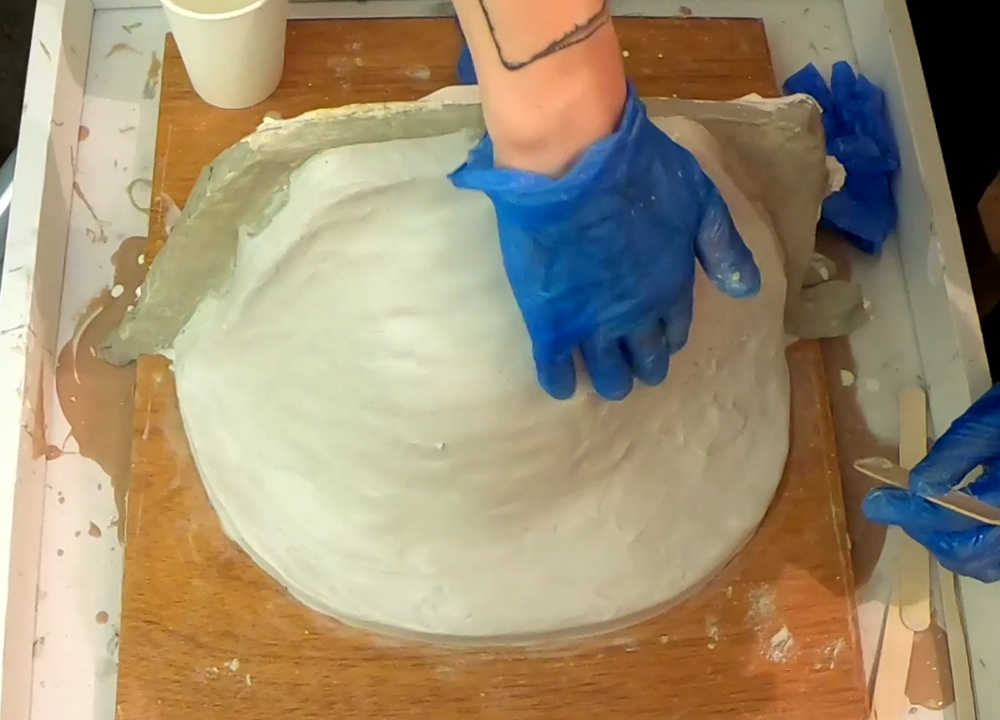
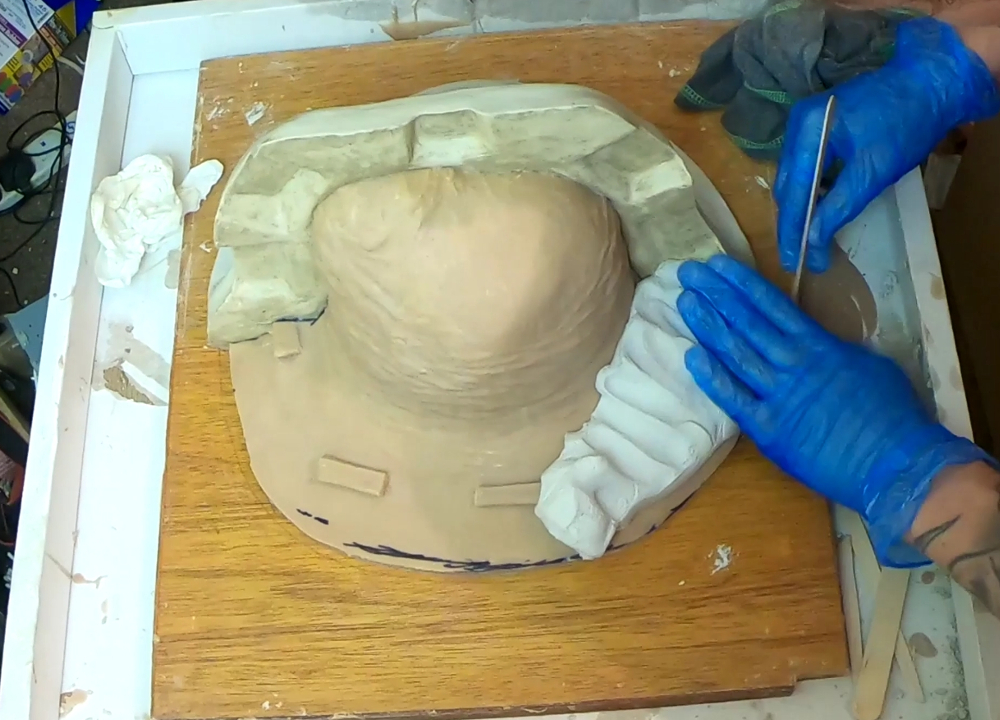
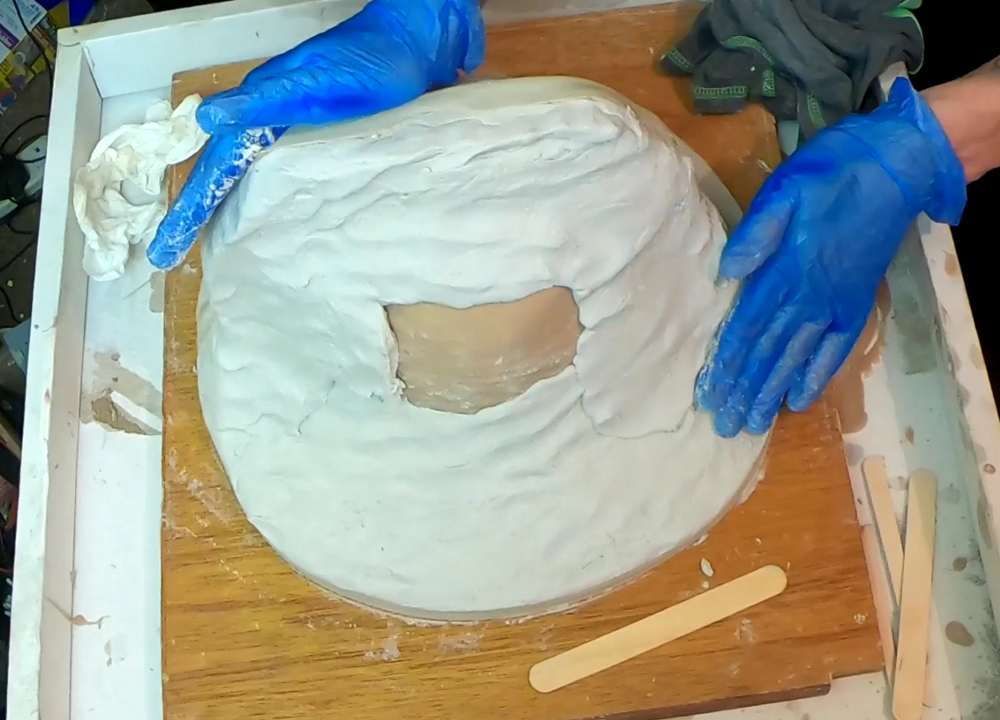
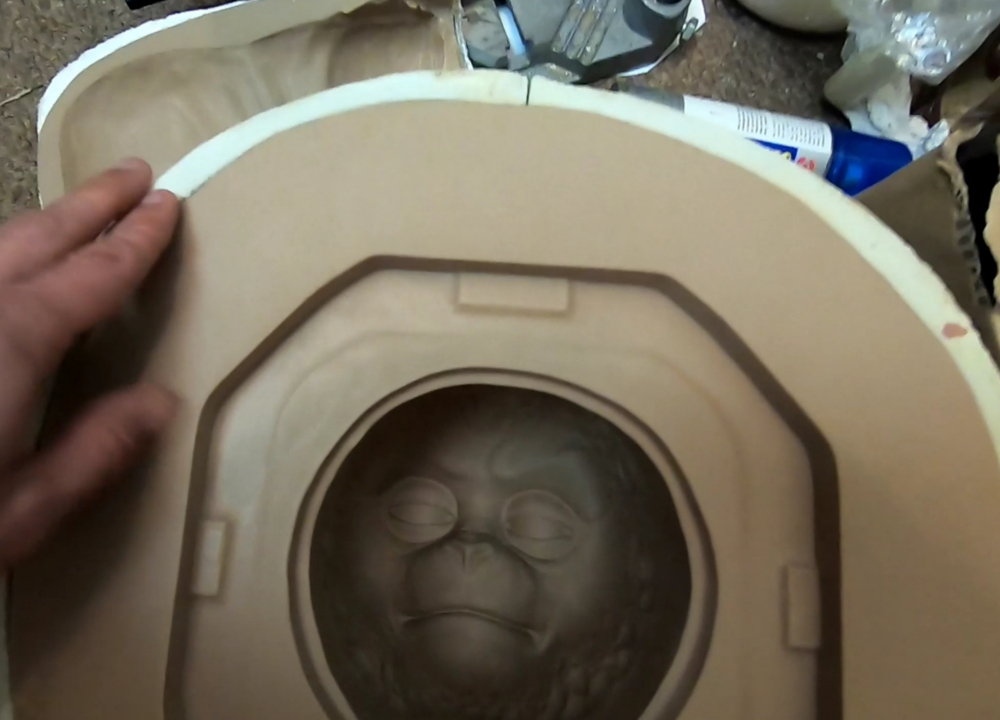
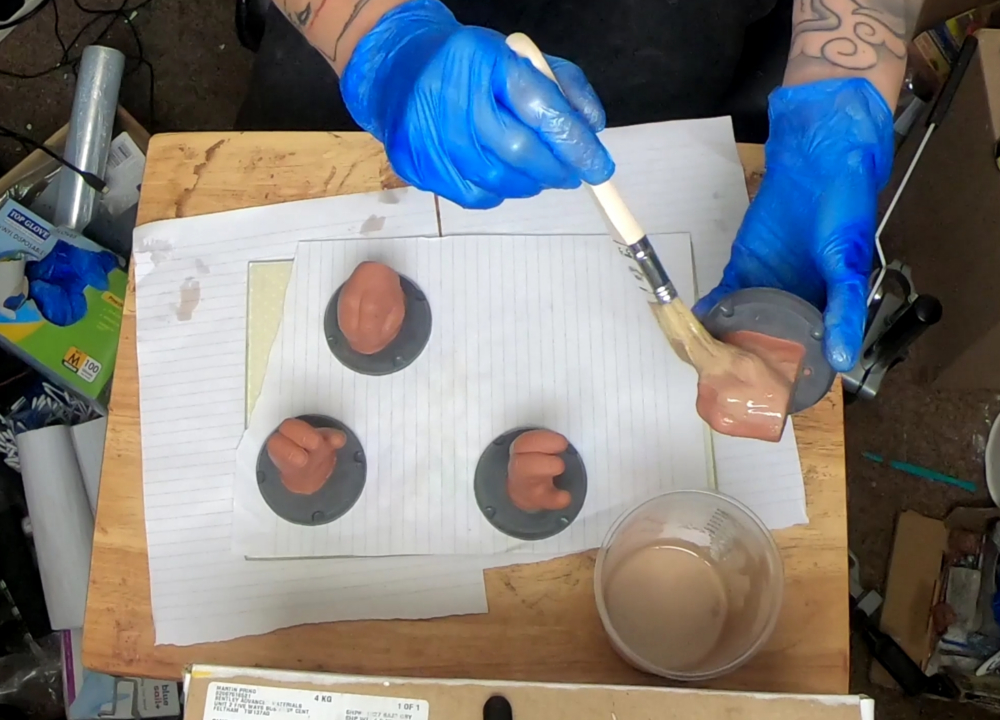
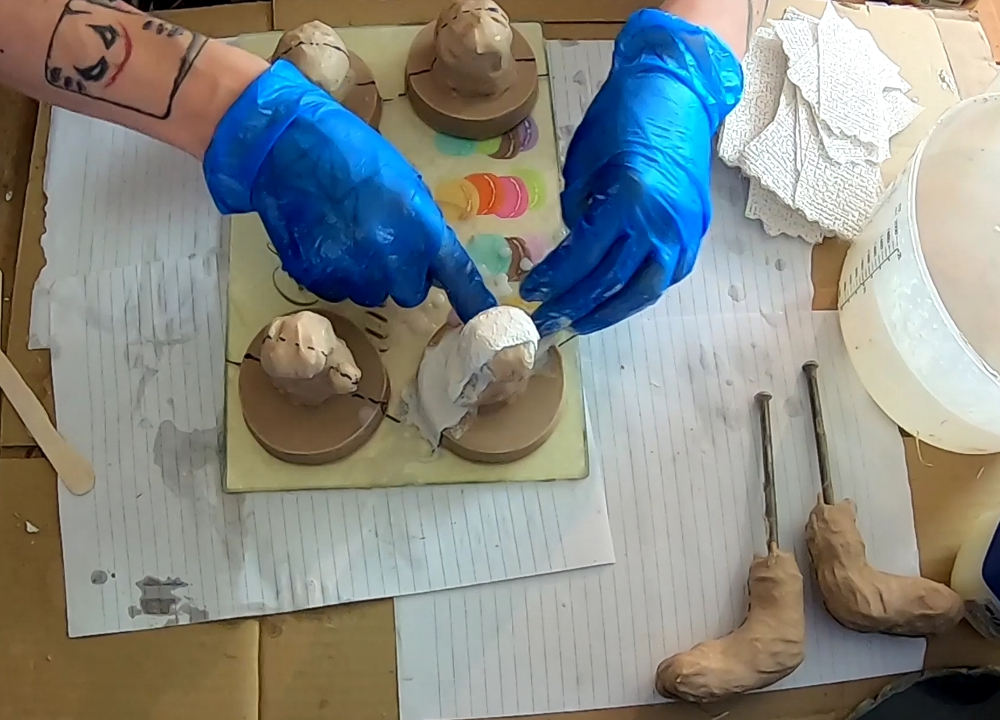
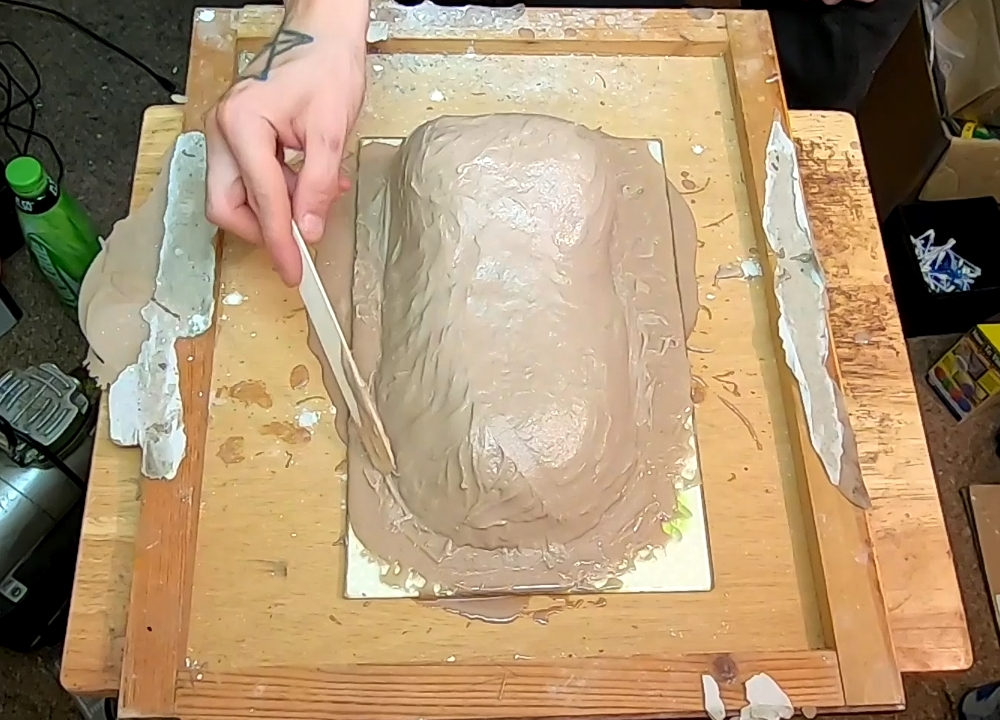
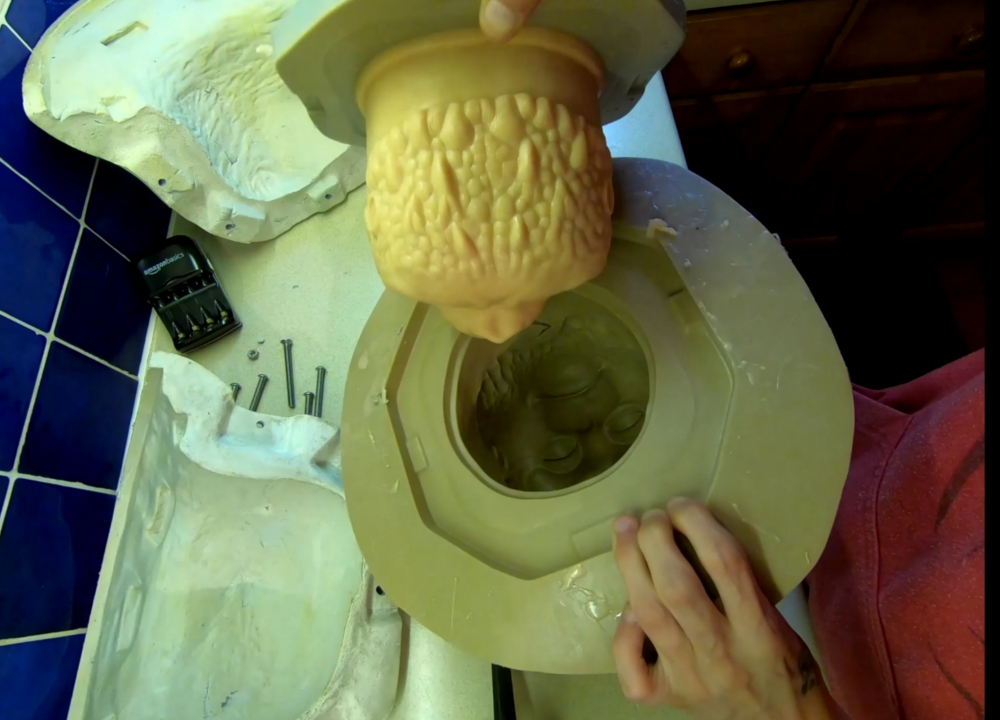
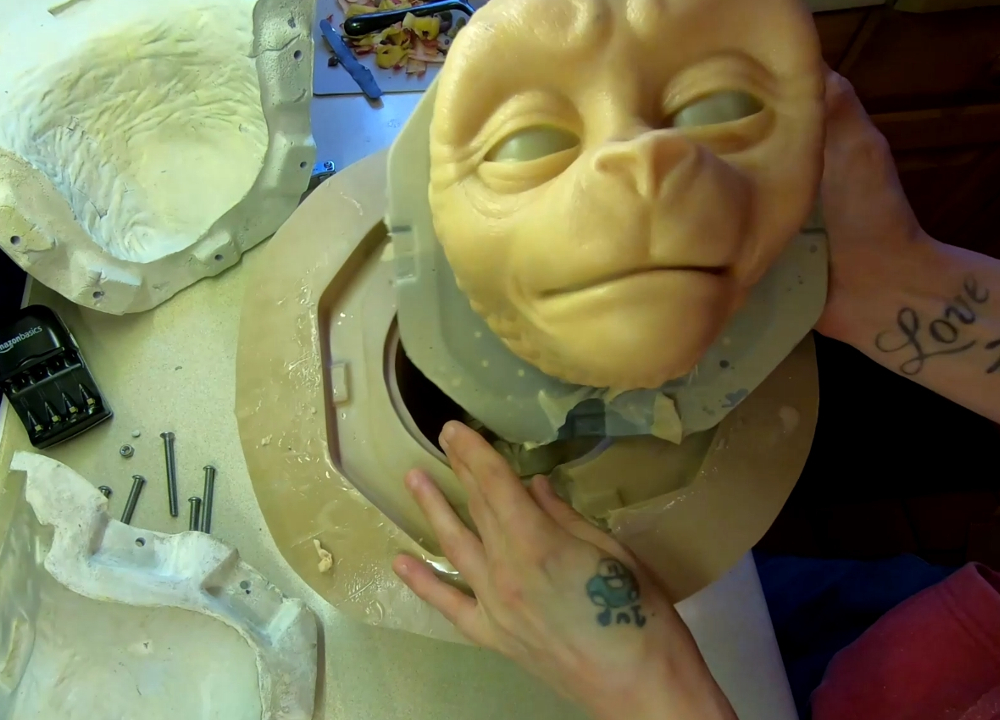
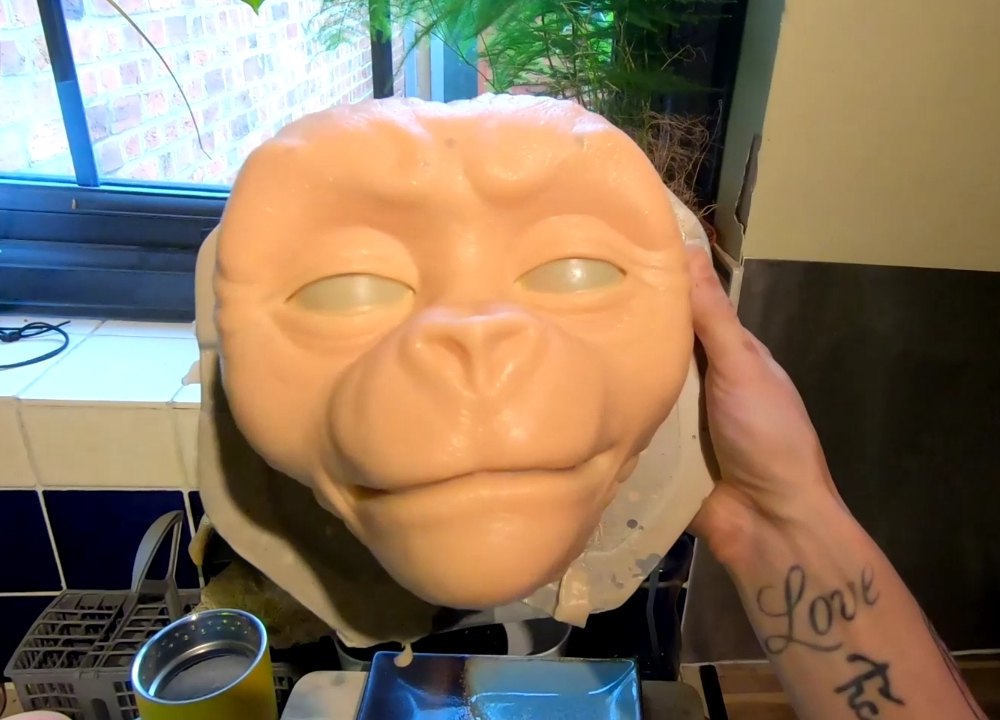
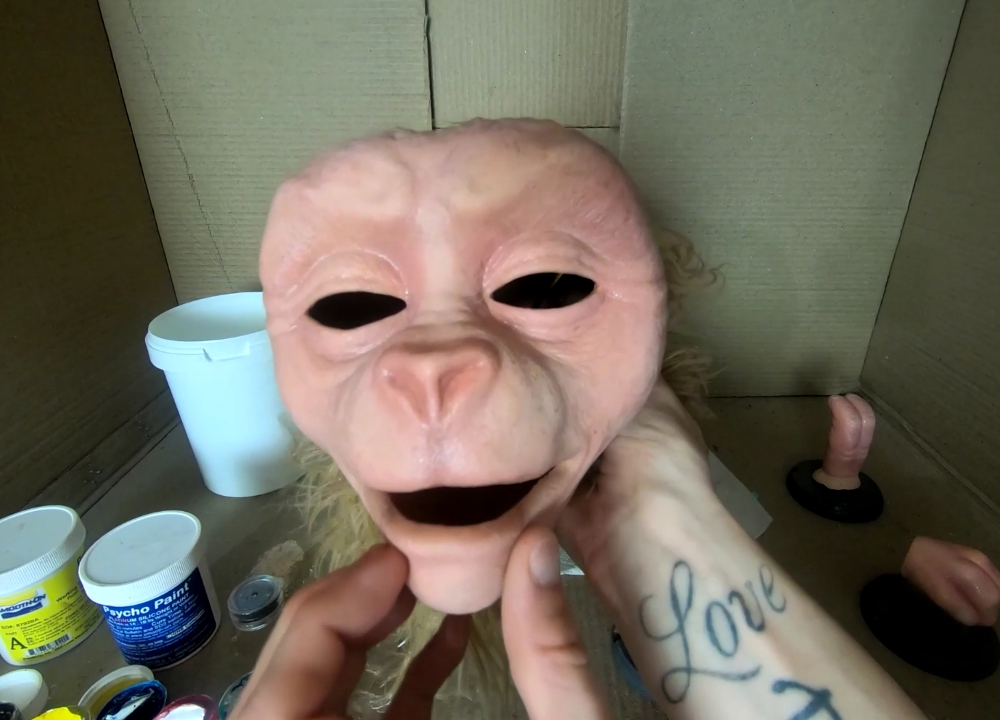
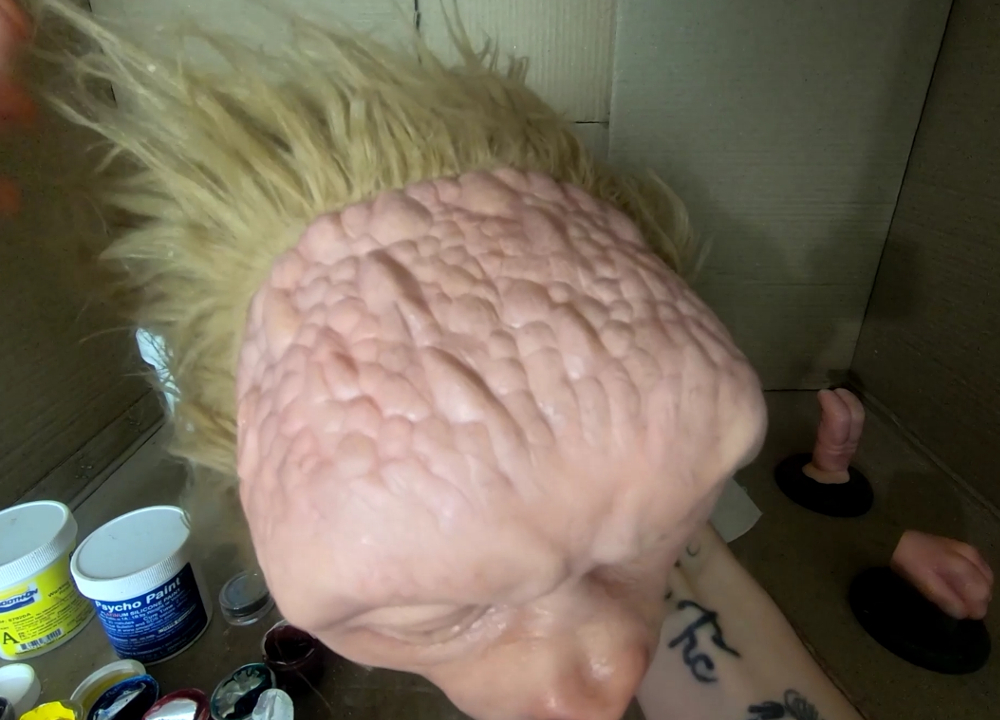
Starting with a quick sketch, I planned out the desired mechanics and created them as 3D models in Fusion 360. These were then imported into Zbrush and fleshed out with fur and details added, I then tweaked the final renders in Adobe Photoshop to complete character.

Gallery Thumb 1 Gallery Thumb 2 Gallery Thumb 3 Gallery Thumb 4 Gallery Thumb 3 Gallery Thumb 4 Gallery Thumb 3 Gallery Thumb 4 Gallery Thumb 3 Gallery Thumb 4 Gallery Thumb 3 Gallery Thumb 4

3D Prototypes:

I had a check list of expressions, so I knew I needed to figure out how to make a set of eyeballs rotate up/down/left/right, make the eyelids open and close, raise and lower the eyebrows, open and close the mouth while pivoting it on a center axis and include the raising of the top lip.

I designed the mechanisms and any off-the-shelf parts I bought in Fusion360. I re-created pretty much everything in the 3D software which helped me get precise with tolerances and ensure the functionality worked in theory.

Gallery Thumb 1 Gallery Thumb 2 Gallery Thumb 3 Gallery Thumb 4 Gallery Thumb 5 Gallery Thumb 6 Gallery Thumb 7 Gallery Thumb 8 Gallery Thumb 9 Gallery Thumb 10 Gallery Thumb 11 Gallery Thumb 12

Skeleton:

I grew my prototypes using a strong filament and constructed a skeleton out of aluminum rods, channel brackets by Actobotics, U-Joints, rubber hose, a bath leg, some metal and a coffee jar lid.

I wanted the head & neck to be fluid but also move the shoulders and arms as it looked around. I'd seen a tip using a similar mechanism to essentially translate a series of movements from a control point to a pivot point, in this case the neck of the puppet.

Gallery Thumb 1 Gallery Thumb 2 Gallery Thumb 3 Gallery Thumb 4 Gallery Thumb 5 Gallery Thumb 6 Gallery Thumb 7 Gallery Thumb 8 Gallery Thumb 9 Gallery Thumb 10 Gallery Thumb 11 Gallery Thumb 12

Eyes:

These eyeballs were designed in Fusion360, 3D printed, sanded, primed and airbrushed with some fine details hand painted on. I then inserted glass eye cabochons into the iris sockets and cast them in EpoxAcast 690.

Since these eyes needed to be functional, it took a fair while to design the gimble insert in the back while making them passable (i.e no air bubbles) and operate smoothly/fluid enough.

Gallery Thumb 1 Gallery Thumb 2 Gallery Thumb 3 Gallery Thumb 4 Gallery Thumb 5 Gallery Thumb 6 Gallery Thumb 7 Gallery Thumb 8 Gallery Thumb 9 Gallery Thumb 10 Gallery Thumb 11 Gallery Thumb 12

Teeth:

The teeth are acrylic dentures I dremeled down and fit around a 3D printed insert I'd made to fit into the mouth. Using some oil based clay I sculpted the gums for the top and lower set and made the moulds out of Compat 45 urethane rubber.

I removed the clay and teeth from the 3D printed insert and filled the mould with pink dental acrylic. Once the teeth & inserts are placed back into the moulds, the acrylic cures and bonds to the printed plastic.

Gallery Thumb 1 Gallery Thumb 2 Gallery Thumb 3 Gallery Thumb 4 Gallery Thumb 5 Gallery Thumb 6 Gallery Thumb 7 Gallery Thumb 8 Gallery Thumb 9 Gallery Thumb 10 Gallery Thumb 11 Gallery Thumb 12

Assembly:

The overall size was pretty much determined by the printed & purchased parts. As there are strength constraints to 3D prints, a min/max thickness was achieved to provide adequate mechanical force and enable the silicone to flex.

Some compromises were made to the functionality due to time and finances, but I managed to make most of the mechanics set out in my check list and it certainly works as intended.

Gallery Thumb 1 Gallery Thumb 2 Gallery Thumb 3 Gallery Thumb 4 Gallery Thumb 5 Gallery Thumb 6 Gallery Thumb 7 Gallery Thumb 8 Gallery Thumb 9 Gallery Thumb 10 Gallery Thumb 11 Gallery Thumb 12

Puppet Body:

I hadn't worked with much foam before but luckily there are some great resources out there and after a bit of research I set about making a series of patterns for this rather odd shaped body.

I made a template by covering the skeleton in masking tape, marking the seam positions, turning that into symmetrical copy, tracing and cutting the shapes onto puppet foam and gluing the pieces using contact adhesive.

Gallery Thumb 1 Gallery Thumb 2 Gallery Thumb 3 Gallery Thumb 4 Gallery Thumb 5 Gallery Thumb 6 Gallery Thumb 7 Gallery Thumb 8 Gallery Thumb 9 Gallery Thumb 10 Gallery Thumb 11 Gallery Thumb 12

Adding Fur:

Similar to the foam body, to add the fur I draped some material over the torso, pinned and marked out the joins & seams, turned these patterns into rigid copies and traced the shapes onto the fur.

After cutting out the fur pieces, I glued these onto the foam and cut/shaved areas to define the shape better. Finally I airbrushed on some colour to simulate a subtle pattern and add a bit of randomness to the final look.

Gallery Thumb 1 Gallery Thumb 2 Gallery Thumb 3 Gallery Thumb 4 Gallery Thumb 5 Gallery Thumb 6 Gallery Thumb 7 Gallery Thumb 8 Gallery Thumb 9 Gallery Thumb 10 Gallery Thumb 11 Gallery Thumb 12

3D Underskull:

I designed the majority of parts in 3D software so that I could plan the amount of space available etc. Seeing as I already had the mechanisms modeled, I was then able to create the underskull (which encloses those mechanics) in Blender 3D.

The 3D model was then sliced into segments due to its size, printed and assembled with epoxy & fiberglass reinforcement to make it very strong and rigid as the silicone skin will be glued on to this.

Gallery Thumb 1 Gallery Thumb 2 Gallery Thumb 3 Gallery Thumb 4 Gallery Thumb 5 Gallery Thumb 6

Core & Glassed skull:

This is the core that would take the sculpt of my character and act as the positive to my negative mould. I designed this in Blender and created a key type base so that it locks into the mould at the time of casting.

My original idea was to make a fiberglass underskull, therefore I made a plaster bandage mould of this core and created a positive epoxy resin cloth copy. I subsequently replaced this glassed skull with the 3D printed version as it aligned better and was easier to trim.

Gallery Thumb 1 Gallery Thumb 2 Gallery Thumb 3 Gallery Thumb 4 Gallery Thumb 5 Gallery Thumb 6

Sculpt Design:

Working form my initial concept art, a bunch of animal, creature, human reference images; I sculpted this character using oil based clays. This is a mechanical skin so it needed to be a certain thickness, therefore a base layer of clay was laid and a darker colour on top to establish minimum depths.

The hands and feet were sculpted on top of little inserts I manufactured so that when placed back into the mould at the time of casting, the insert would make a cavity to later accept the mechanisms.

Gallery Thumb 1 Gallery Thumb 2 Gallery Thumb 3 Gallery Thumb 4 Gallery Thumb 5 Gallery Thumb 6 Gallery Thumb 7 Gallery Thumb 8 Gallery Thumb 9 Gallery Thumb 10 Gallery Thumb 11 Gallery Thumb 12

Mould Making:

For the head, I made the inner mould using Compat 45 Non-Inhibiting Urethane Rubber and created a two part outer support shell using Free Form Air Lightweight Epoxy Putty. The hands, feet and stomach were brushed with Compat 45 building up thickness in layers and I used plaster badges for their support shells.

I wanted a glove or jacket mould to try and avoid patching the seam line that comes with two part fibreglass moulds. There are plenty of ways to make moulds and this method was clean and easy for me to do in a small room.

Gallery Thumb 1 Gallery Thumb 2 Gallery Thumb 3 Gallery Thumb 4 Gallery Thumb 5 Gallery Thumb 6 Gallery Thumb 7 Gallery Thumb 8 Gallery Thumb 9 Gallery Thumb 10 Gallery Thumb 11 Gallery Thumb 12

Silicone Casting:

I used Platsil Gel 00 silicone with deadener, red flocking and silicone pigment to cast the pieces. The silicone was gravity fed and I then used a modified plunger to force the remaining material towards the top of the mould, ensuring it exited from all bleed holes.

This silicone benefits from being degassed in a vacuum chamber, I dont have that equipment so there were a few bubbles that needed patching here and there. To do this I mixed in some thixotropic to the same batch of silicone and created a paste to fill in any holes.

Gallery Thumb 1 Gallery Thumb 2 Gallery Thumb 3 Gallery Thumb 4 Gallery Thumb 5 Gallery Thumb 6 Gallery Thumb 7 Gallery Thumb 8 Gallery Thumb 9 Gallery Thumb 10 Gallery Thumb 11 Gallery Thumb 12

Painting Silicone:

To paint the cast pieces I used Smooth-On's Psyco Paint and their range of silicone pigments, thinned down so that each colour could be airbrushed onto the surface.

The product has excellent bond strength to the silicone and the paint applied nicely, although I did resort back to hand painting after a few hours to add smaller details. This is my first successful attempt painting silicone and seeing as this skin needs to flex, I'm happy to see the paint adhered well.

Gallery Thumb 1 Gallery Thumb 2 Gallery Thumb 3 Gallery Thumb 4 Gallery Thumb 5 Gallery Thumb 6 Gallery Thumb 7 Gallery Thumb 8 Gallery Thumb 9 Gallery Thumb 10 Gallery Thumb 11 Gallery Thumb 12

Glue Down:

Thanks to the legendary Karl Gallivan and his tip to try using Smooth-On's Sil-Poxy silicone adhesive. This stuff worked great bonding the pieces down.

I was testing the mechanics while fitting the silcione to make sure it would actually work, trial by fire for sure but doing it section by section I was pleasantly surprised that the mechanisms had enough torque and the silicone flexed without peeling off.

Gallery Thumb 1 Gallery Thumb 2 Gallery Thumb 3 Gallery Thumb 4 Gallery Thumb 5 Gallery Thumb 6 Gallery Thumb 7 Gallery Thumb 8 Gallery Thumb 9 Gallery Thumb 10 Gallery Thumb 11 Gallery Thumb 12

Detailing:

To finish this guy off I punched some of my hair, including giving him my old dreadlocks and added some extra colour to the scales, as well as some horns, walking sticks, a tree stump and other little touches.

Hair punching (as I've learned) is a fine art so instead of covering his brows and chin in tones of hair like the initial design I went for subtle strands. The old locks were fitted to add a bit more personality to him. The sticks, spoon and tree stump are made from foam and Worbla thermoplastic, painted with acrylics and moss glued on.

Gallery Thumb 1 Gallery Thumb 2 Gallery Thumb 3 Gallery Thumb 4 Gallery Thumb 5 Gallery Thumb 6 Gallery Thumb 7 Gallery Thumb 8 Gallery Thumb 9 Gallery Thumb 10 Gallery Thumb 11 Gallery Thumb 12

Movement Test:

At the time of recording, I was still planning my servos. In these few tests I either did the movement solo, or as with the video below; two of us operating the puppet to move the body with the other focusing on the eyes and mouth. Just some rough tests before a proper routine to see what kind of expression I can get out of him.

I've since replaced this set up with a 10 channel RC radio transmitter which allows one operator to control all the face expressions with one other person controlling the head and neck movement.

Gallery Thumb 1 Gallery Thumb 2 Gallery Thumb 3 Gallery Thumb 4 Gallery Thumb 5 Gallery Thumb 6 Gallery Thumb 7 Gallery Thumb 8 Gallery Thumb 9 Gallery Thumb 10 Gallery Thumb 11 Gallery Thumb 12

Outcome:

I've been doing this work in my evenings and weekends (sorry friends & family), which was a large task but we got there in the end. I've honestly wanted to make something like this ever since I was a child, it’s taken me until my late 30's to learn enough techniques, as well as afford the materials to finally bring something I've been marveling at all these years to life.

I am now actively seeking to work on jobs with other people and I hope this project serves it's desired outcome as visual portfolio to showcase my efforts and open creative employment opportunities.

Gallery Thumb 1 Gallery Thumb 2 Gallery Thumb 3 Gallery Thumb 4 Gallery Thumb 5 Gallery Thumb 6 Gallery Thumb 7 Gallery Thumb 8 Gallery Thumb 9 Gallery Thumb 10 Gallery Thumb 11 Gallery Thumb 12

Watch The Full Project

For an overview & demo of some techniques I learned to build this puppet.

  • Created by: K Meadows
  • Completed on: 1/11/2021
  • Software: Multiple
  • Purpose: Portfolio
Share:

Project completion:

Thank you for taking the time to look through my work, you can watch a full overview on my Youtube Channel. Short versions can be seen here. Any questions give me a shout.

I'd be really keen to work with other artists and departments out there and collaborate on further projects. Please take a moment to share my project with anyone interested.

Other Projects: